Tusken Warrior pt 2 — Beads, Jewelry Chains, Spraypaint, and More Beads.

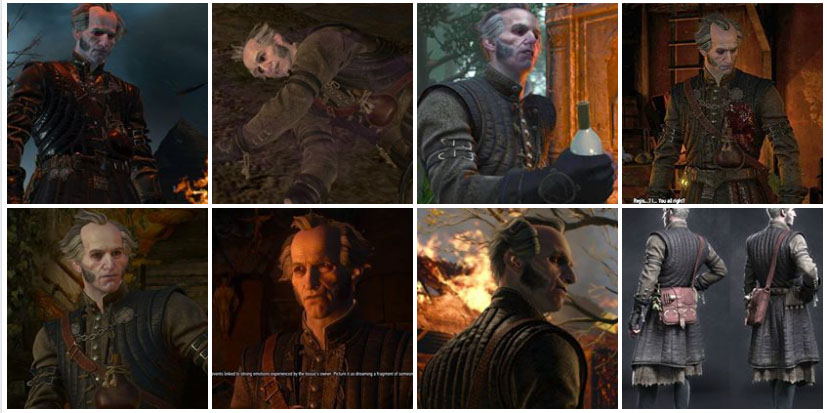
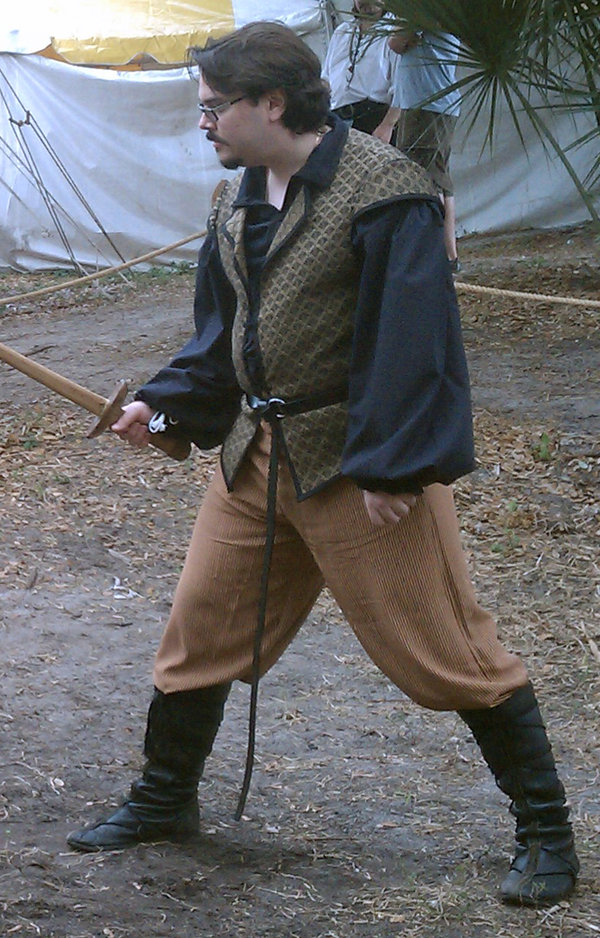
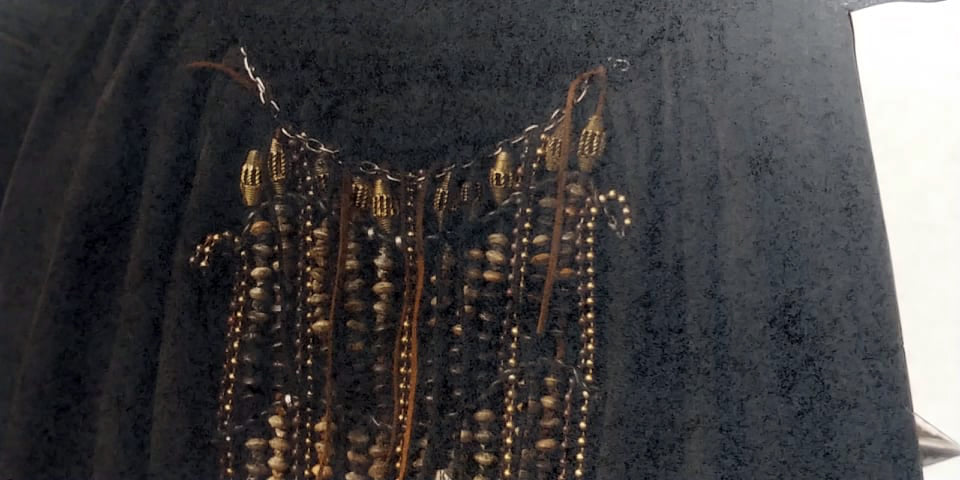
First of all, a few “Thank You”s are in order. Clan Krayt’s Forums, The Tusken Builder’s FB Group, and the Tusken Raiser Spoiler FB Group, have been AMAZING resources so far. In fact, it’s due to the last group that we have some decent pictures of the Tusken Warrior cardboard standup, which has details of her beaded apron:

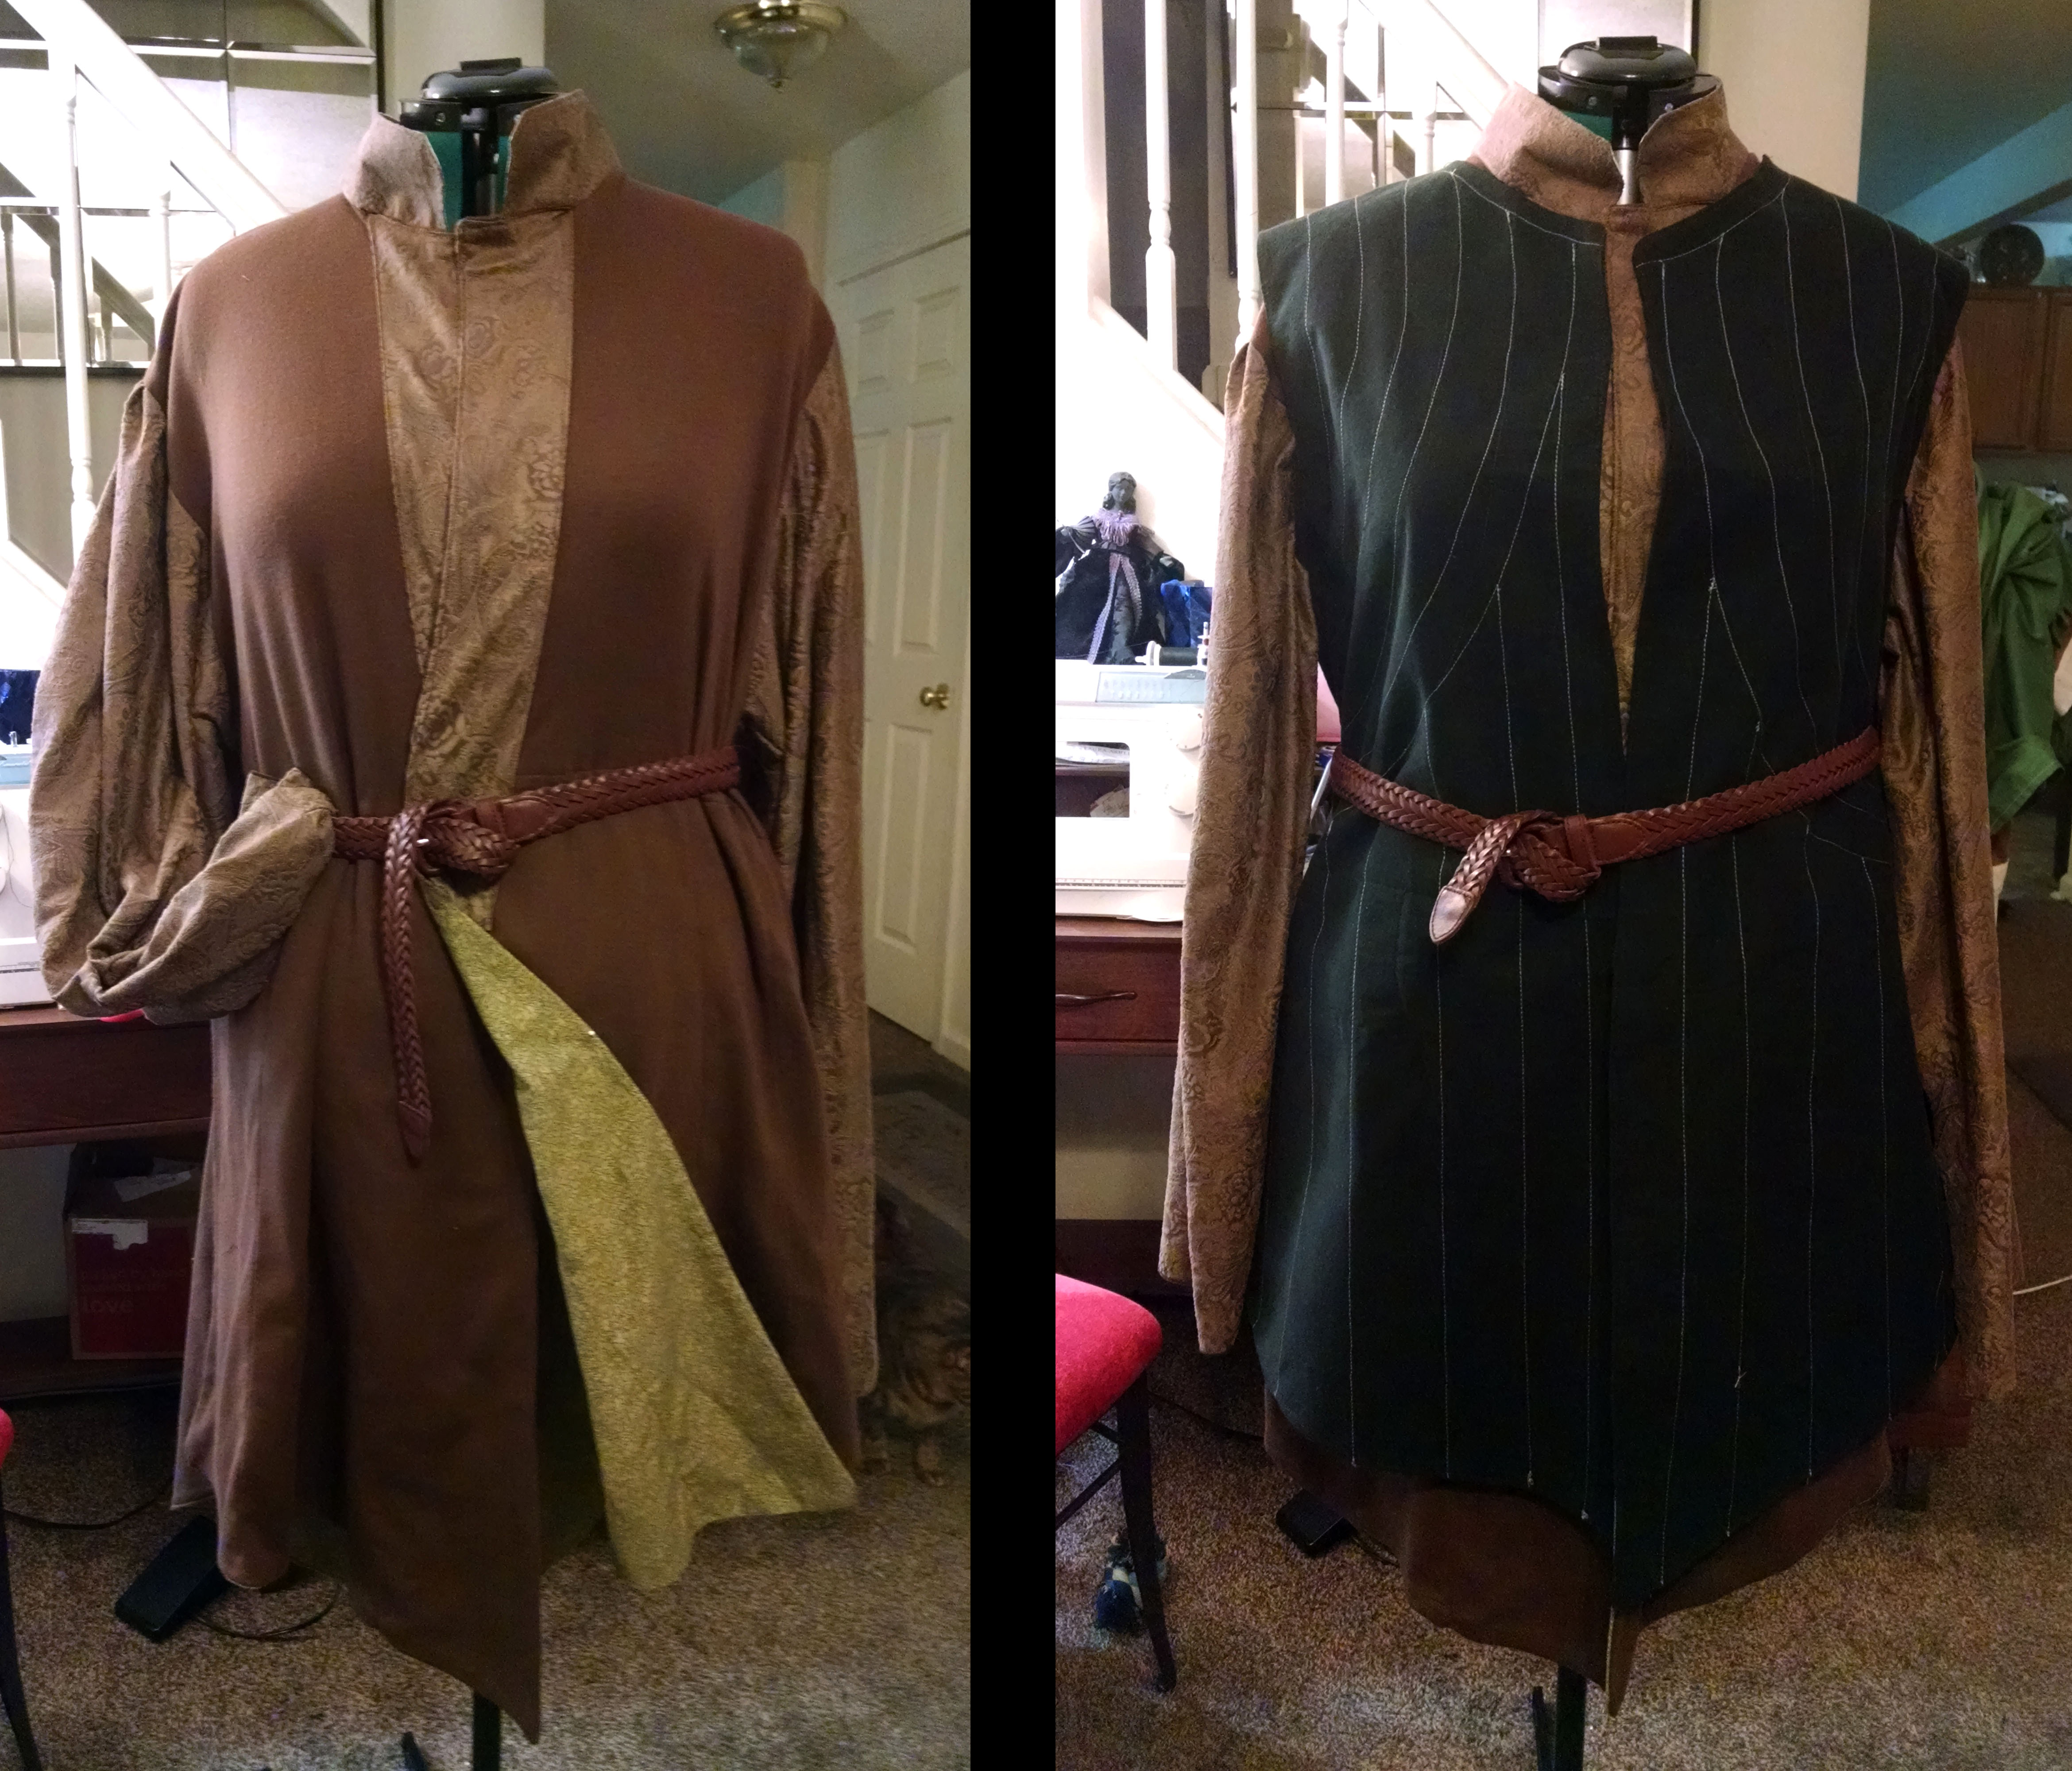
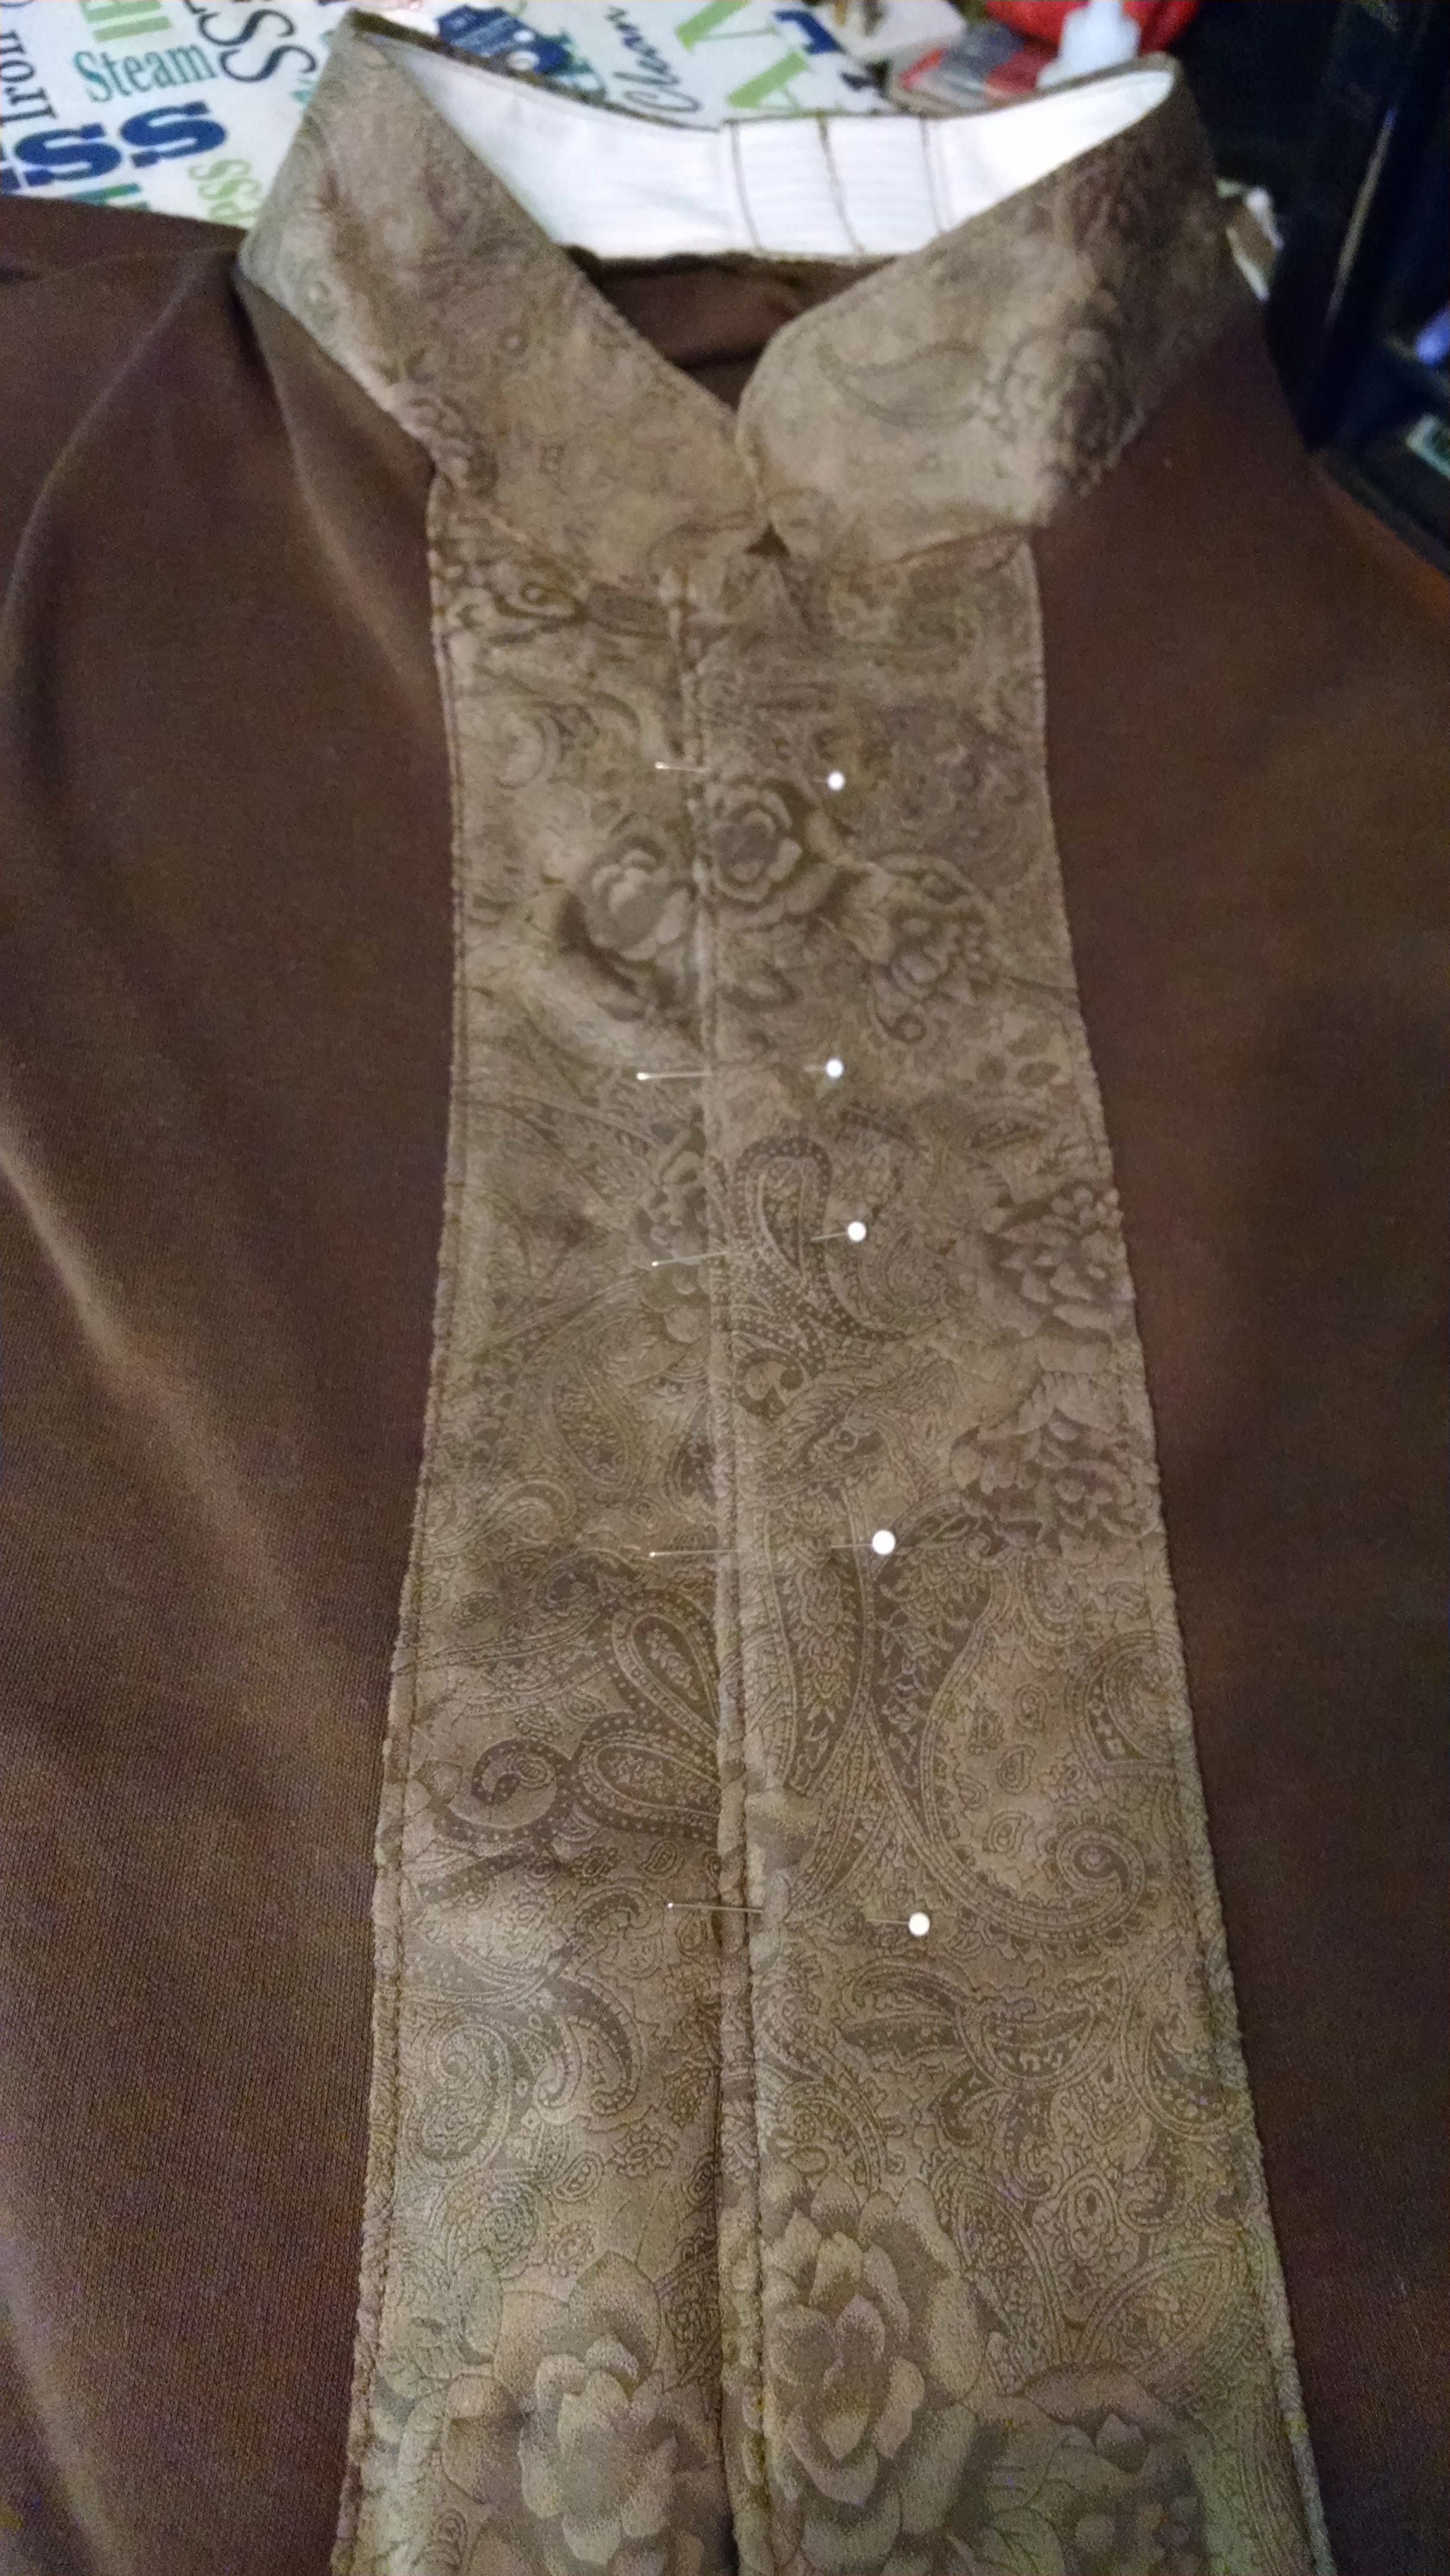
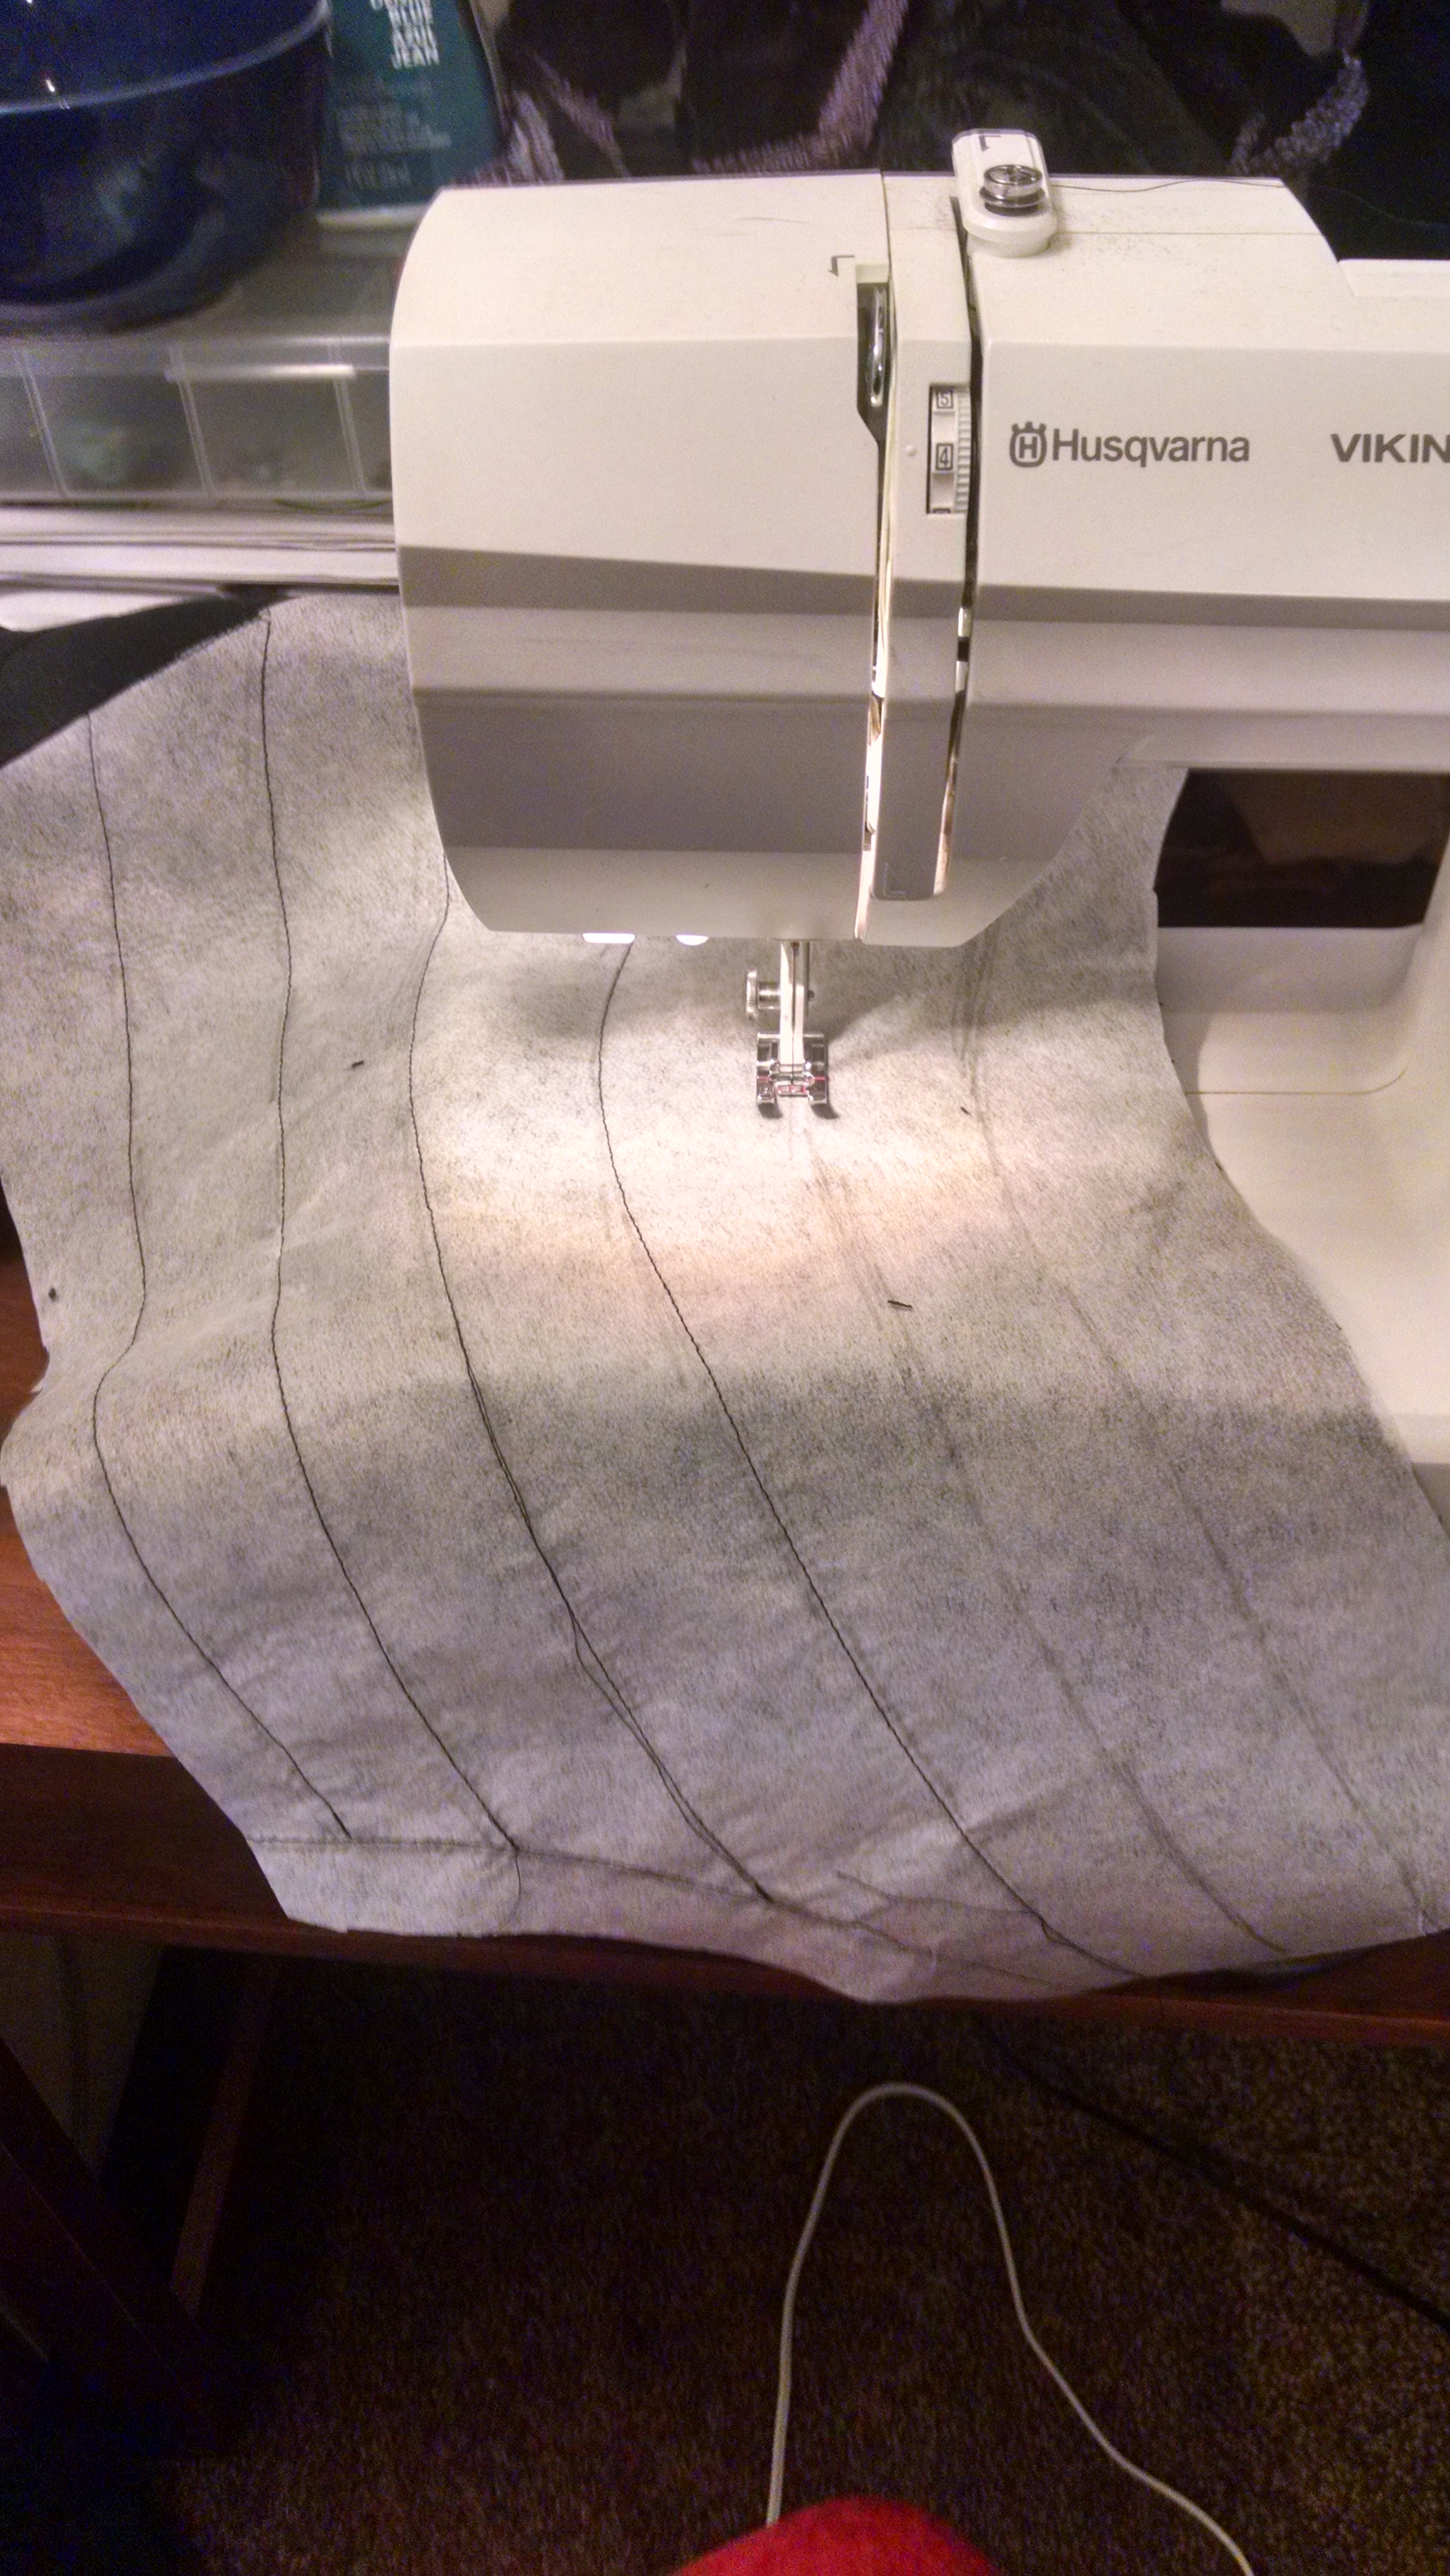
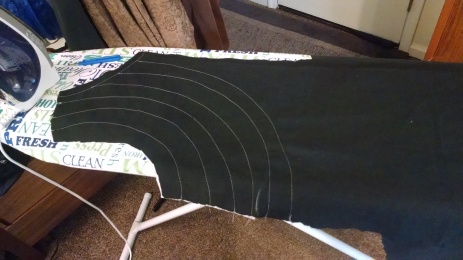
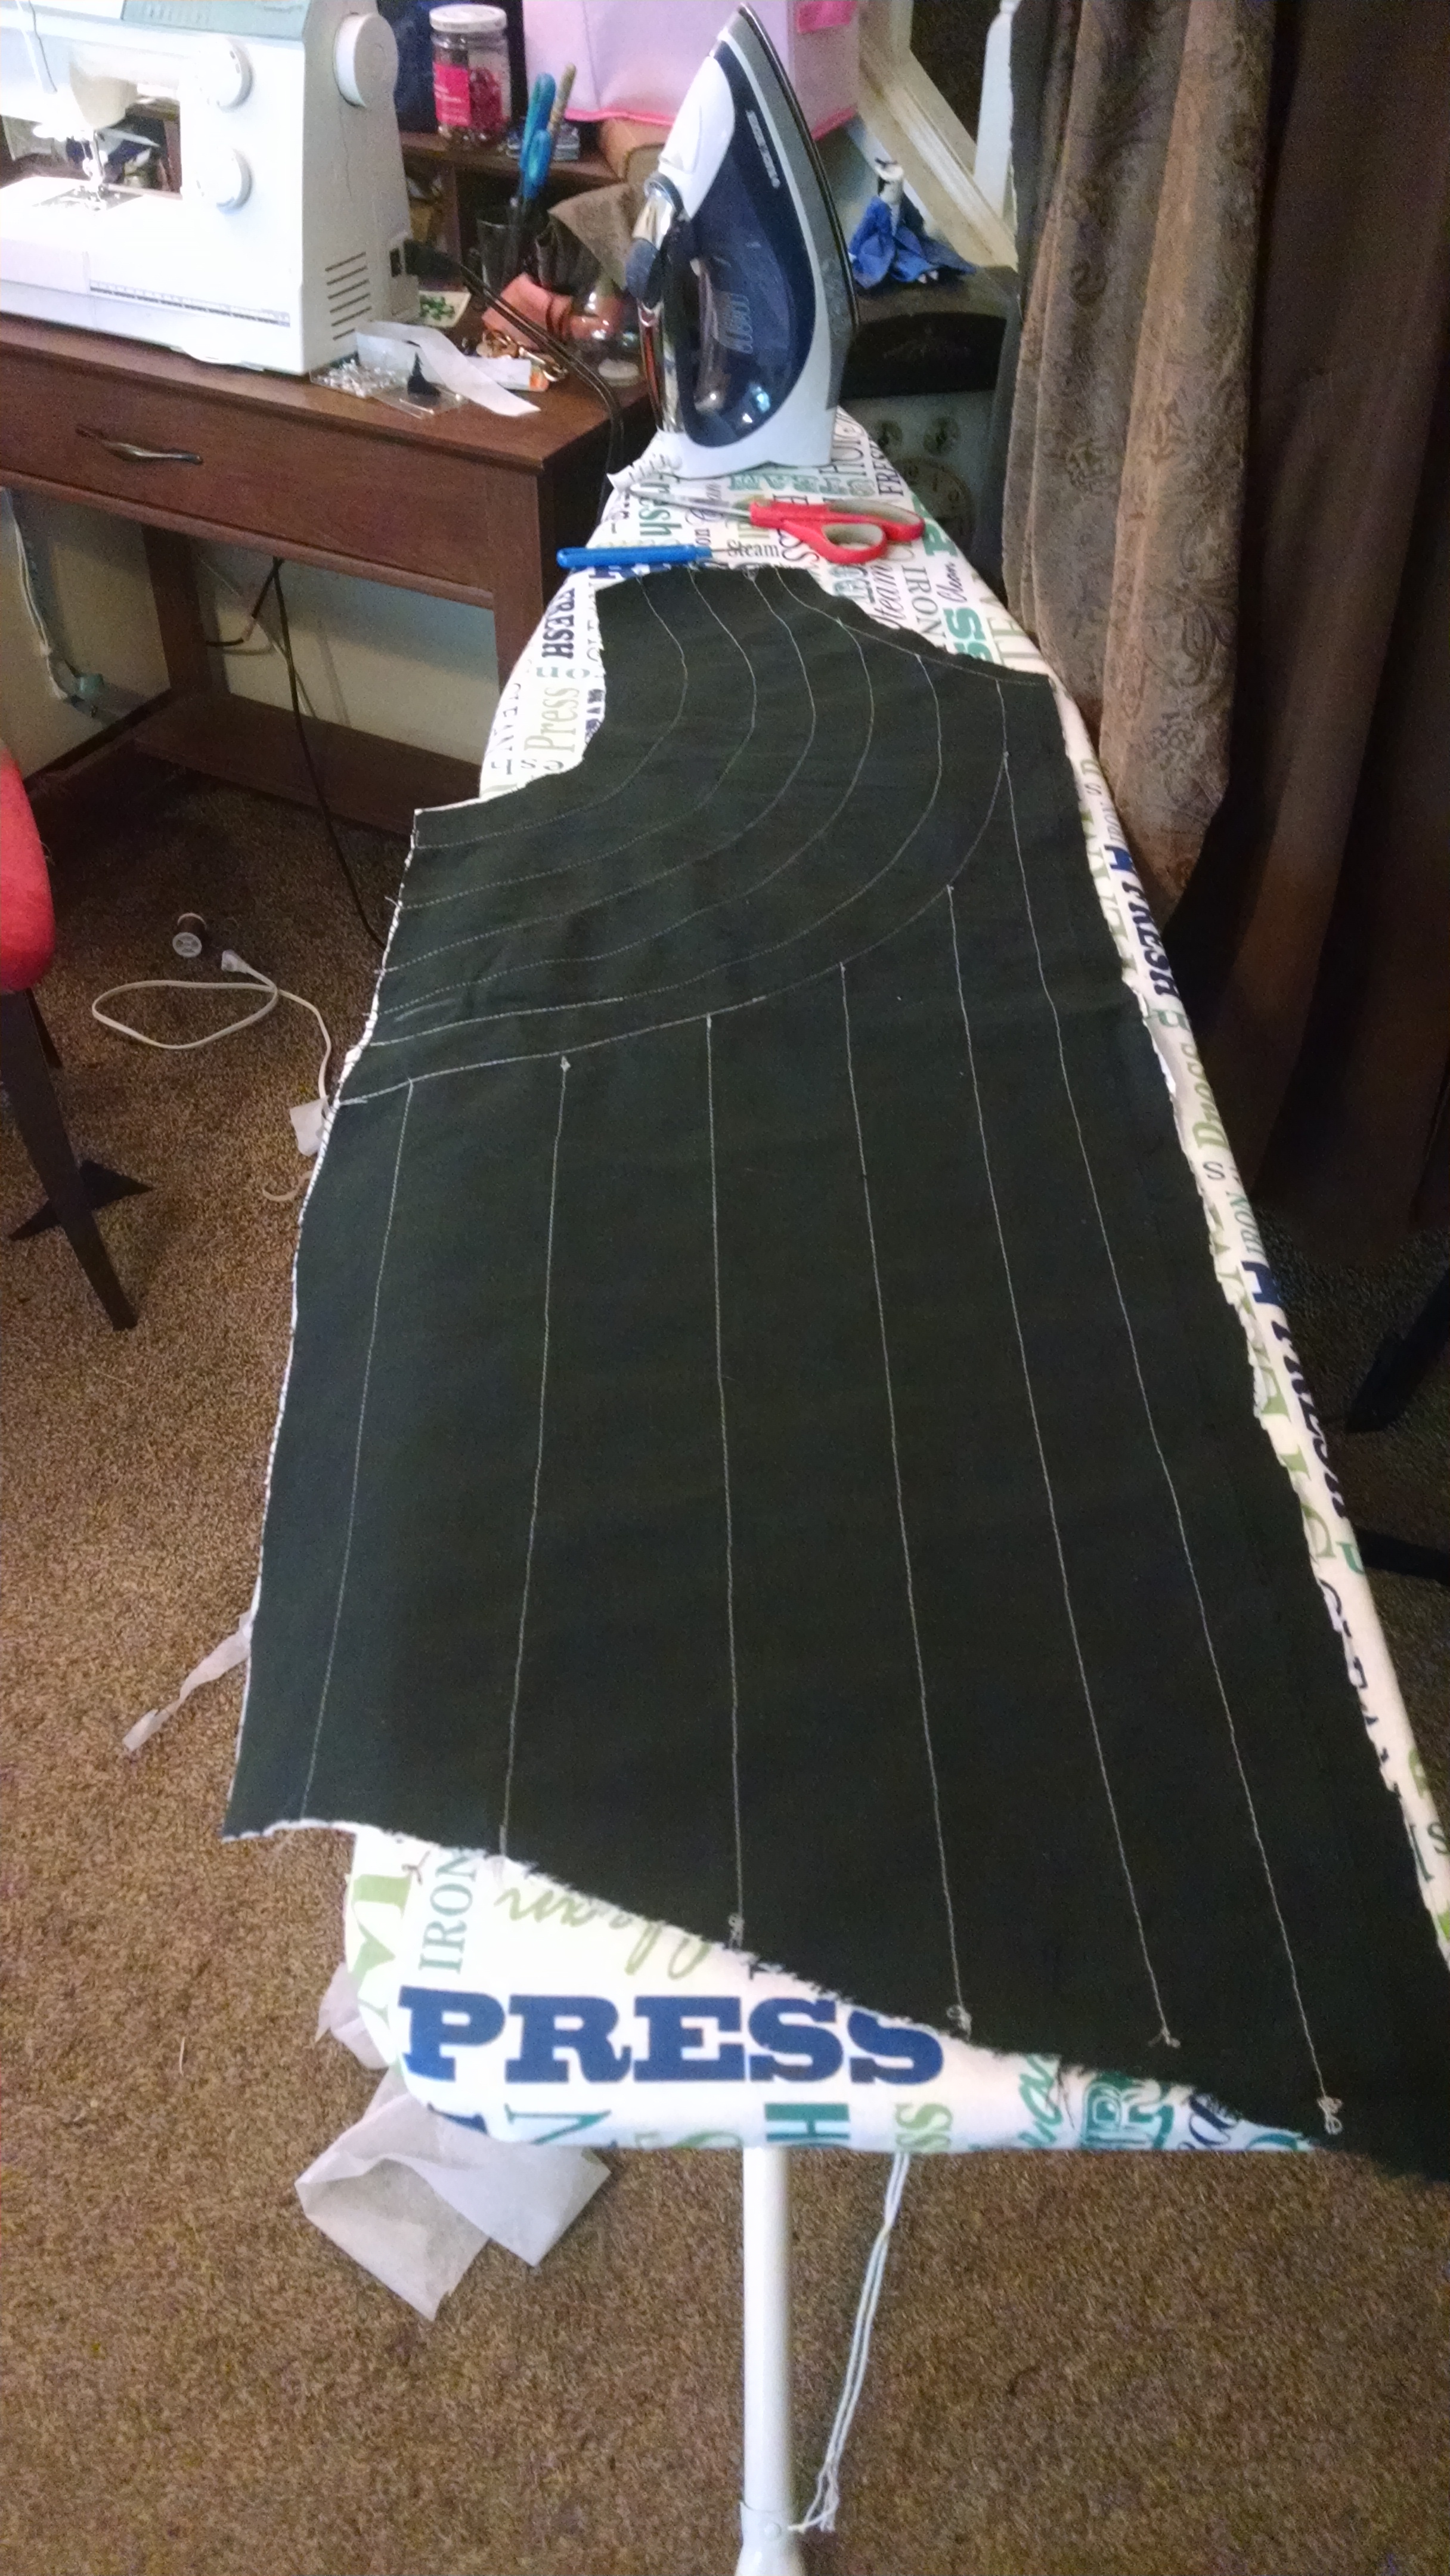
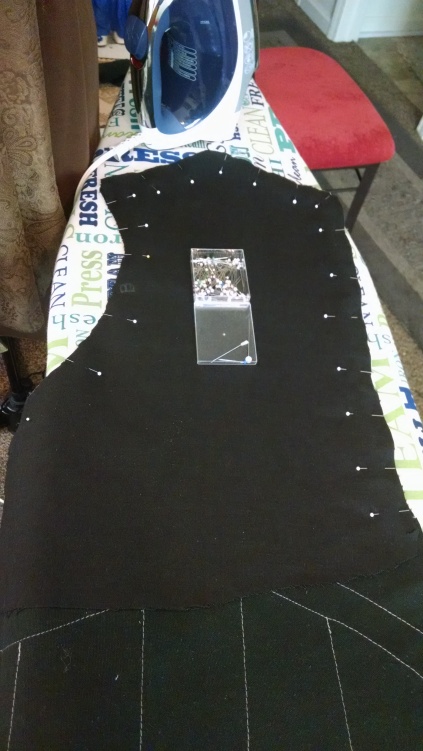
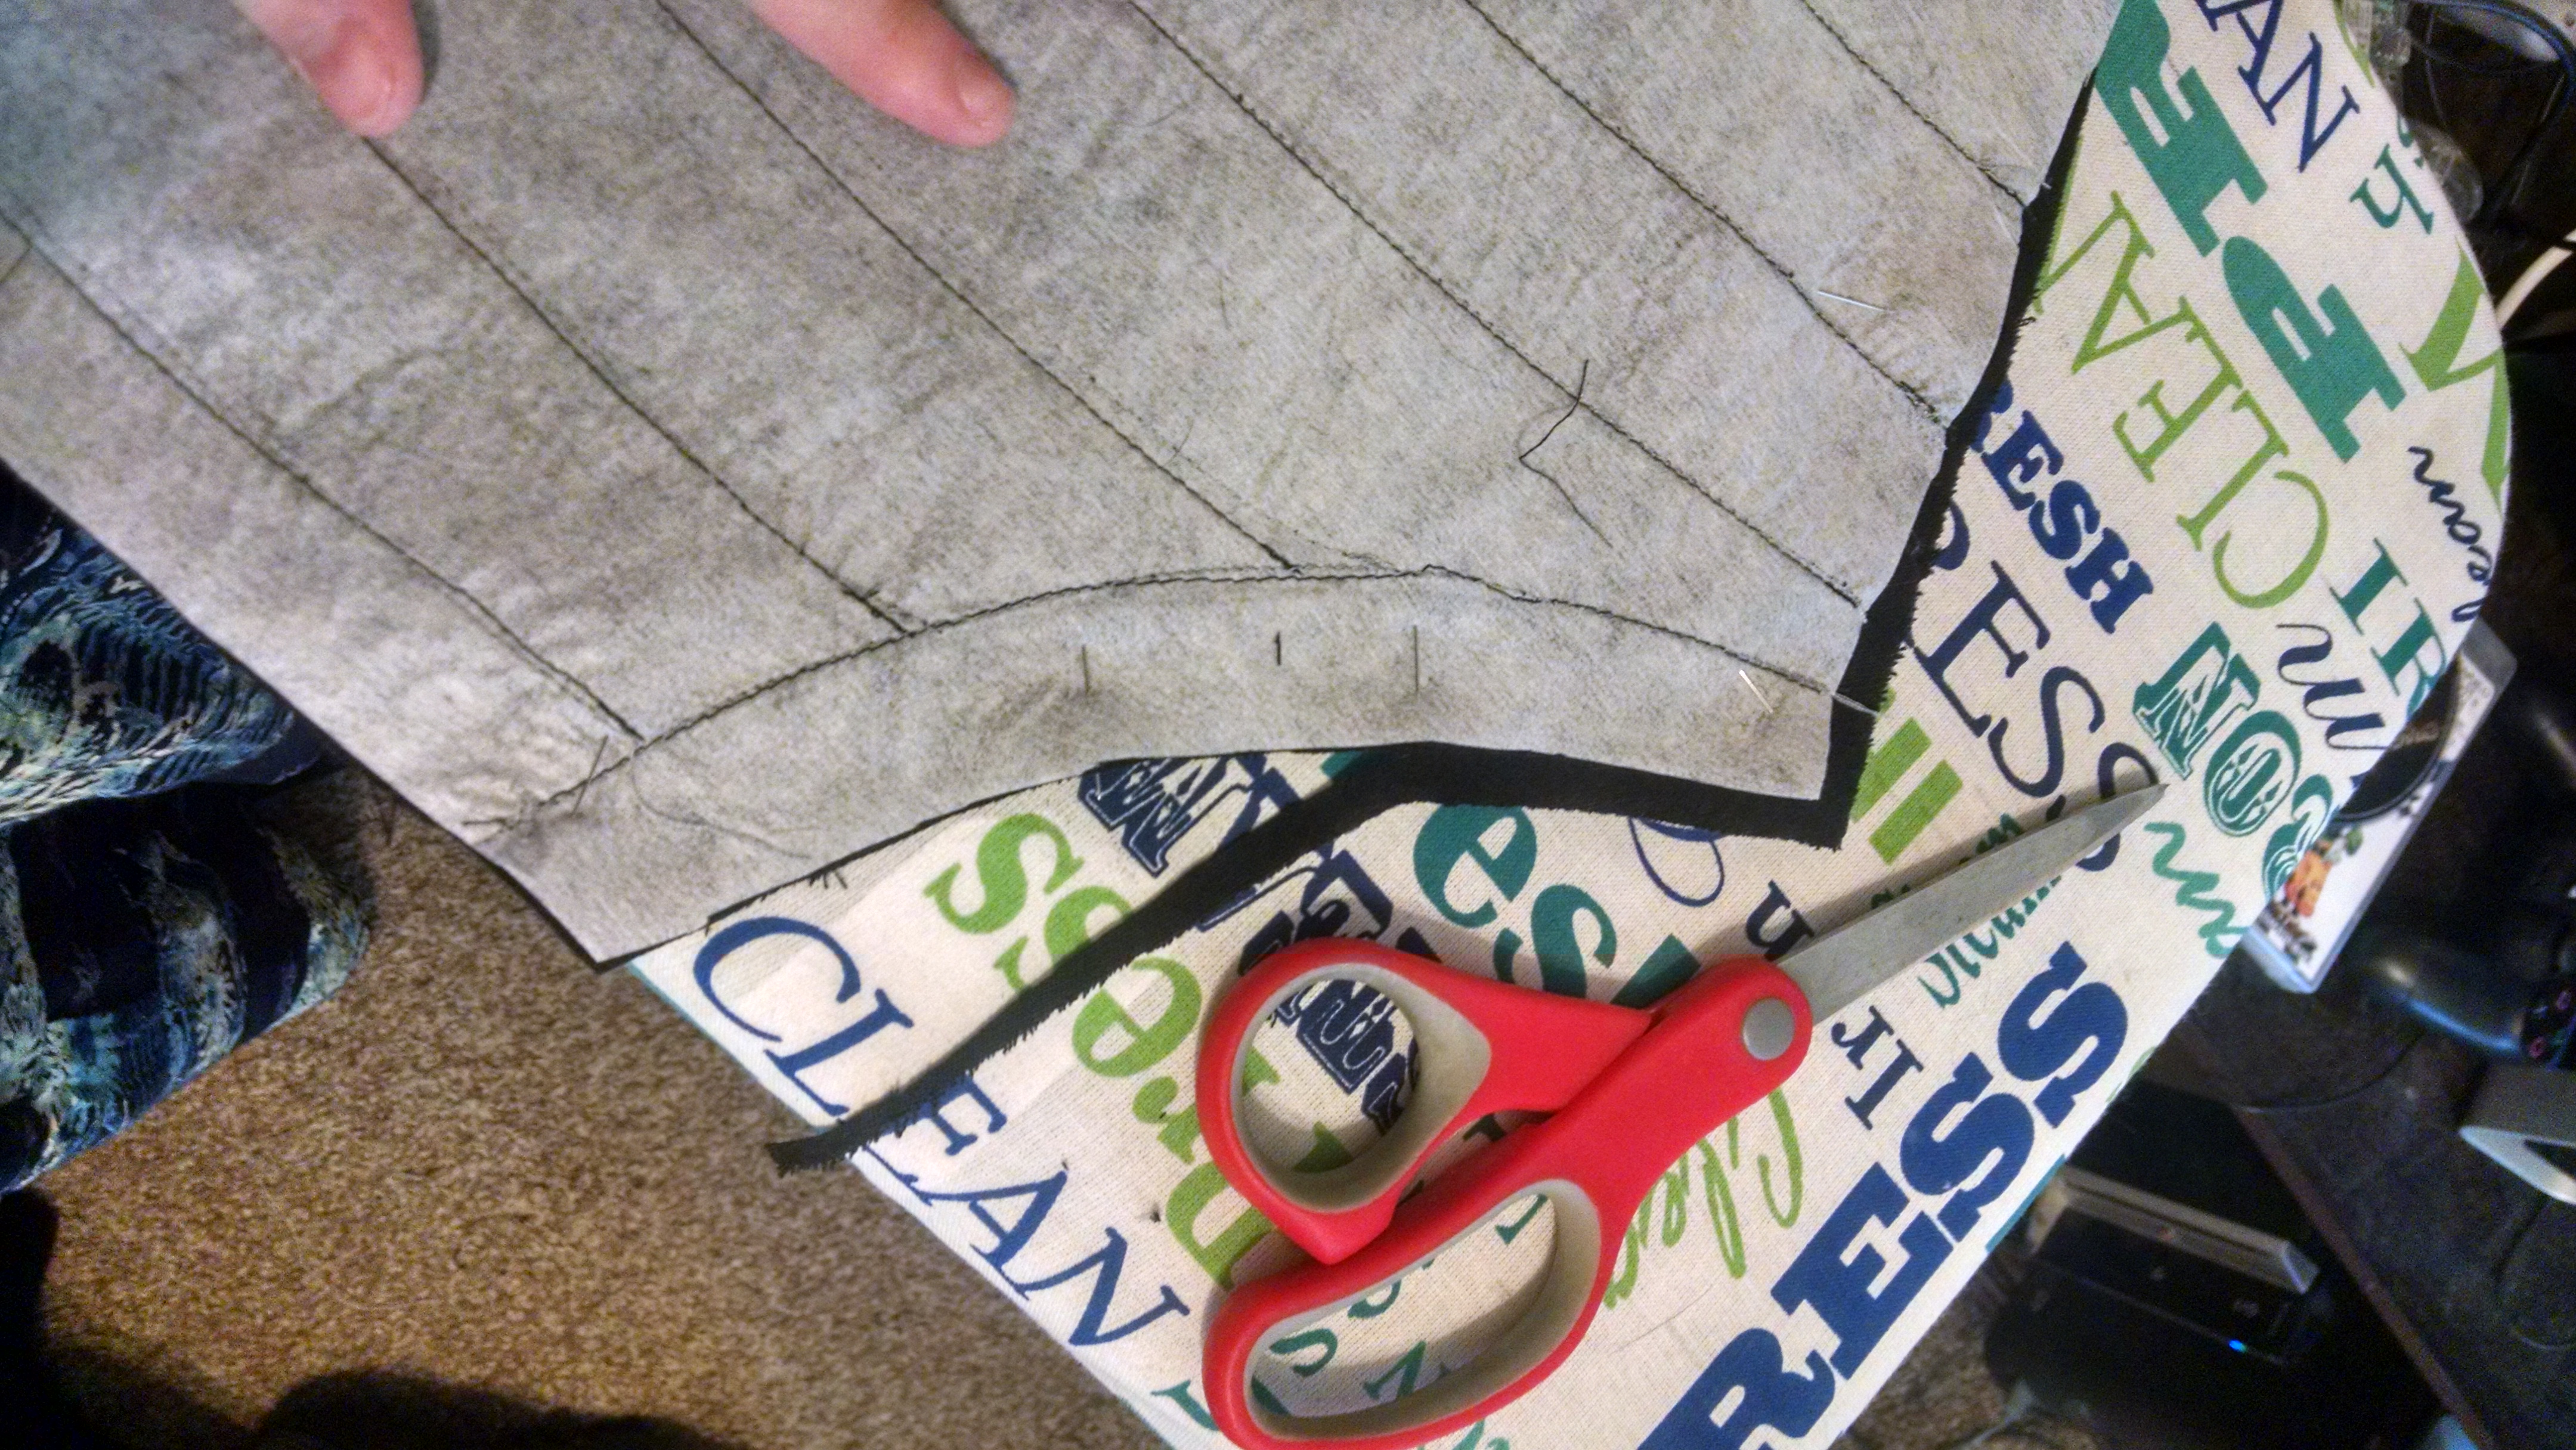
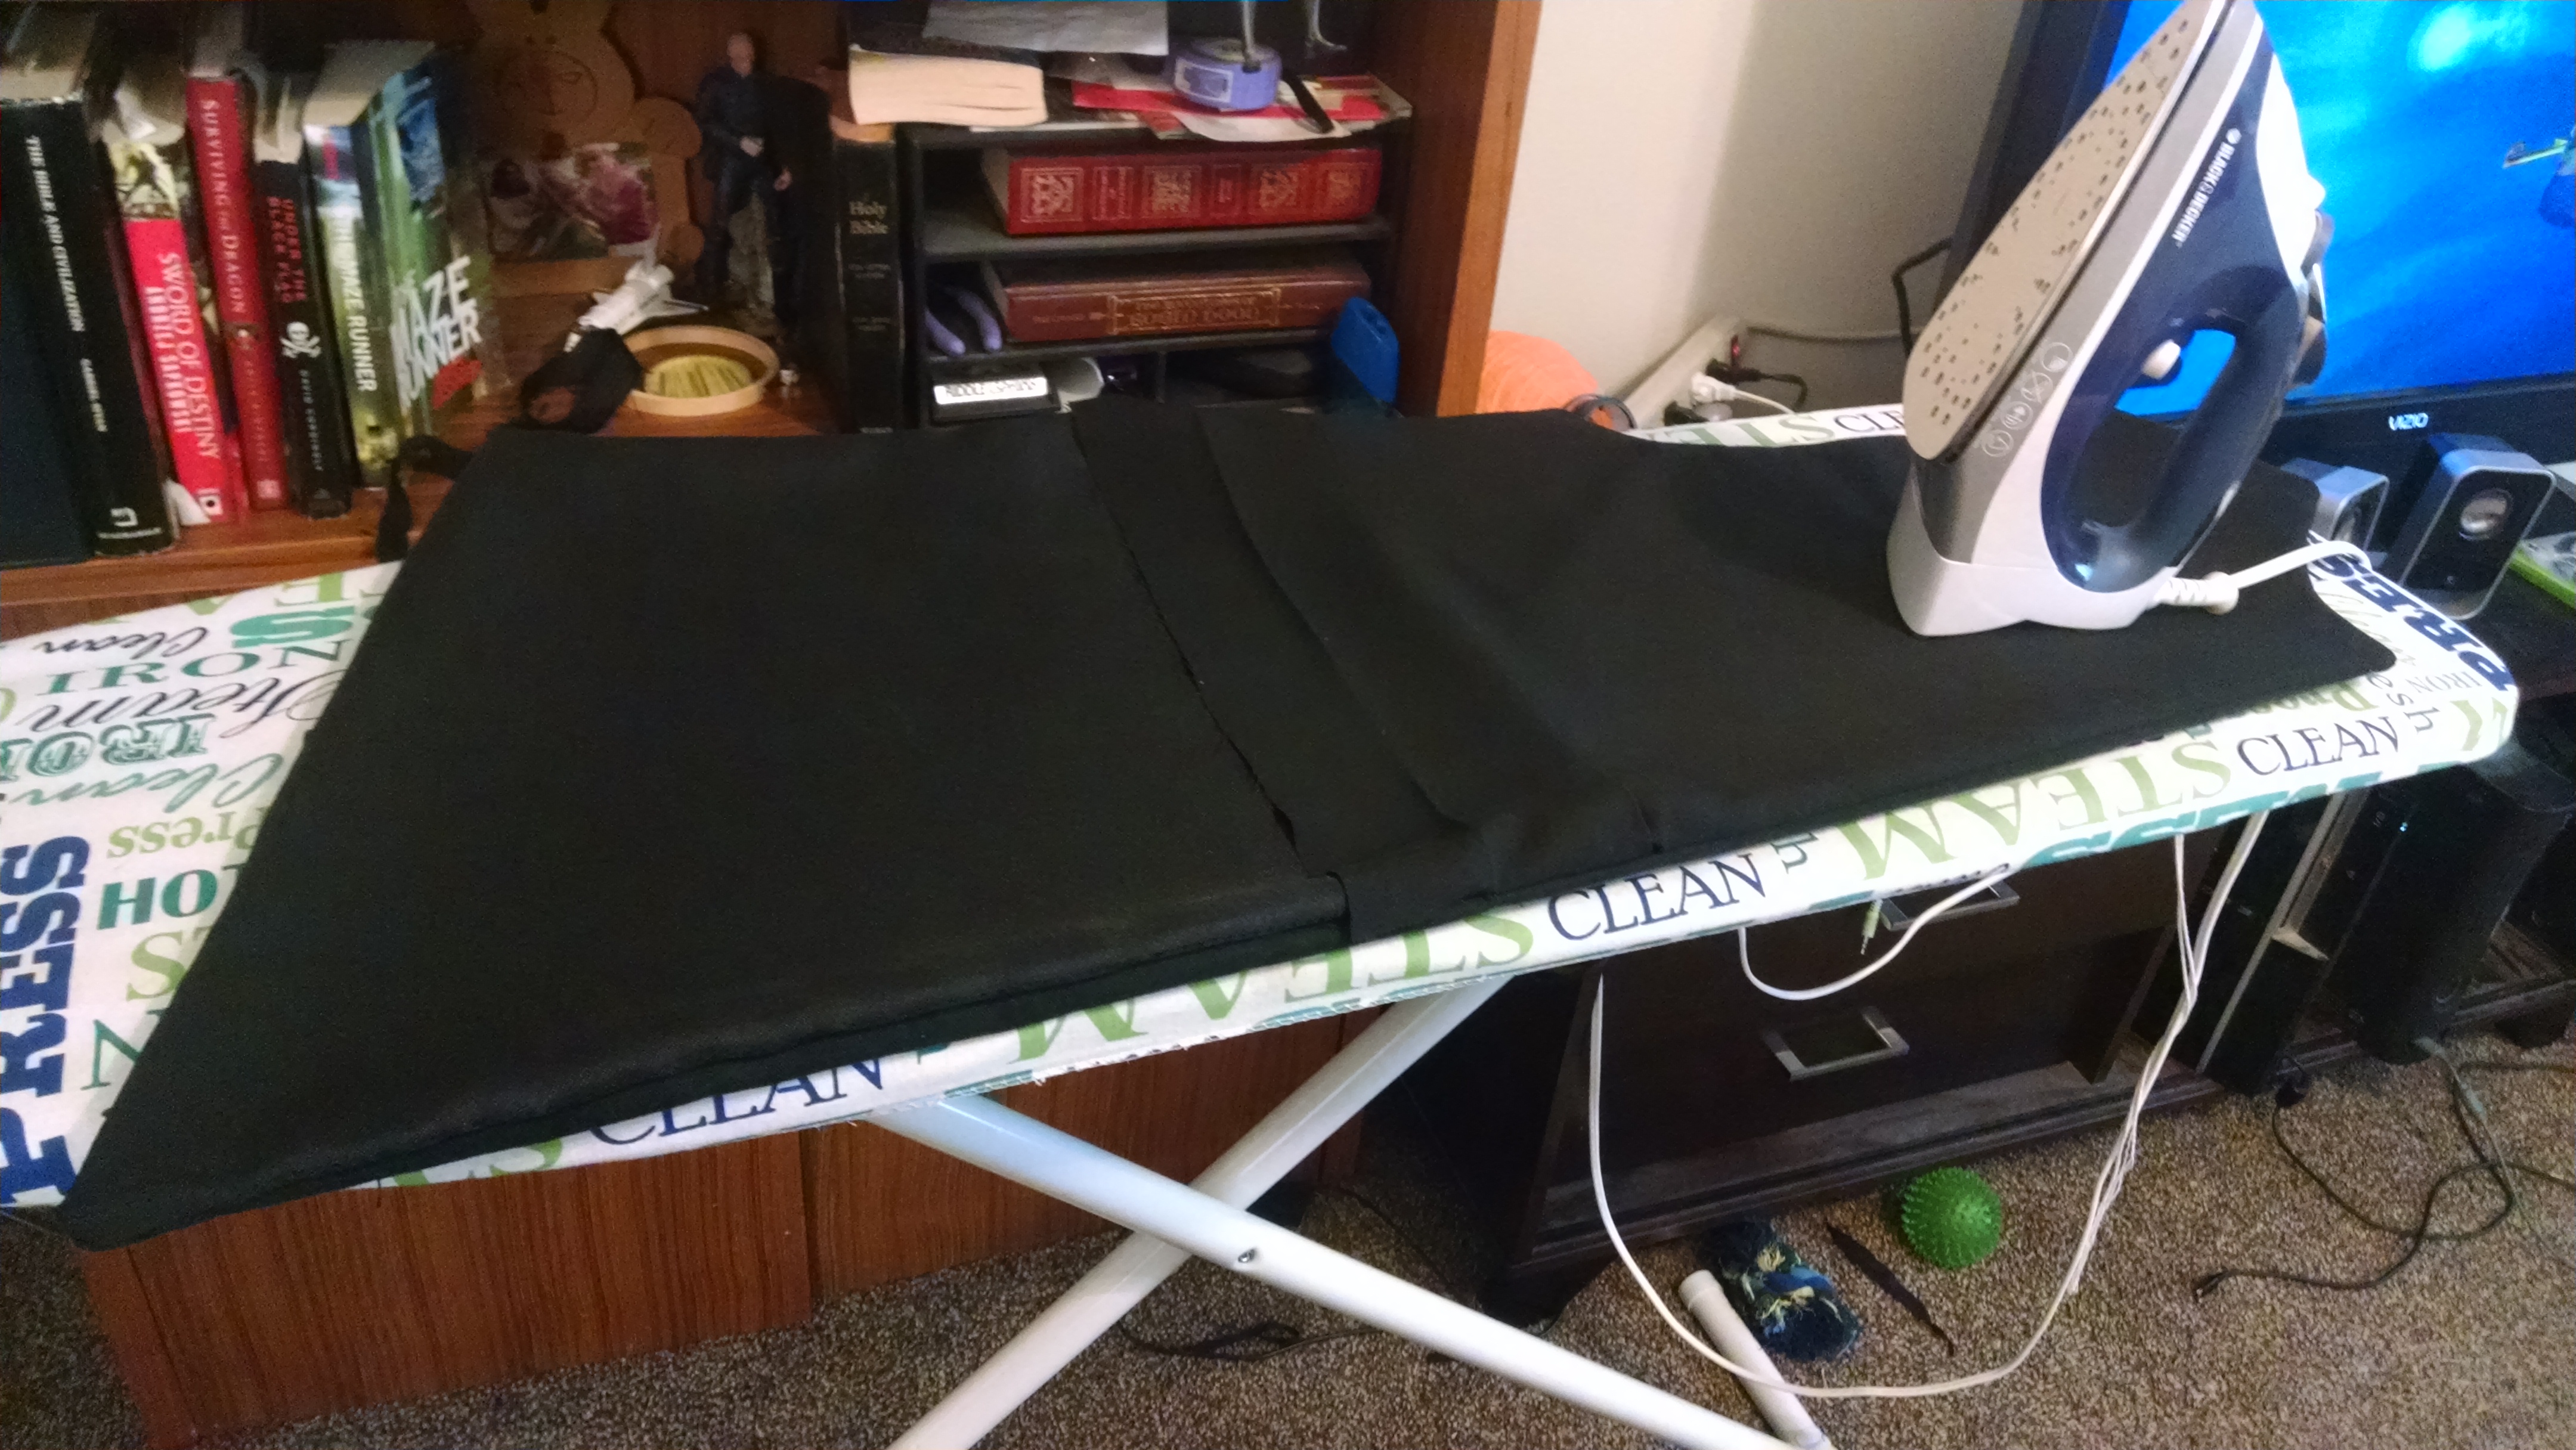
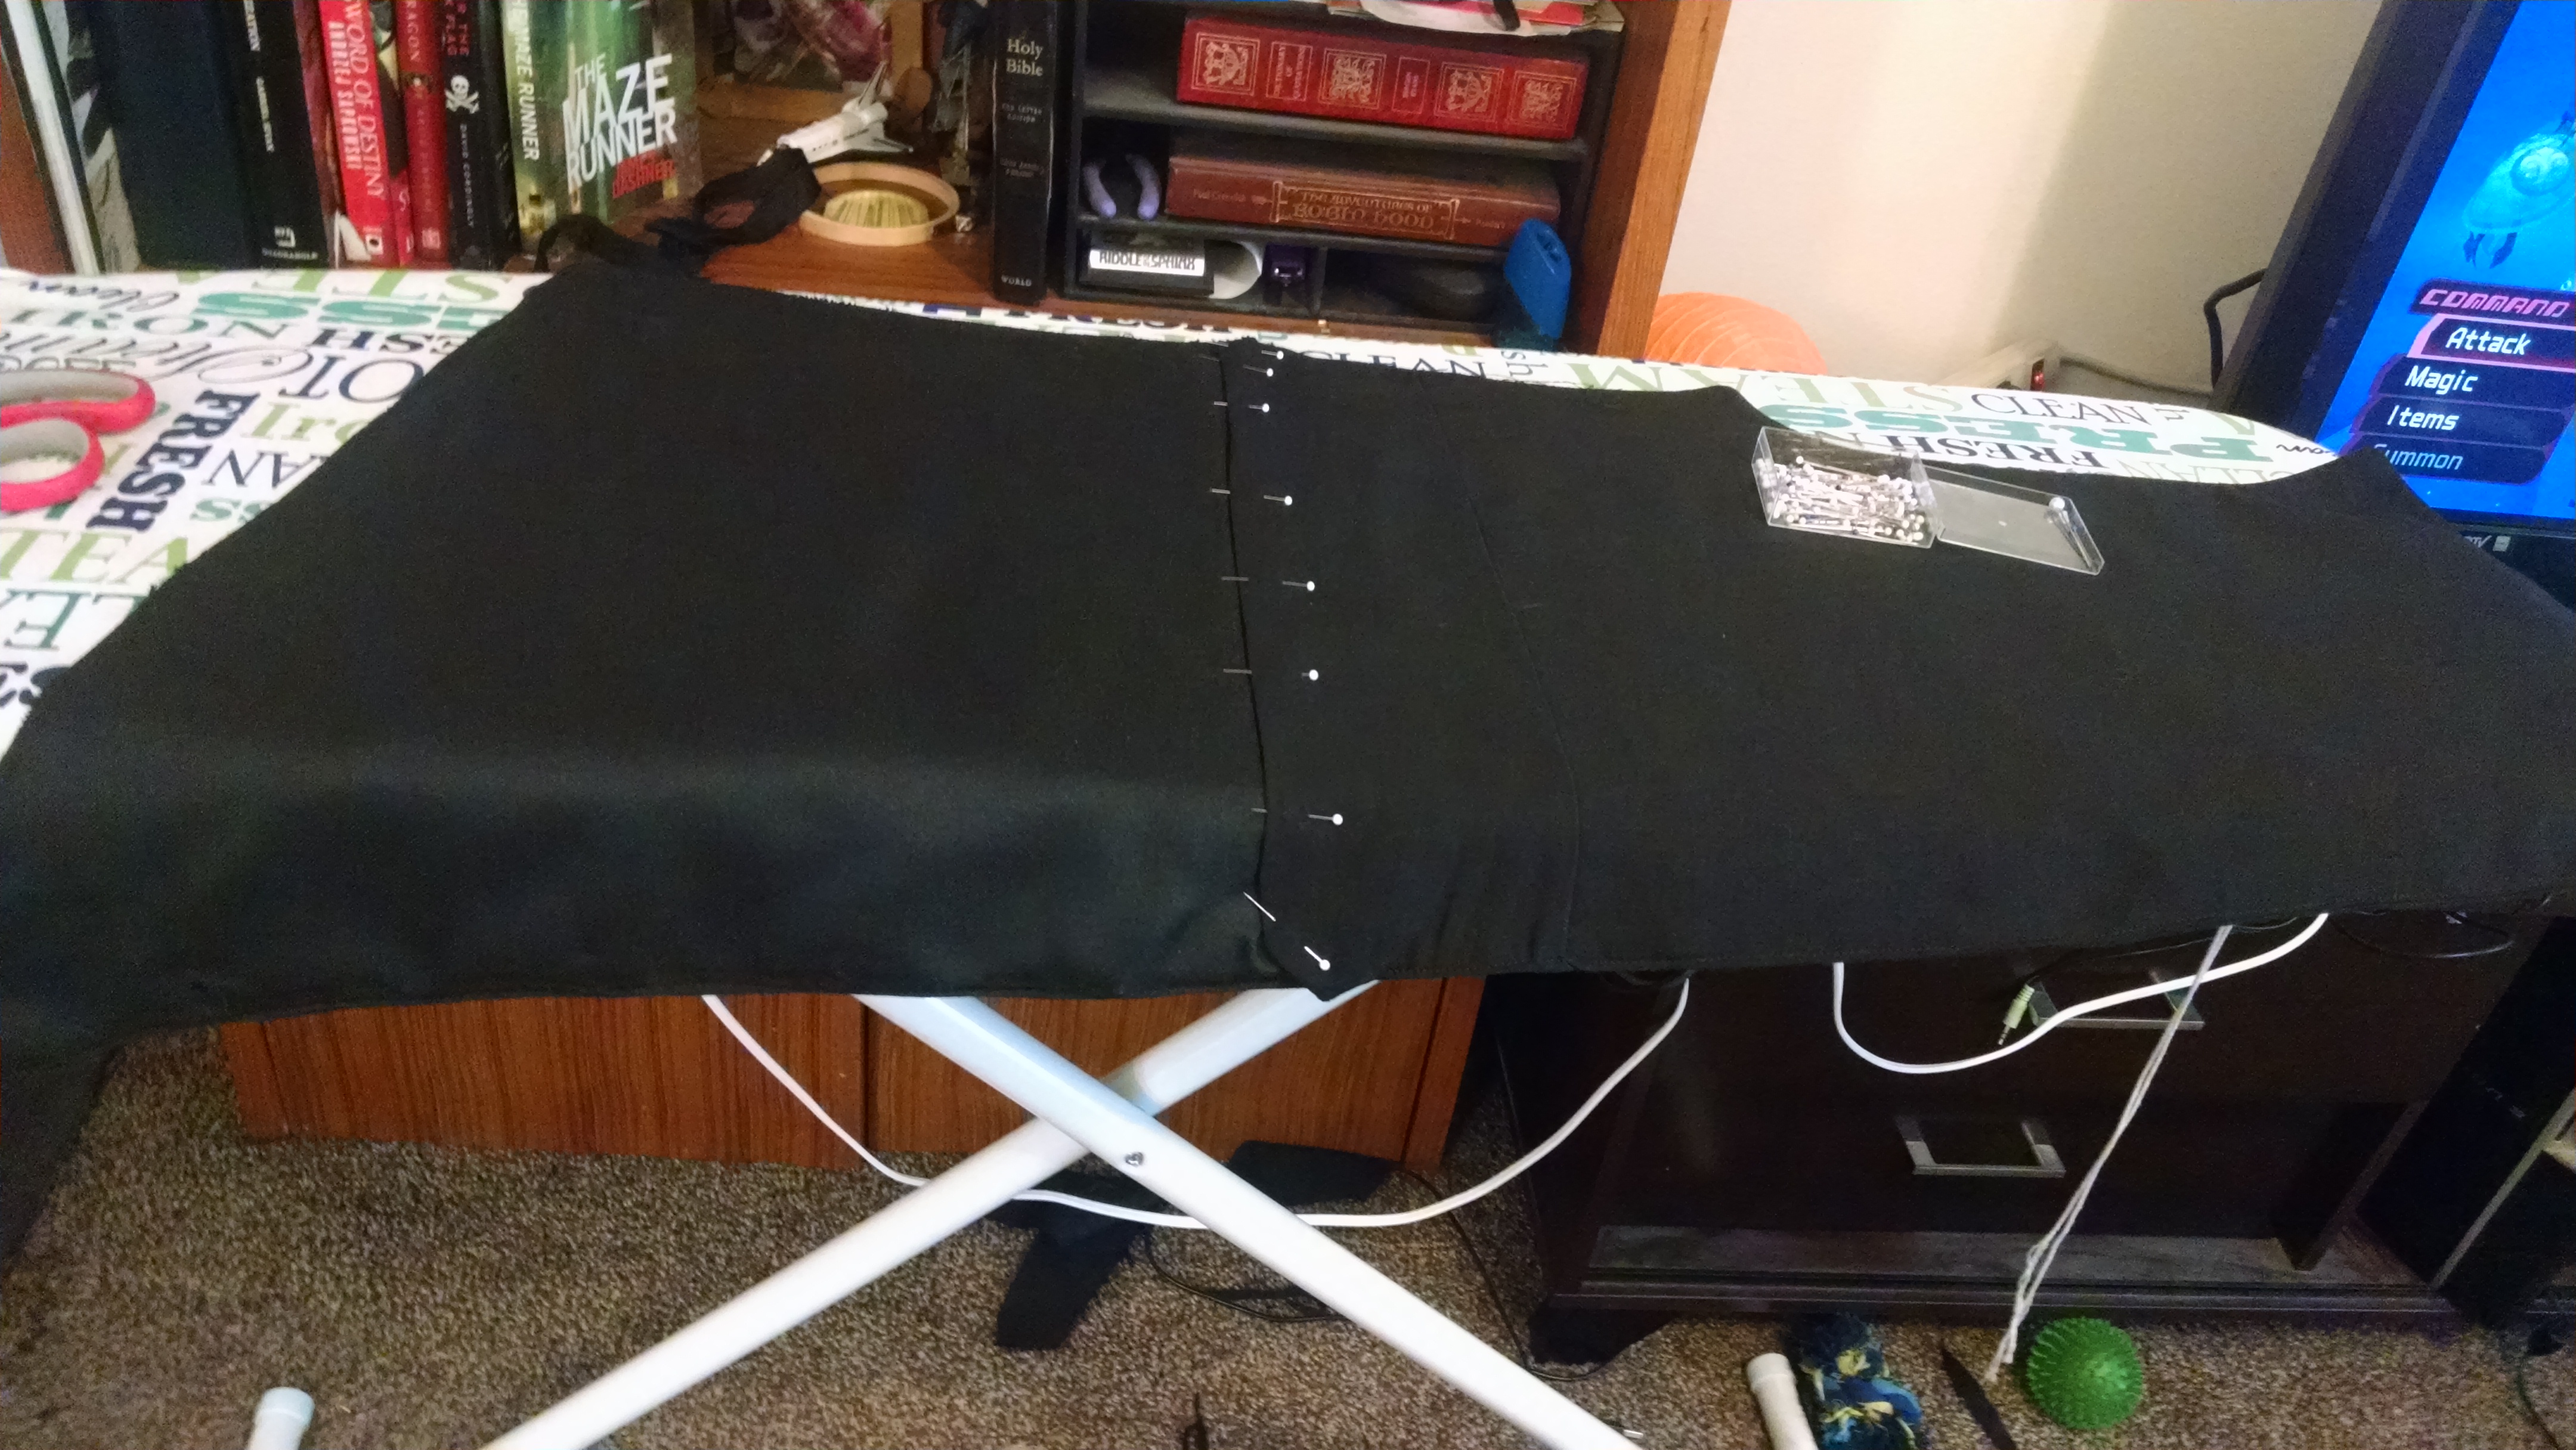
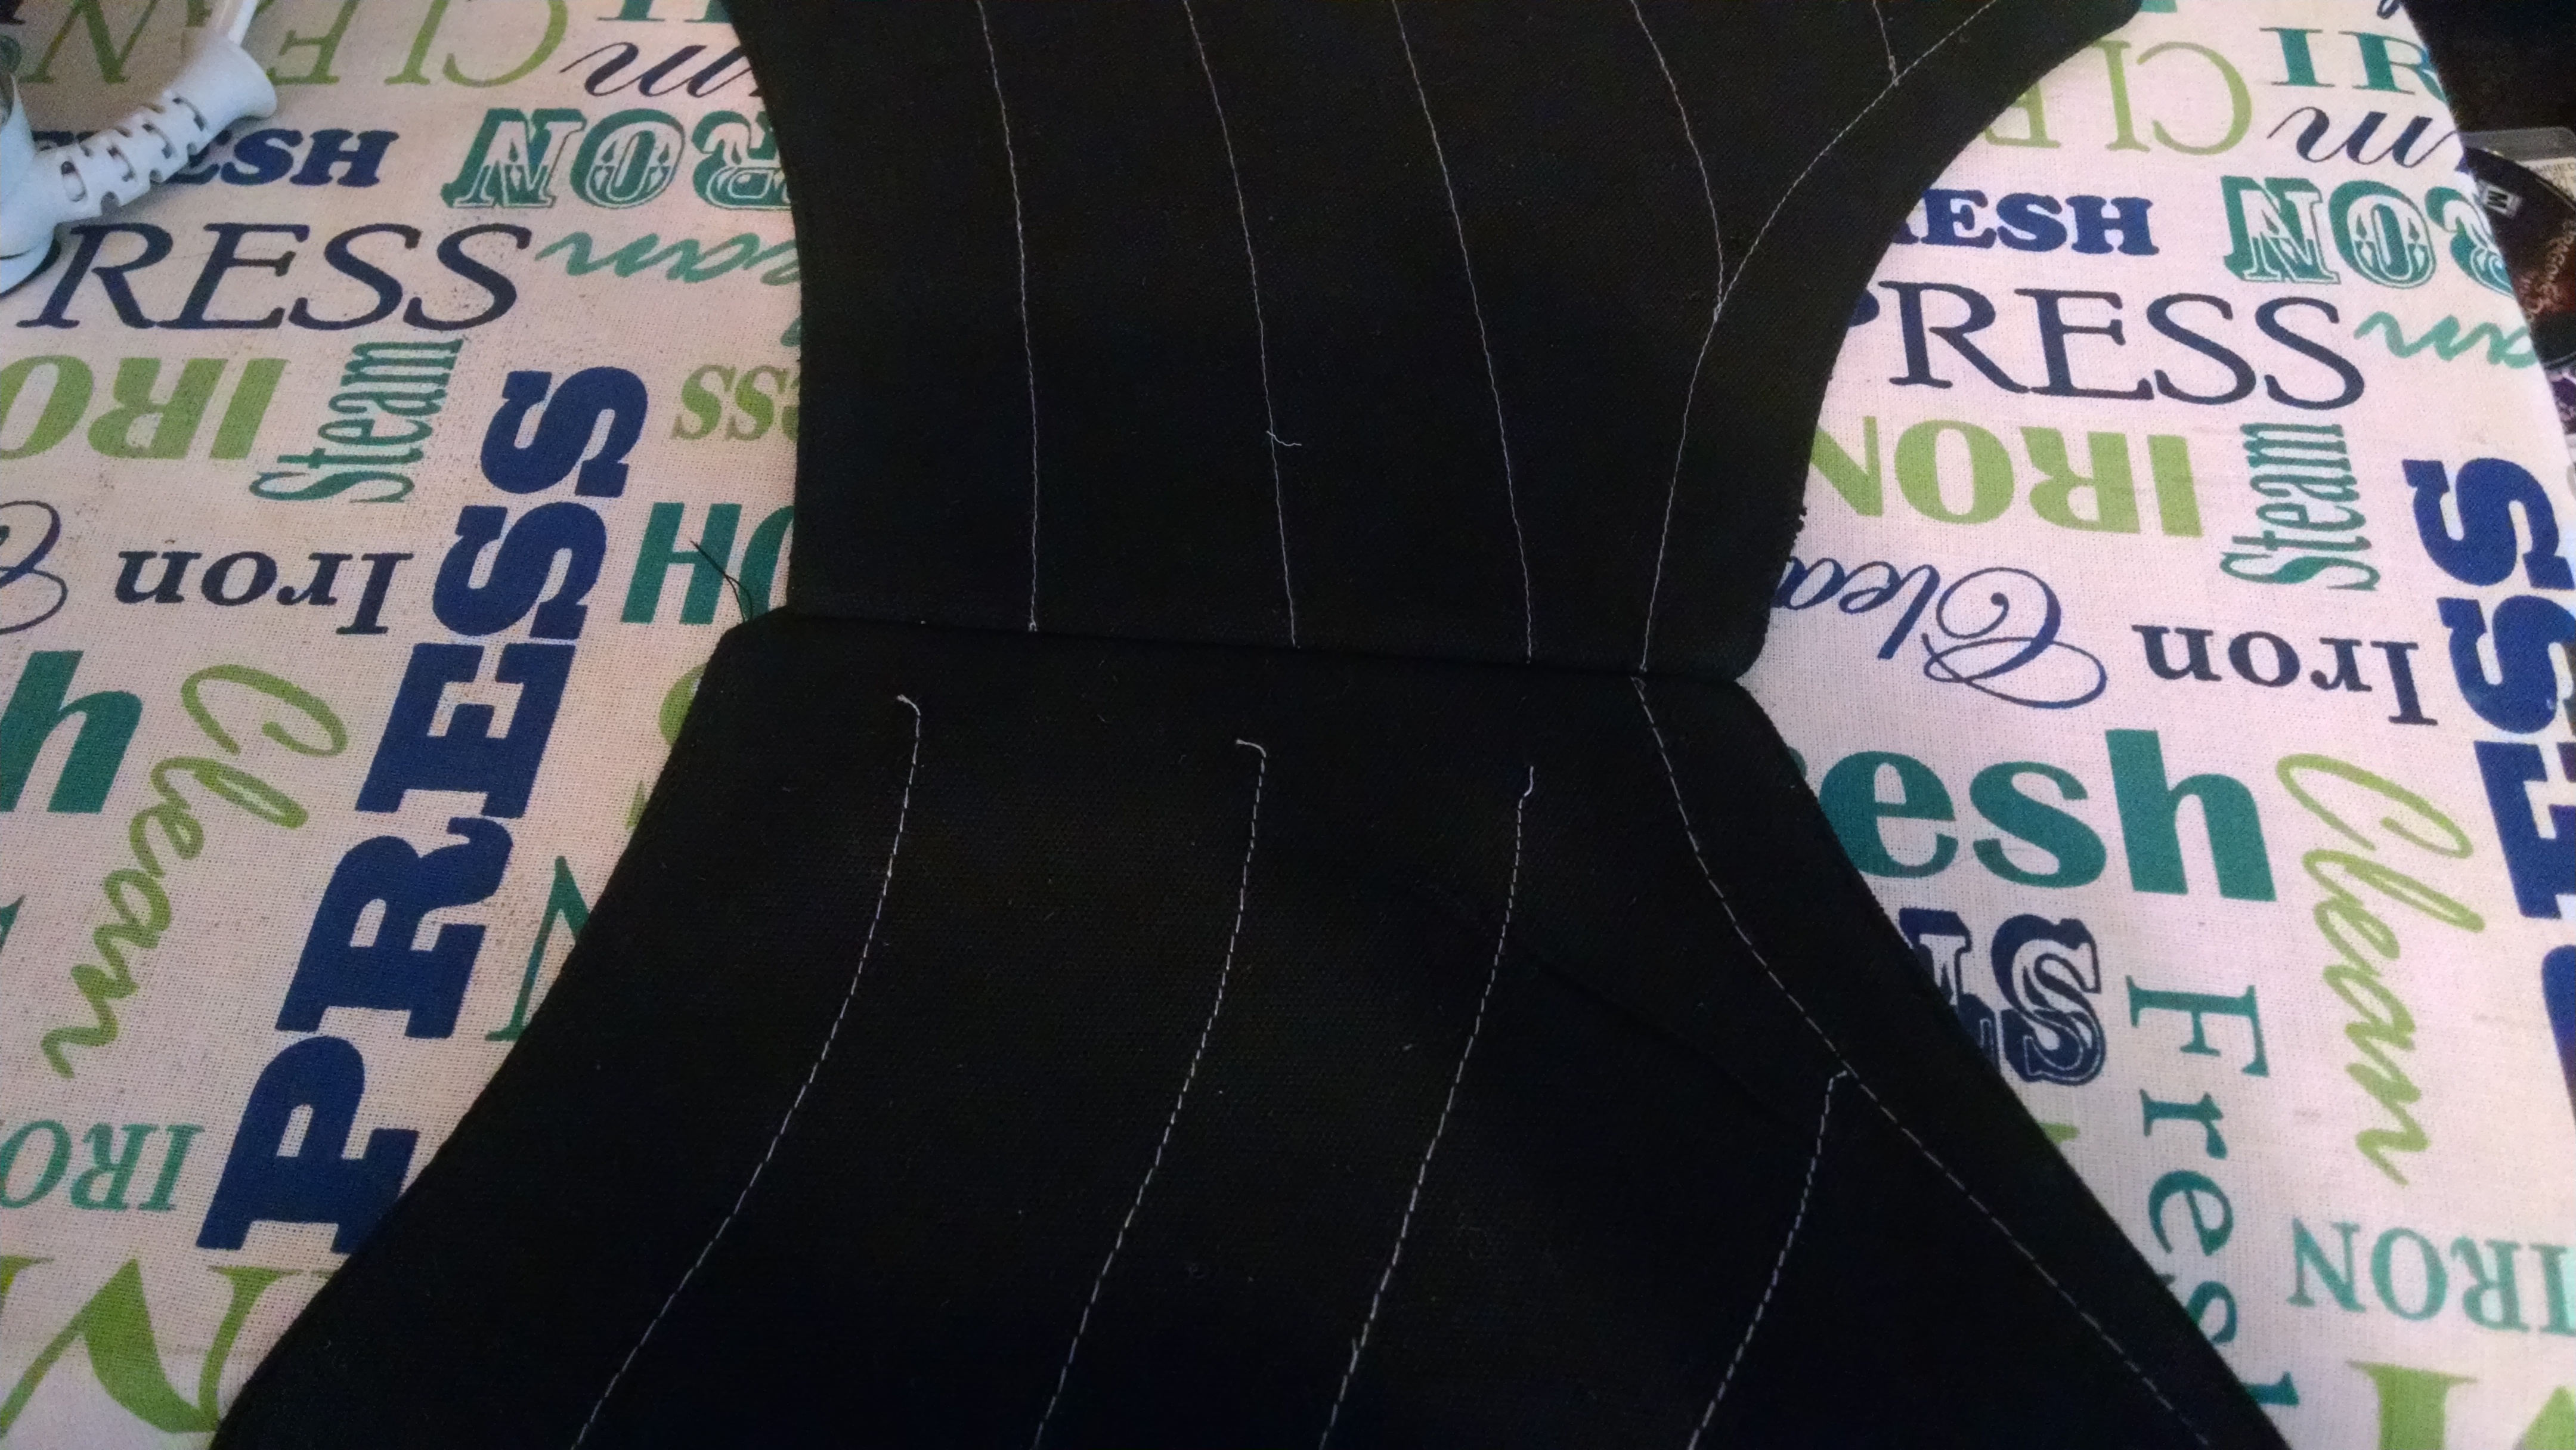
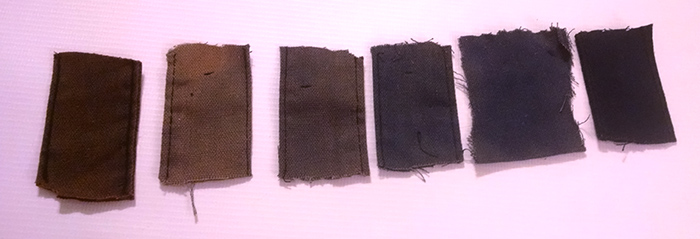
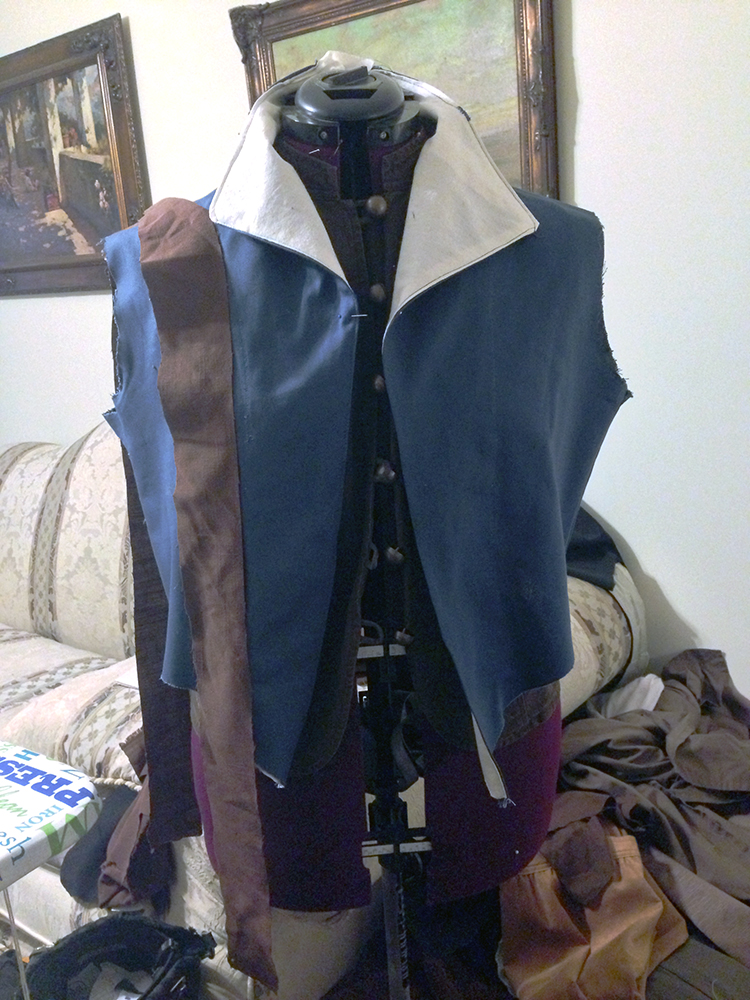
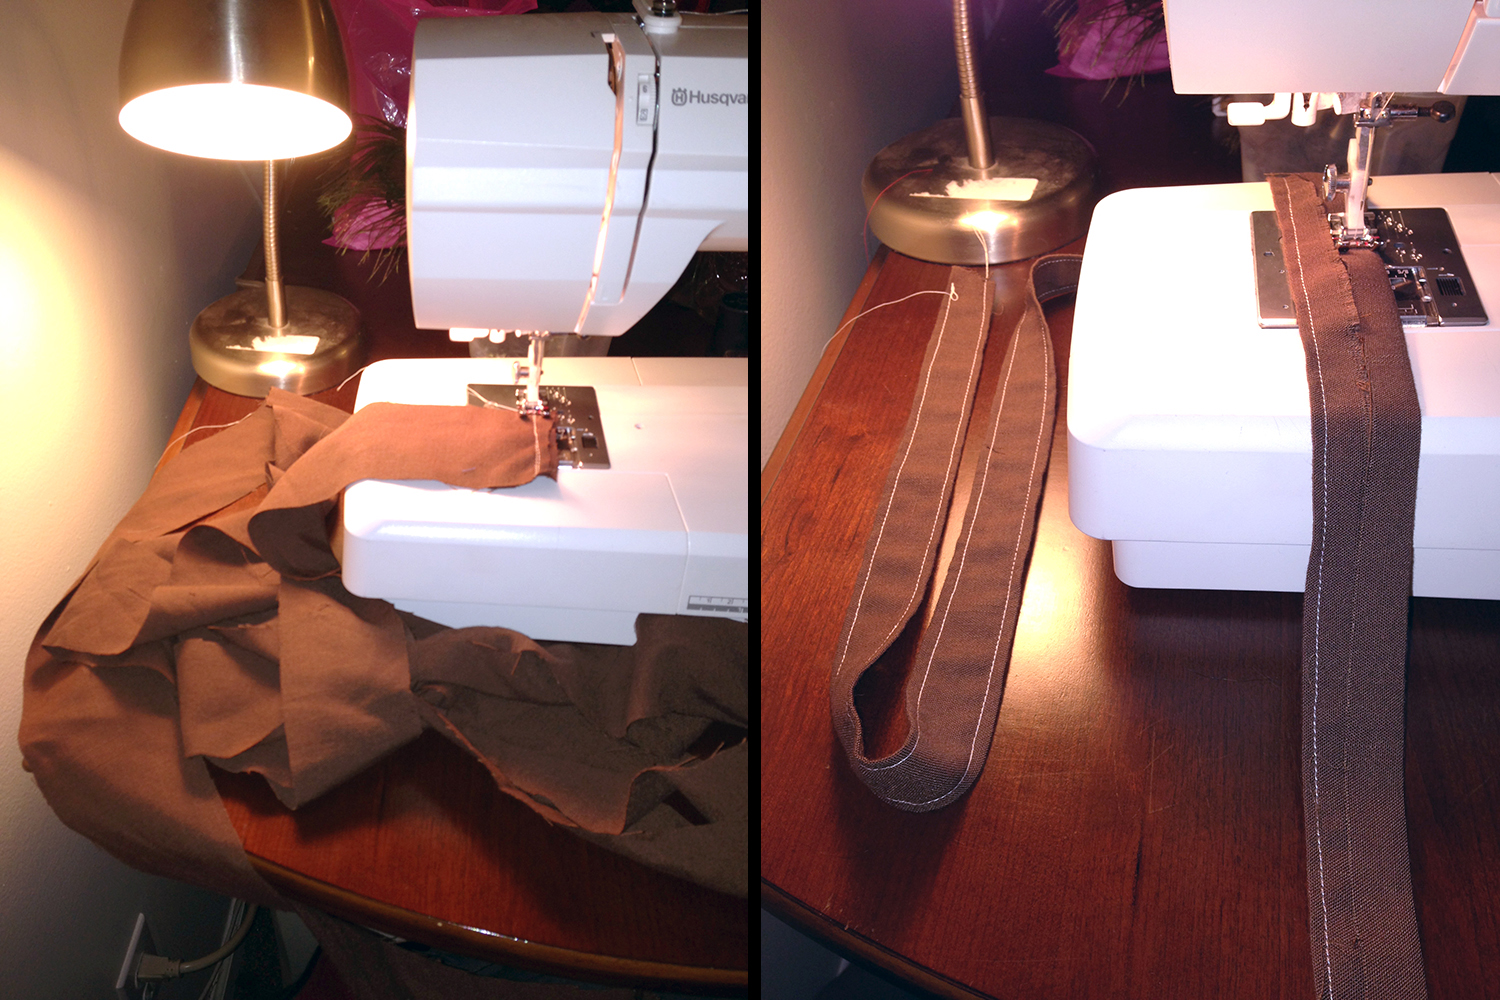
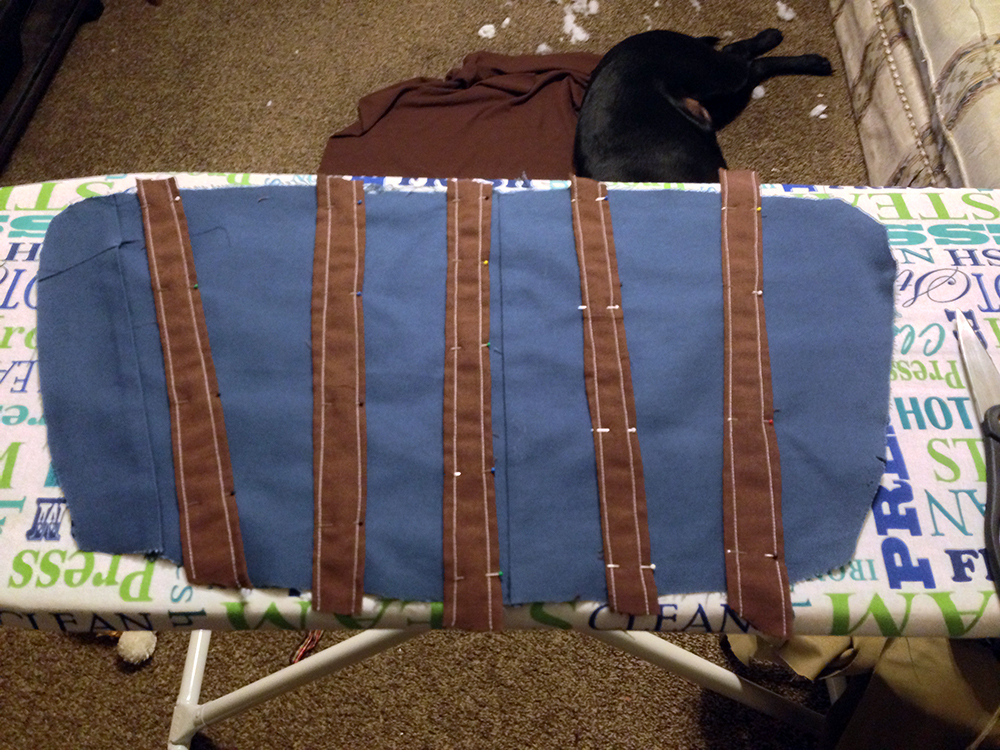
So between weathering sessions of the black fabric I bought yesterday, I worked mostly on this piece.

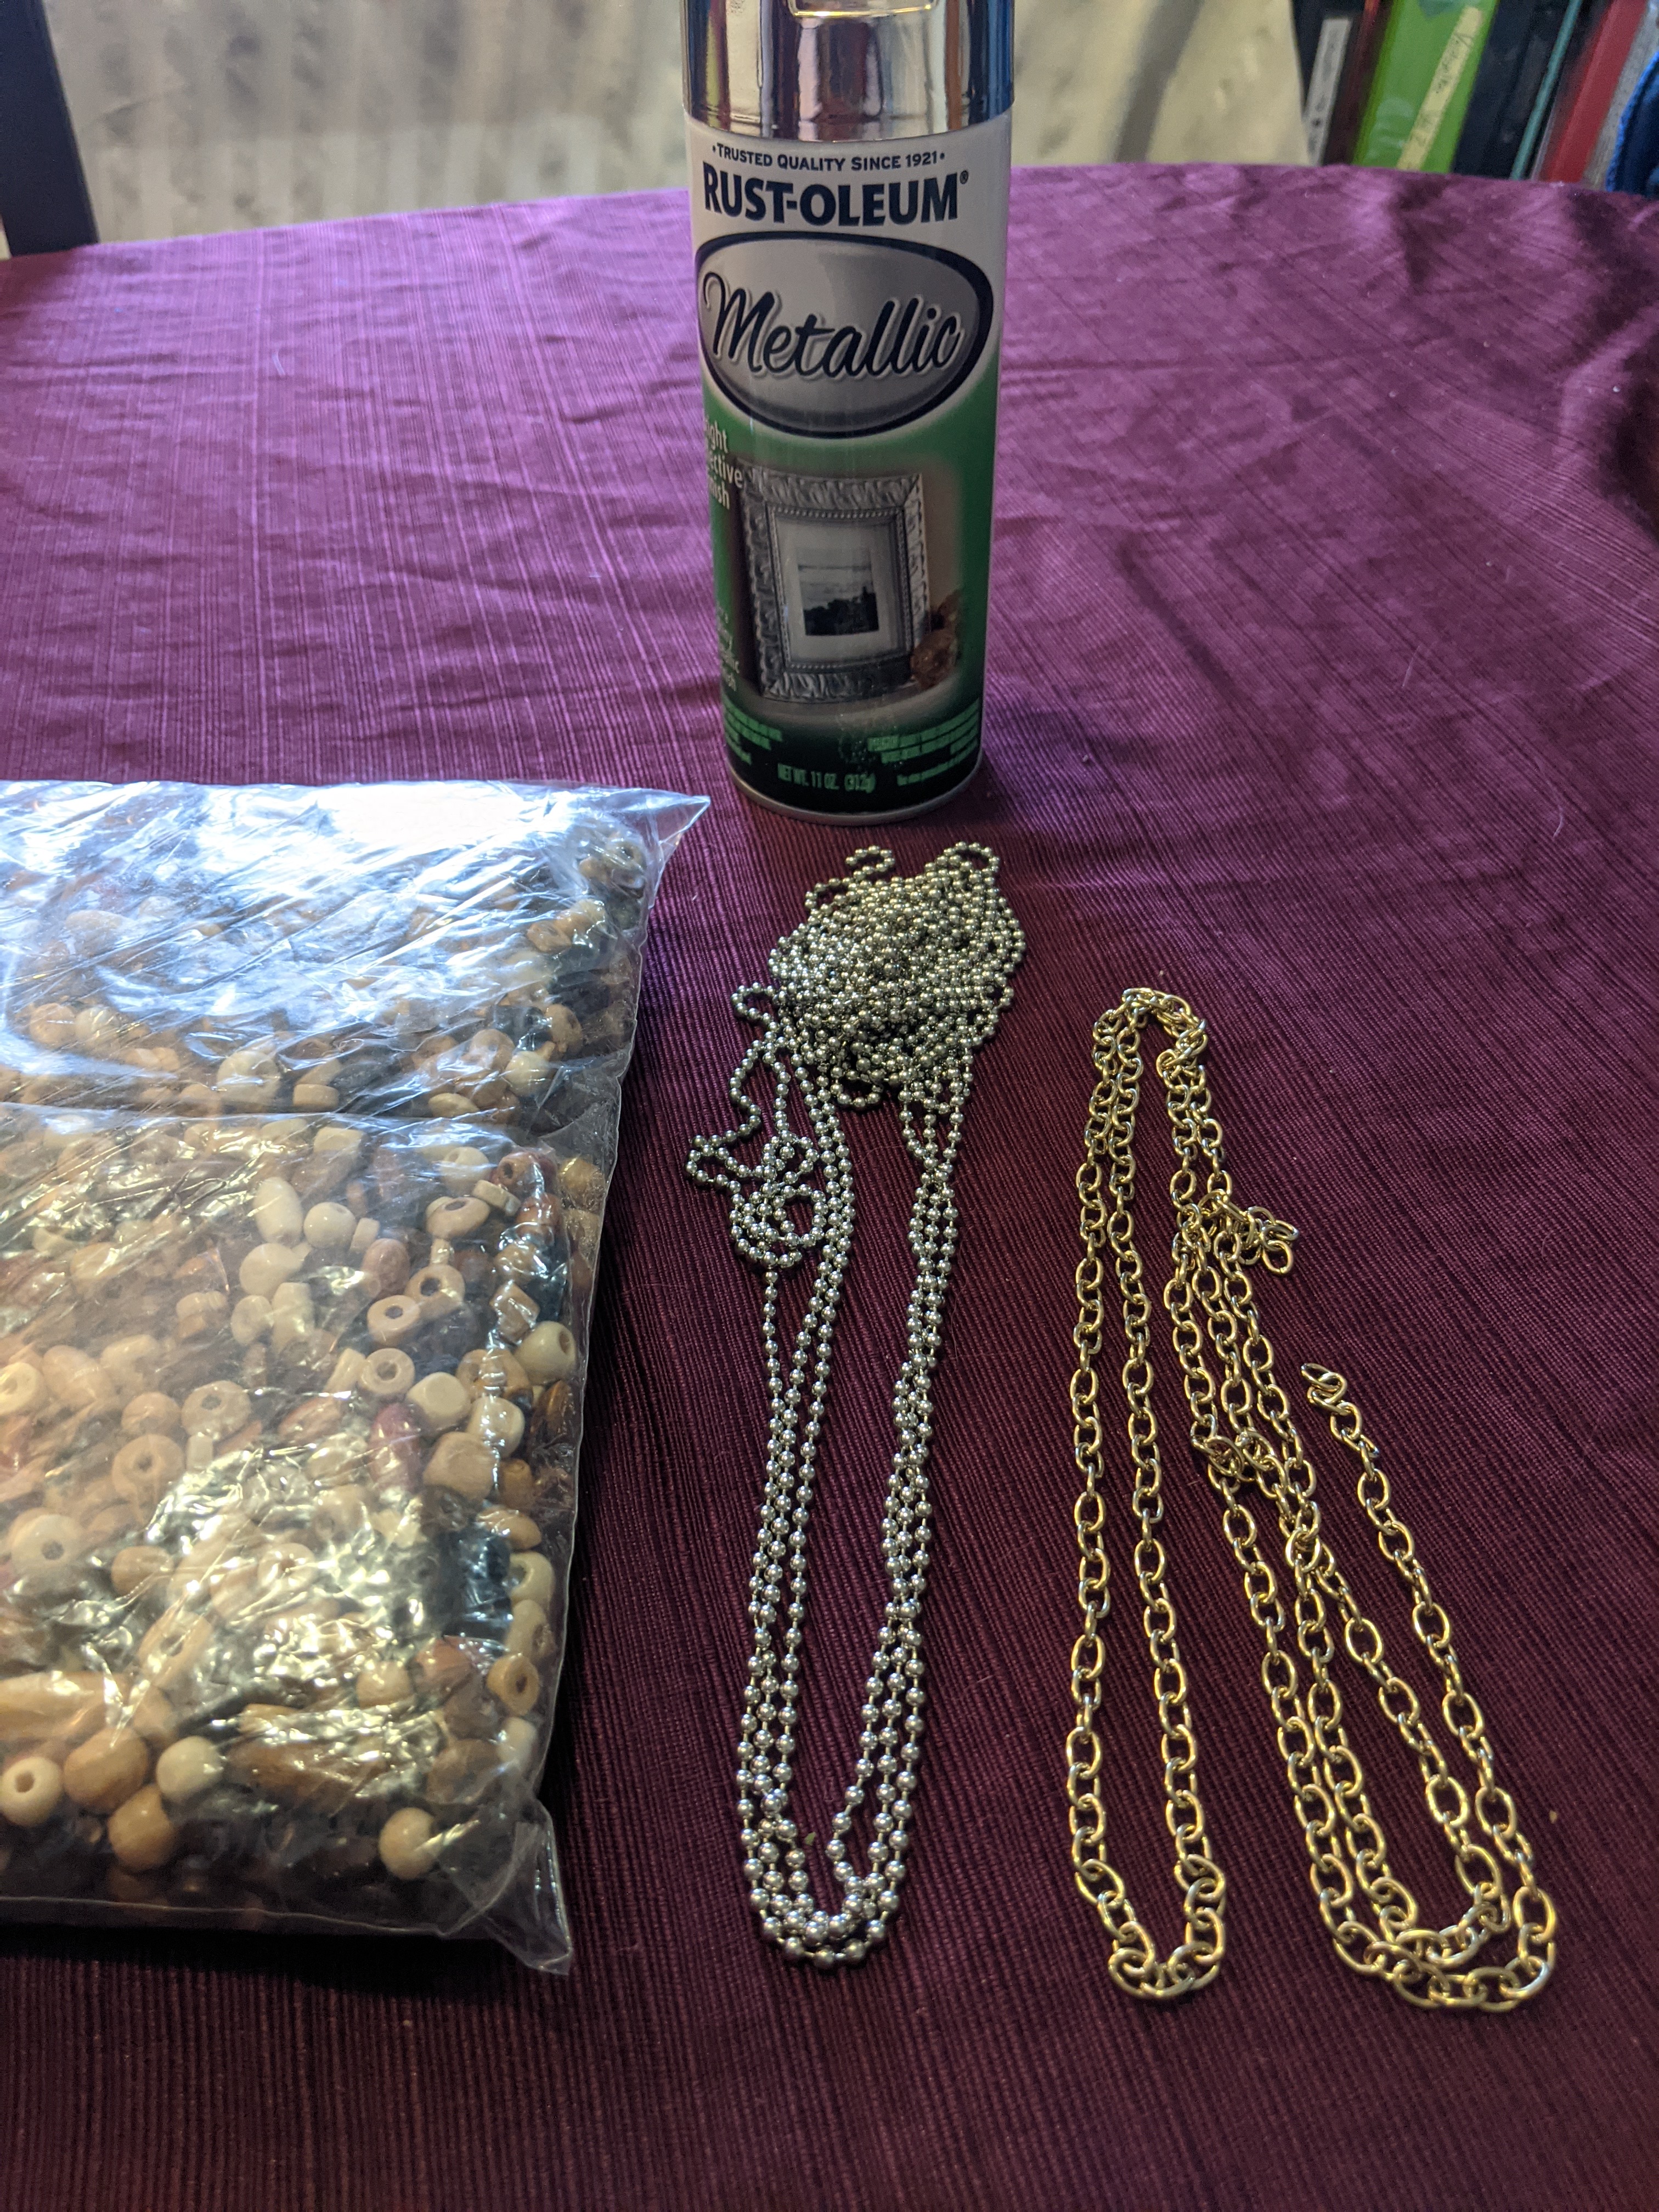
My pack of beads arrived today. I bought this pack from Amazon. I swear I saw bead packets the size of each half of this being sold for $20 each at the craft stores yesterday.

Ceidilis 2000 Pcs Printed Wooden Beads

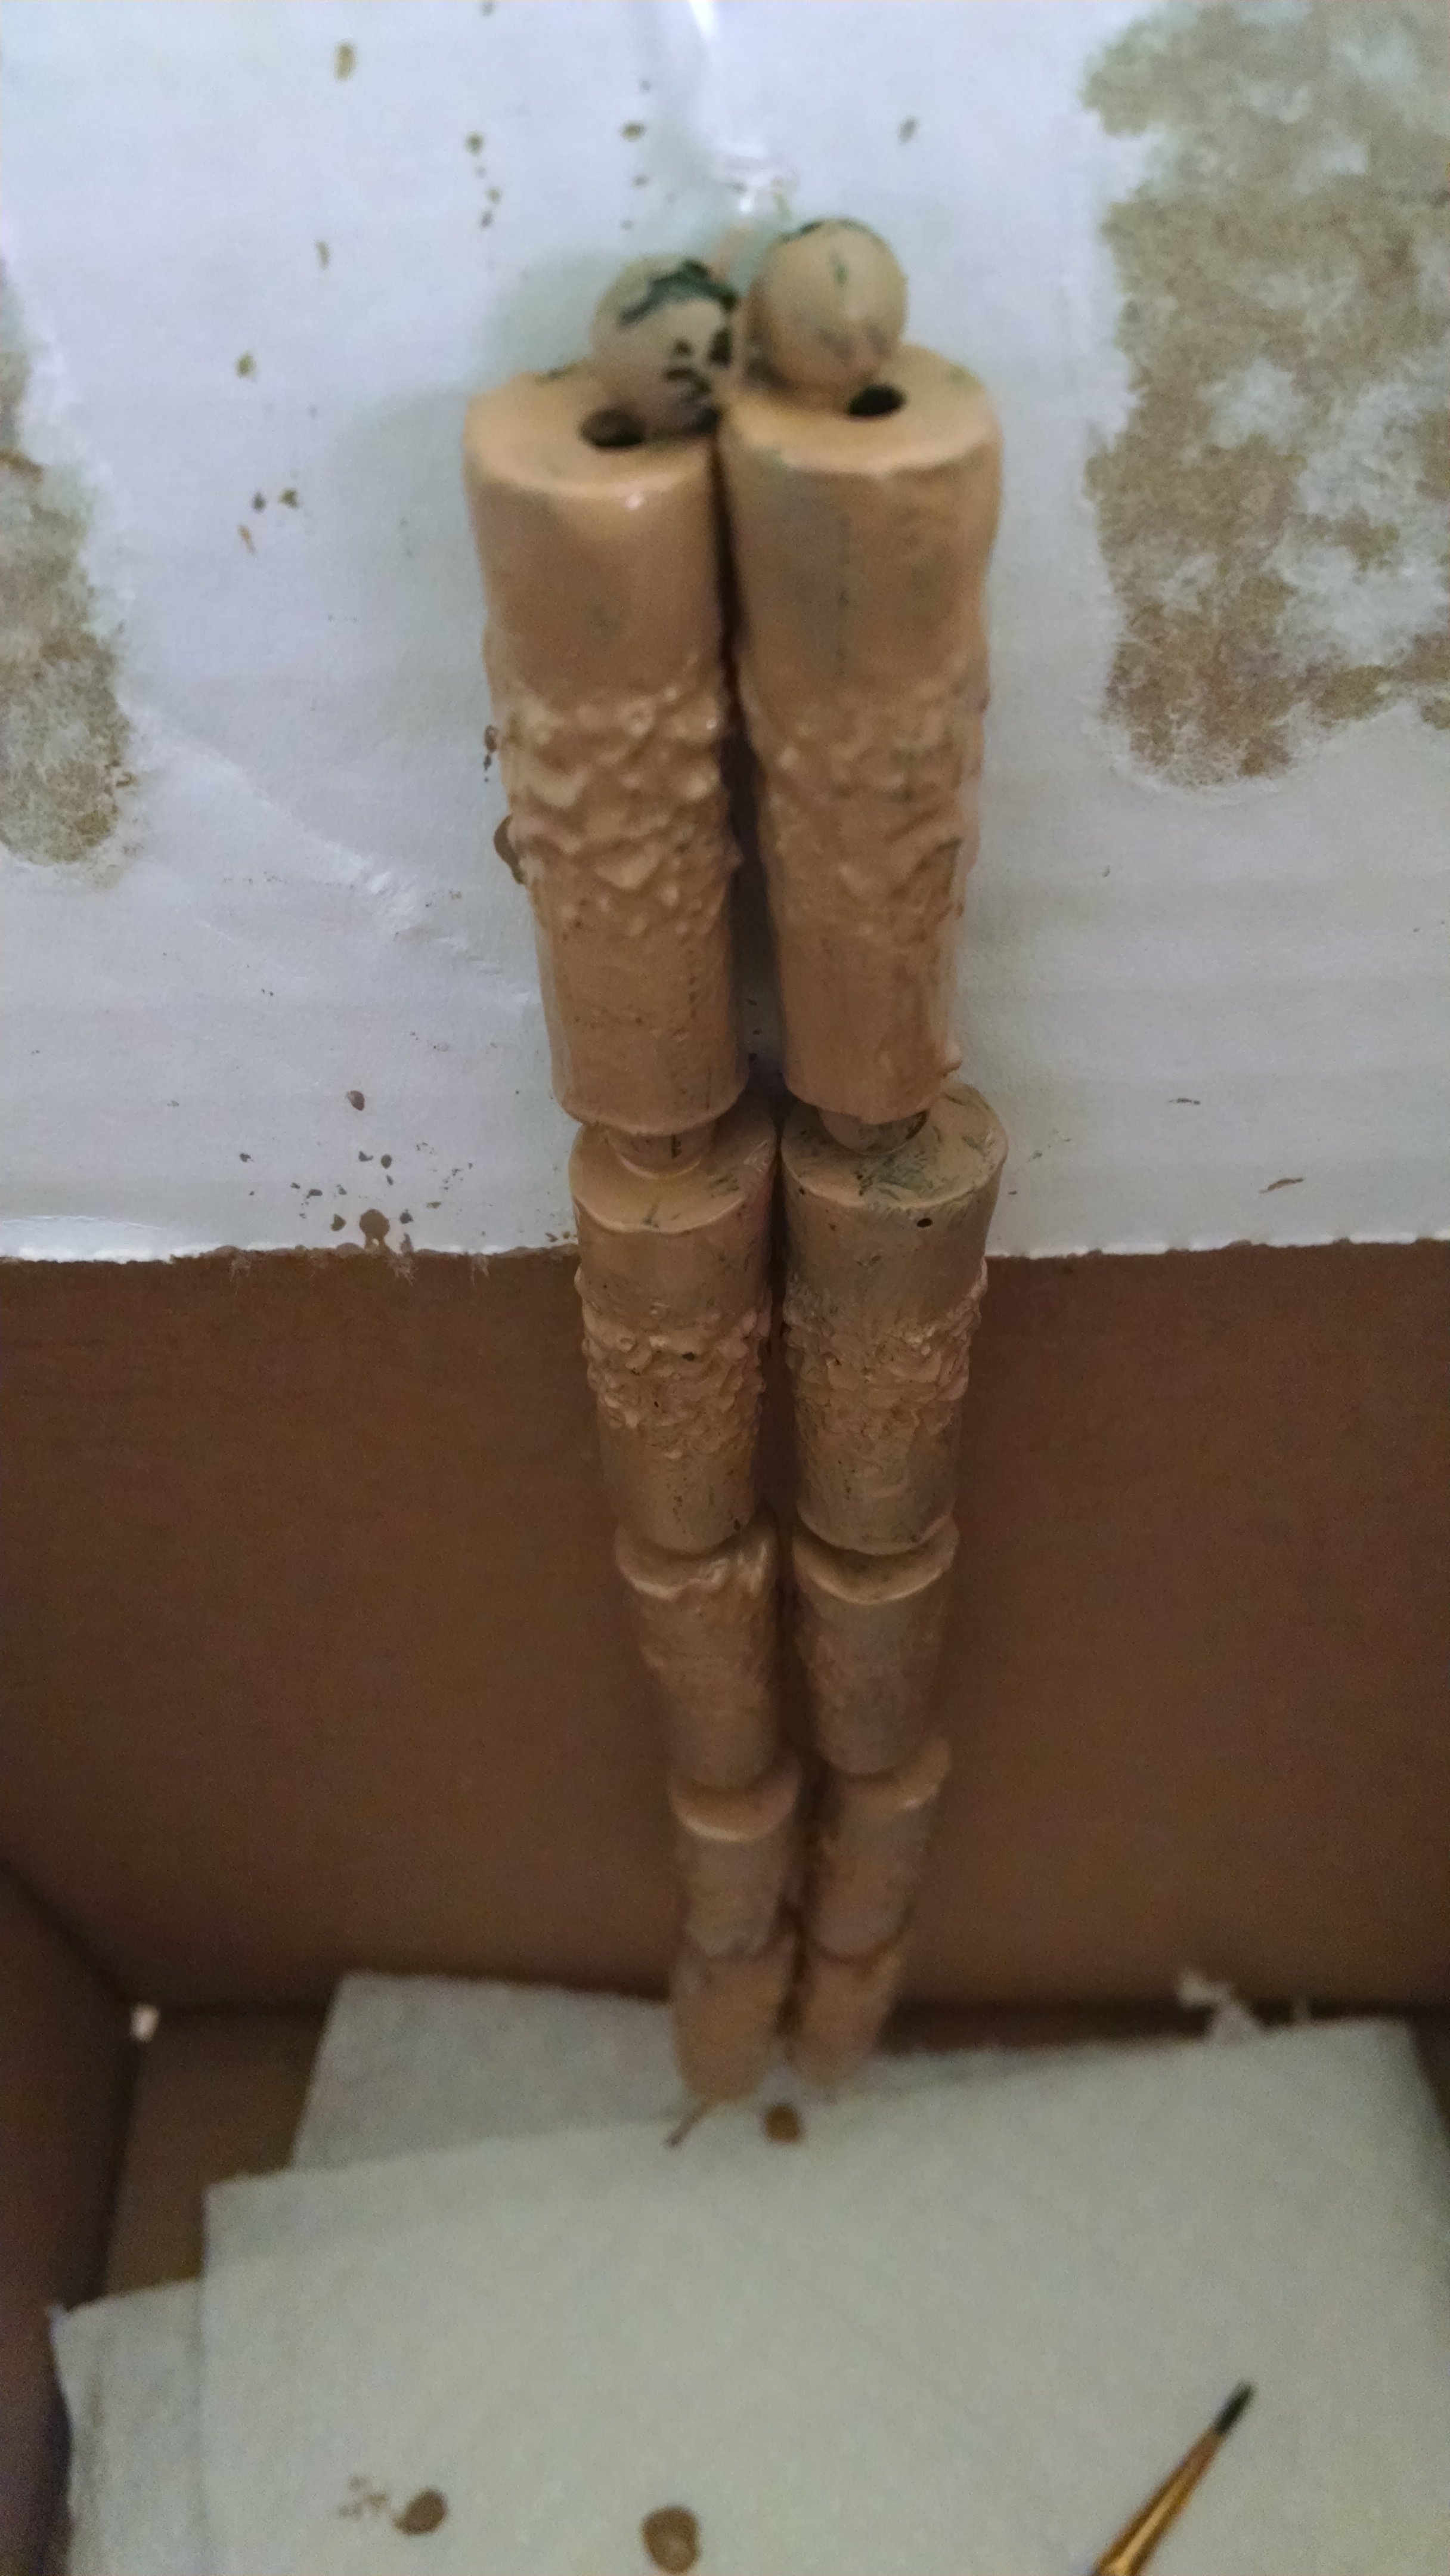
After studying the reference photos above, I noticed that I was going to need some small gold chain and also a few yards of “beaded pull chain” (the cords that hang from your ceiling lights and fans). Thankfully, these are easily and cheaply found at your local hardware store. Mine only had silver beaded pull chain, so I got some gold spray paint to go with it. Though this meant that I was going to have to use today to spray paint the chain instead of doing any assembly work. I bought 15 feet of the beaded pull chain (at $0.67/foot) and four feet of the small gold chain (at $1.47/foot). For the paint, I used Rust-Oleum Metallic Gold spray paint. I ended up using two coats.

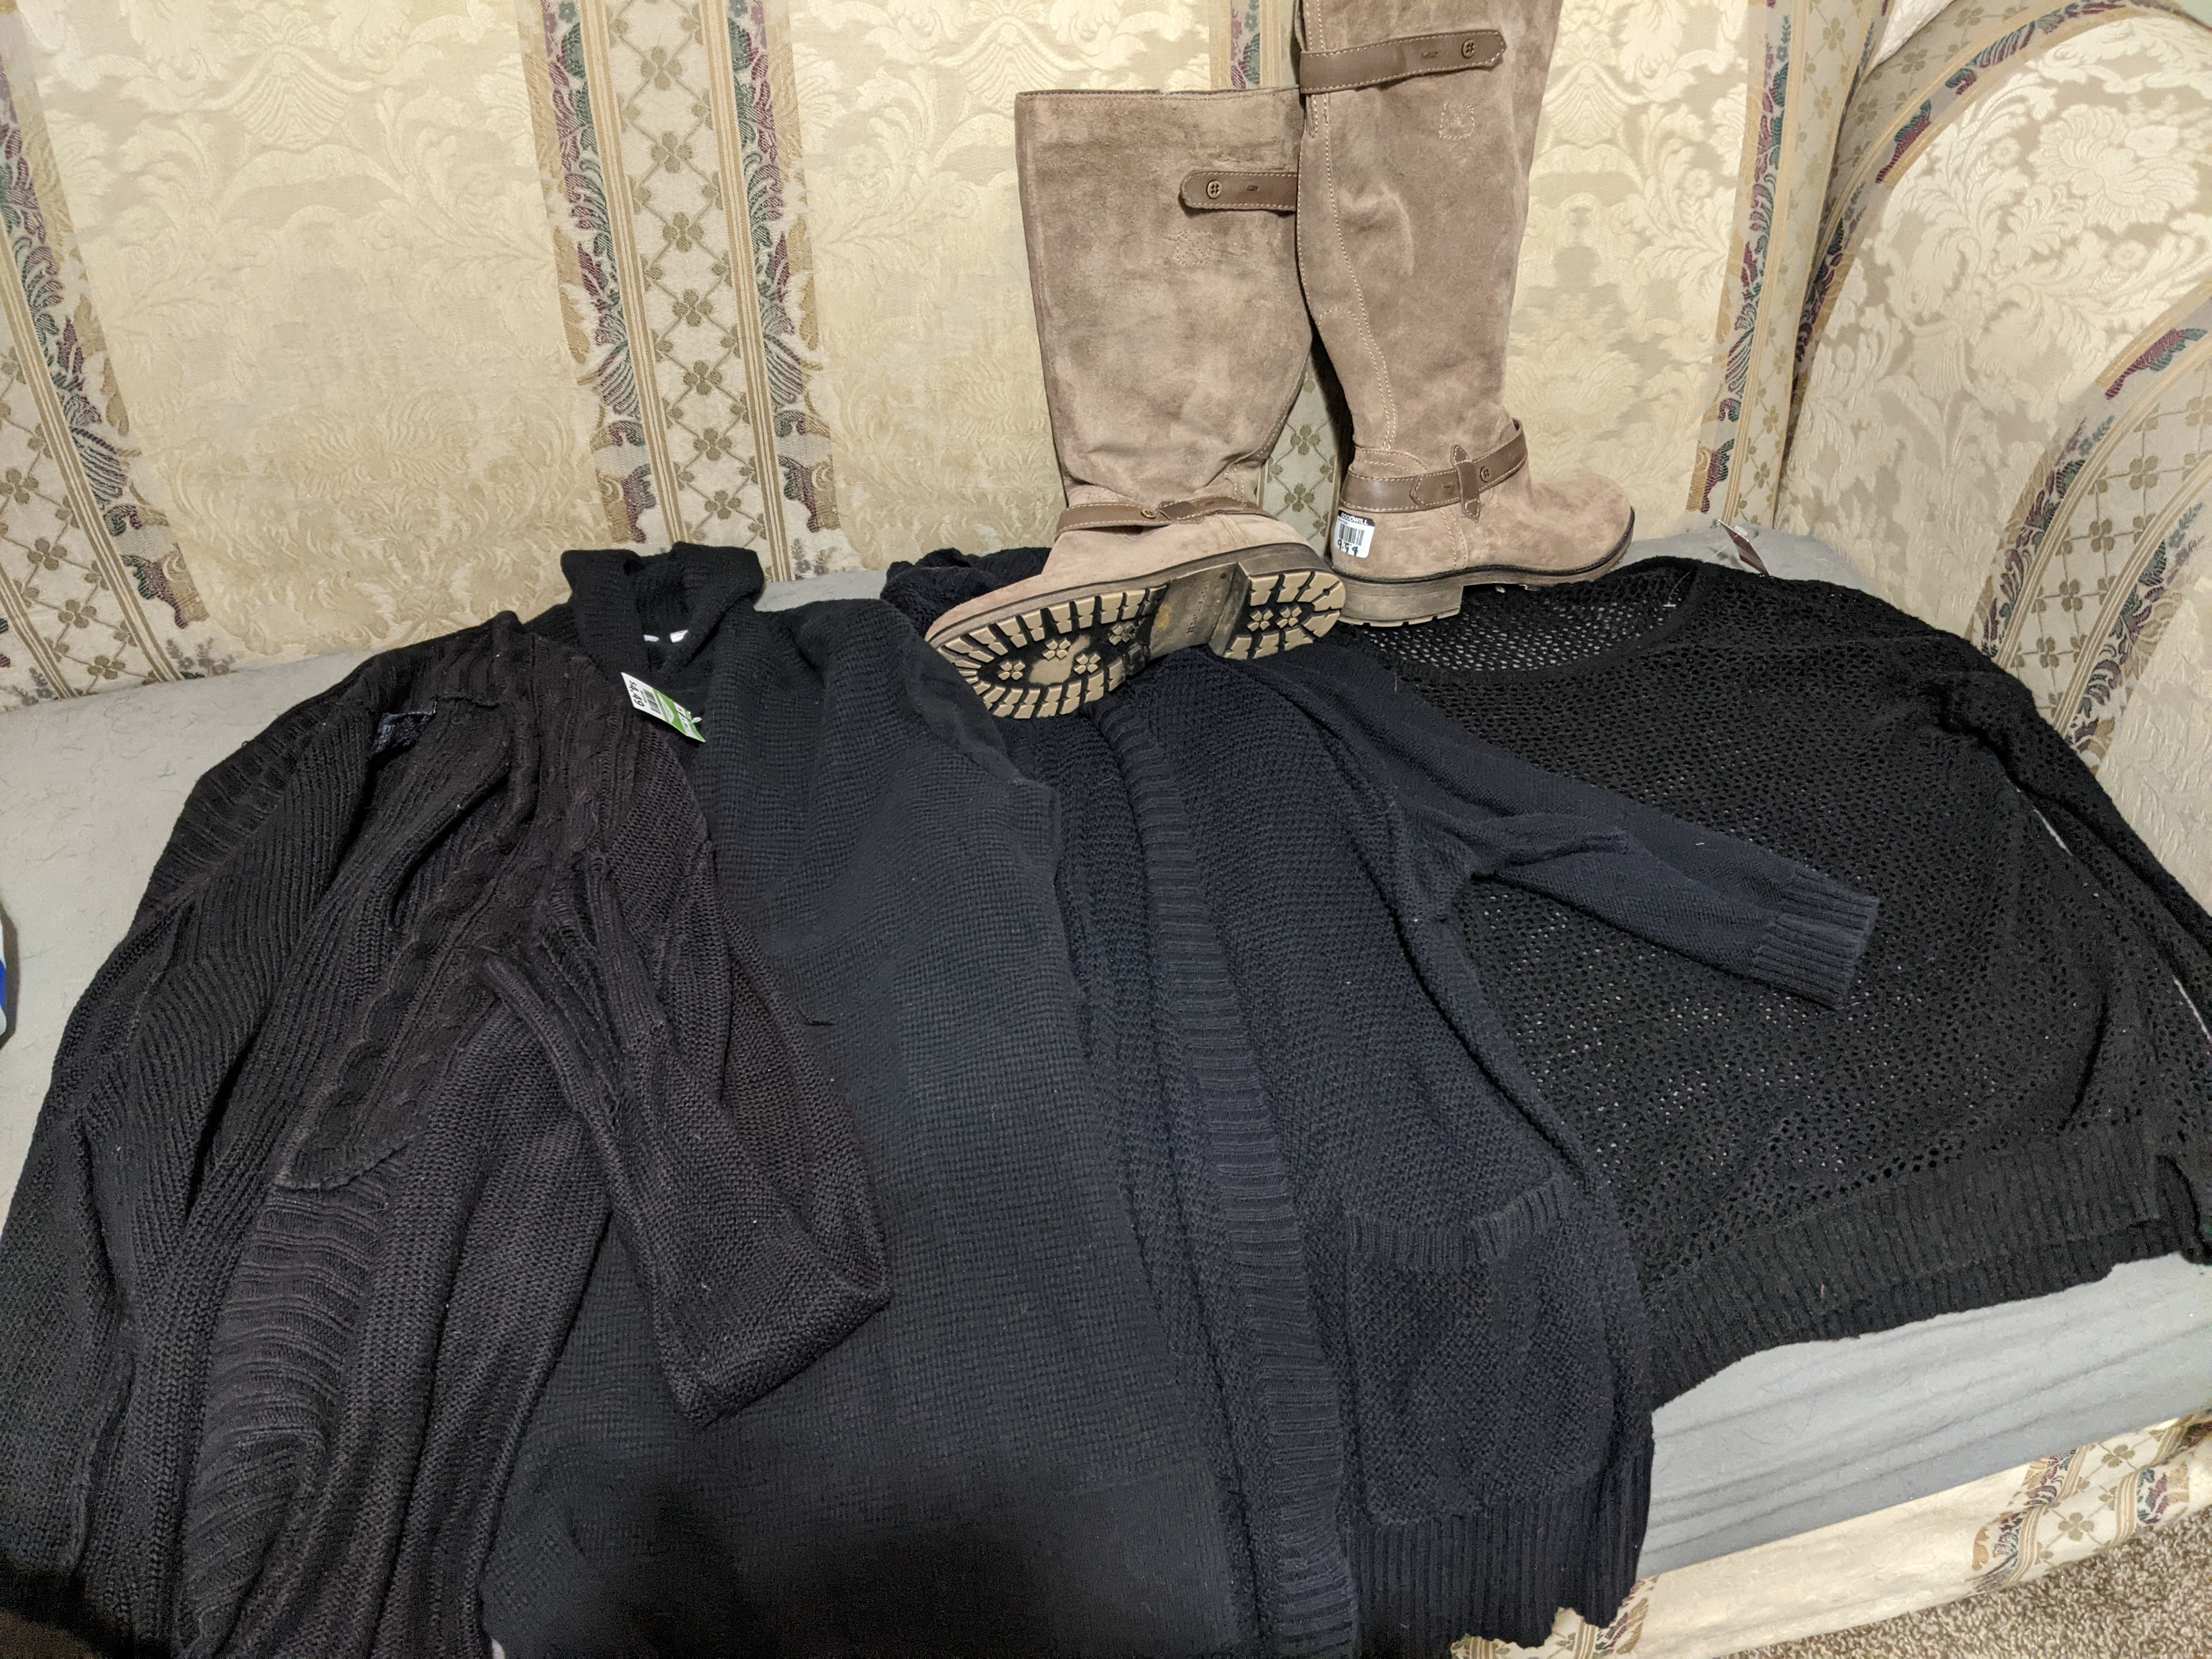
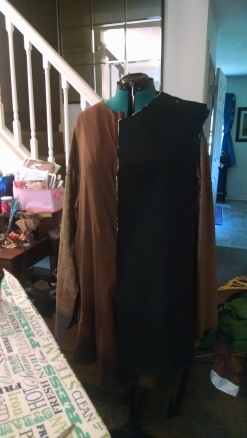
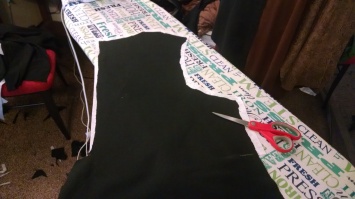
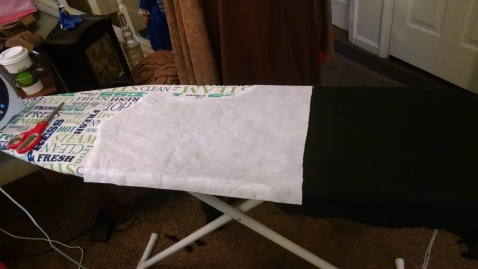
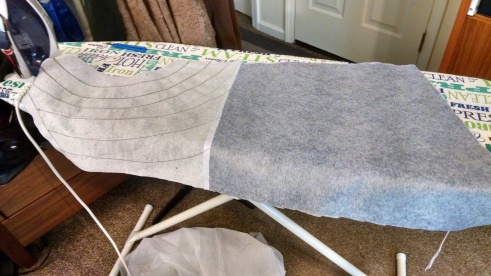
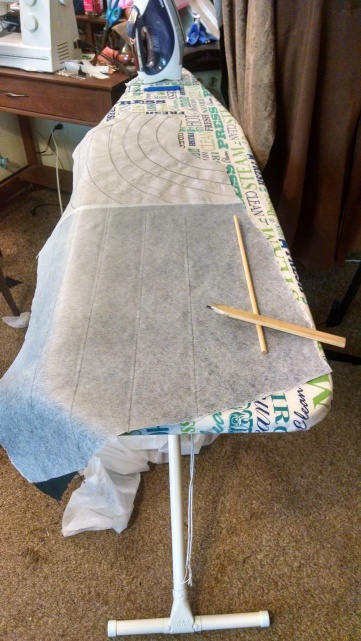
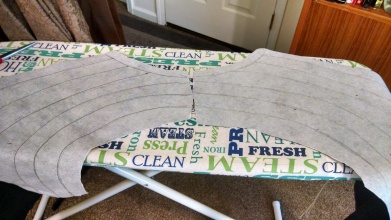
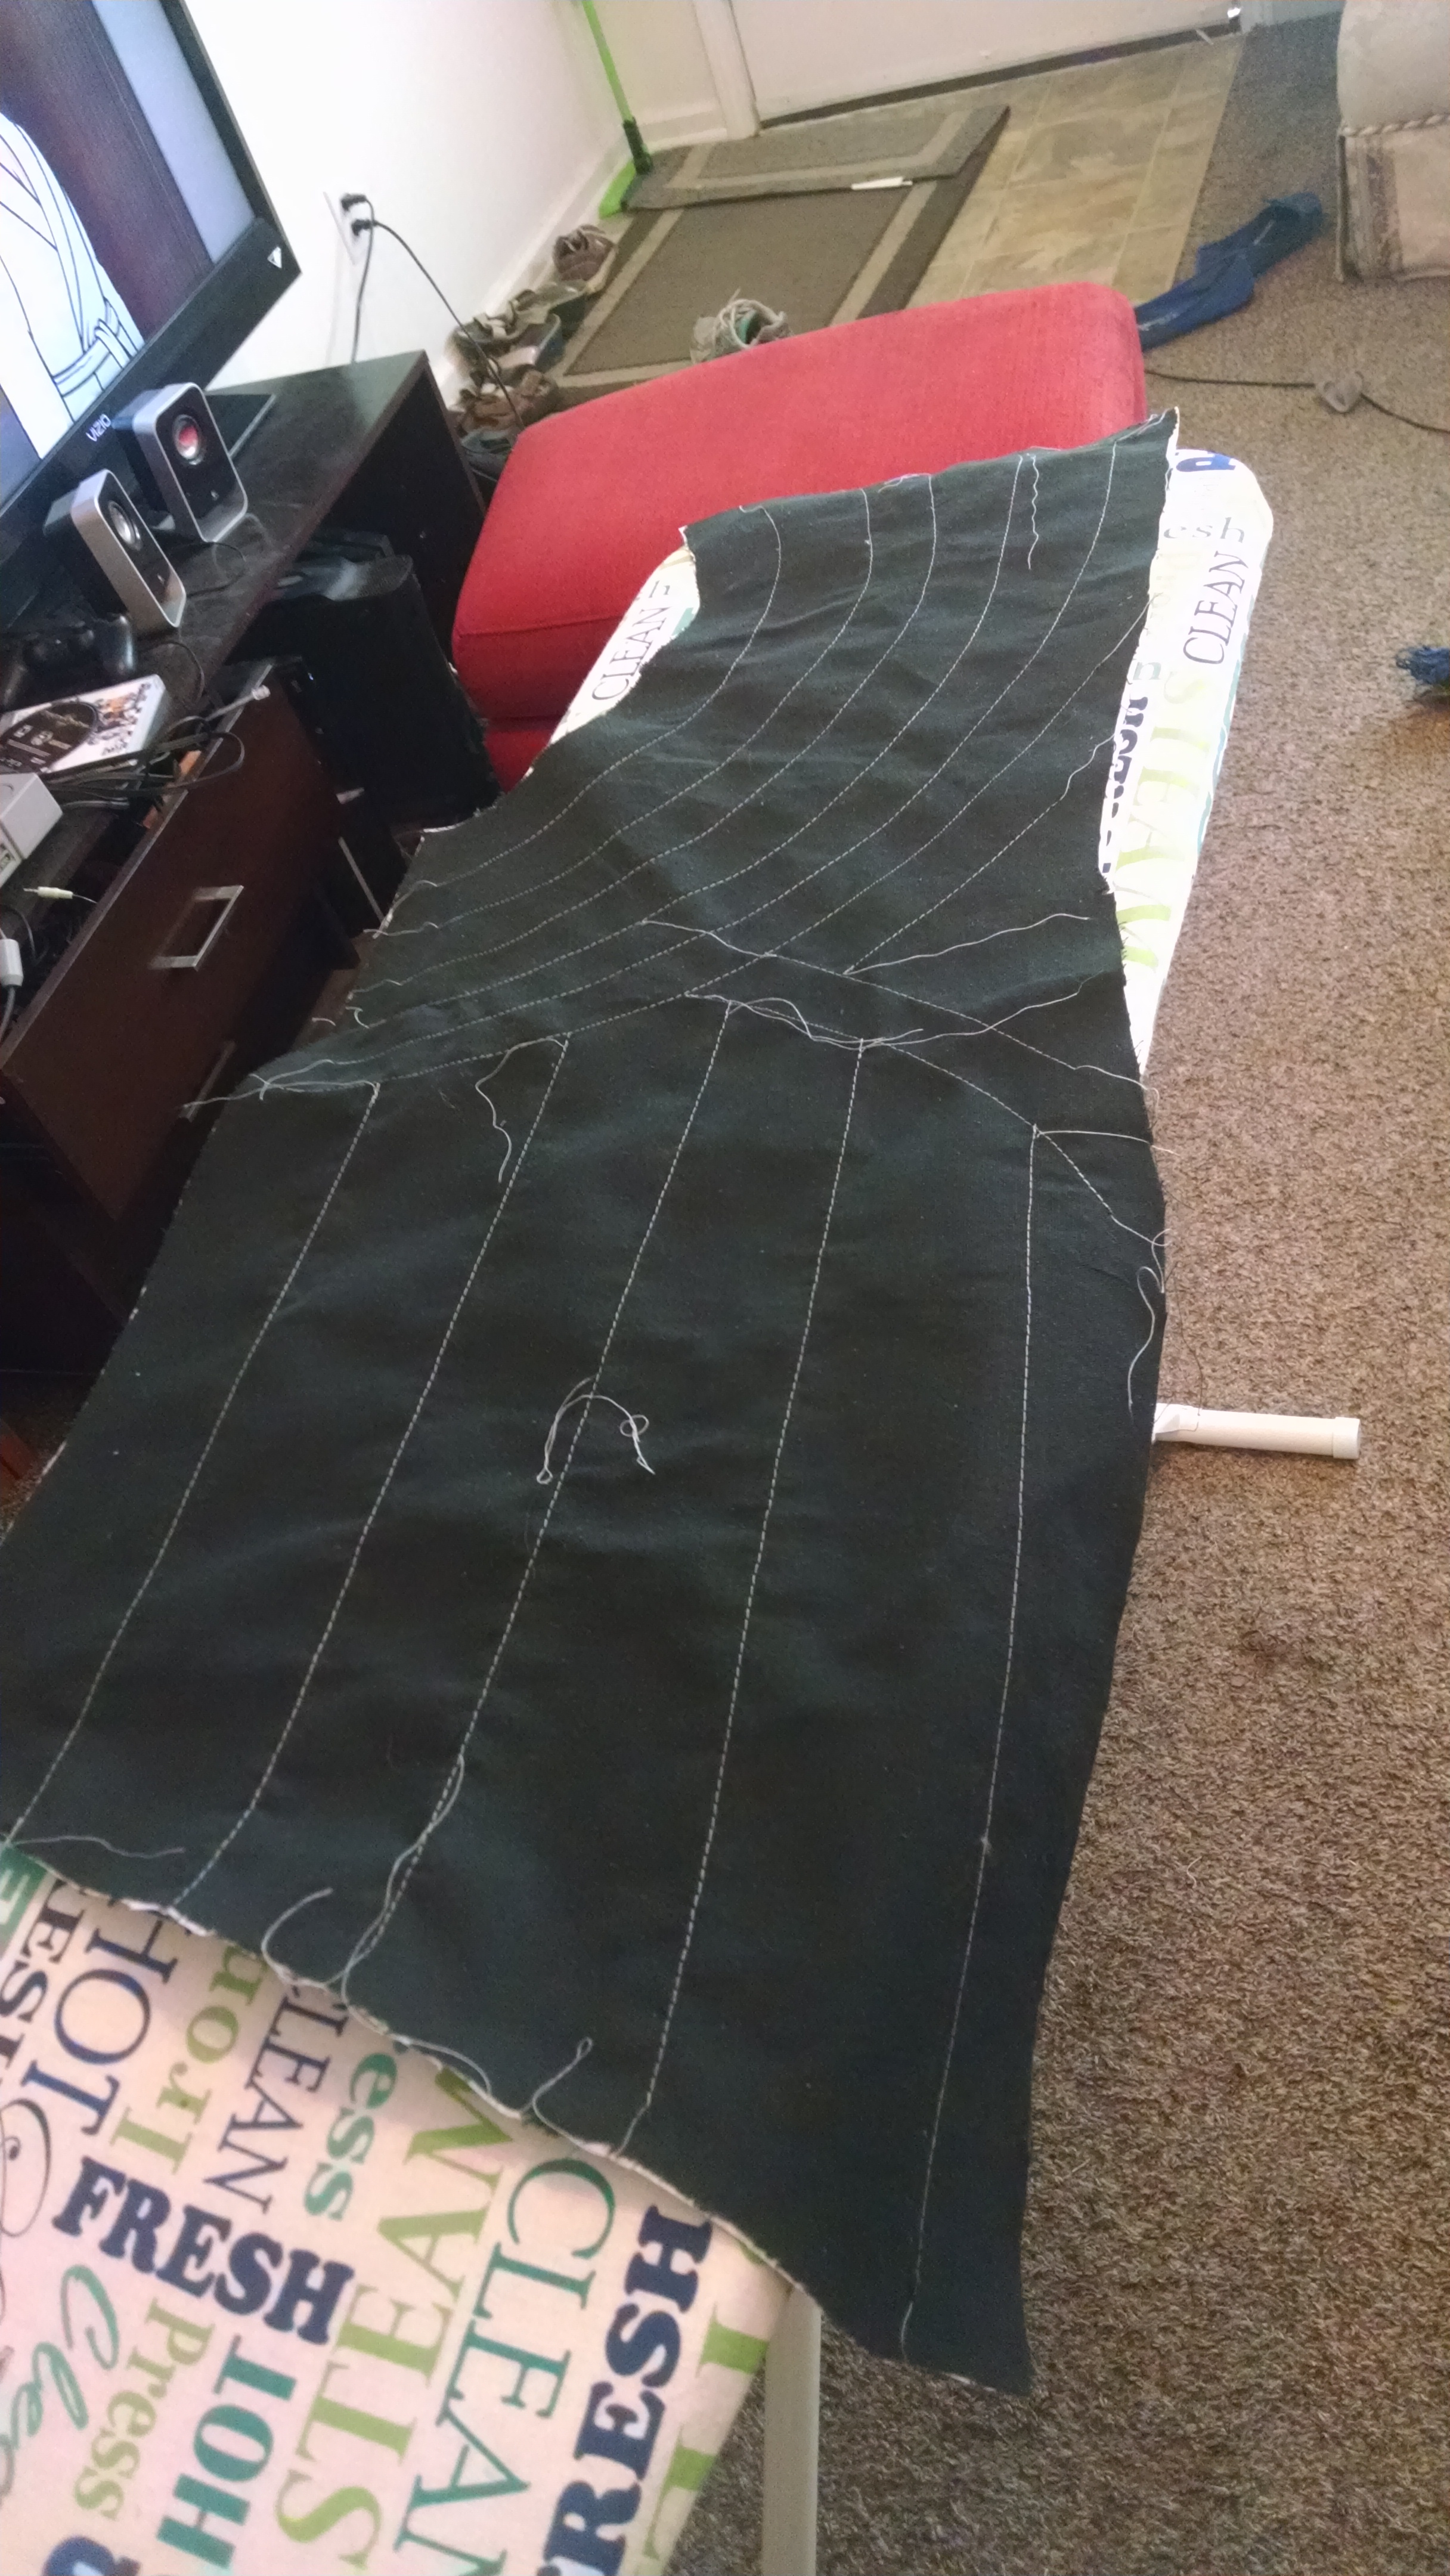
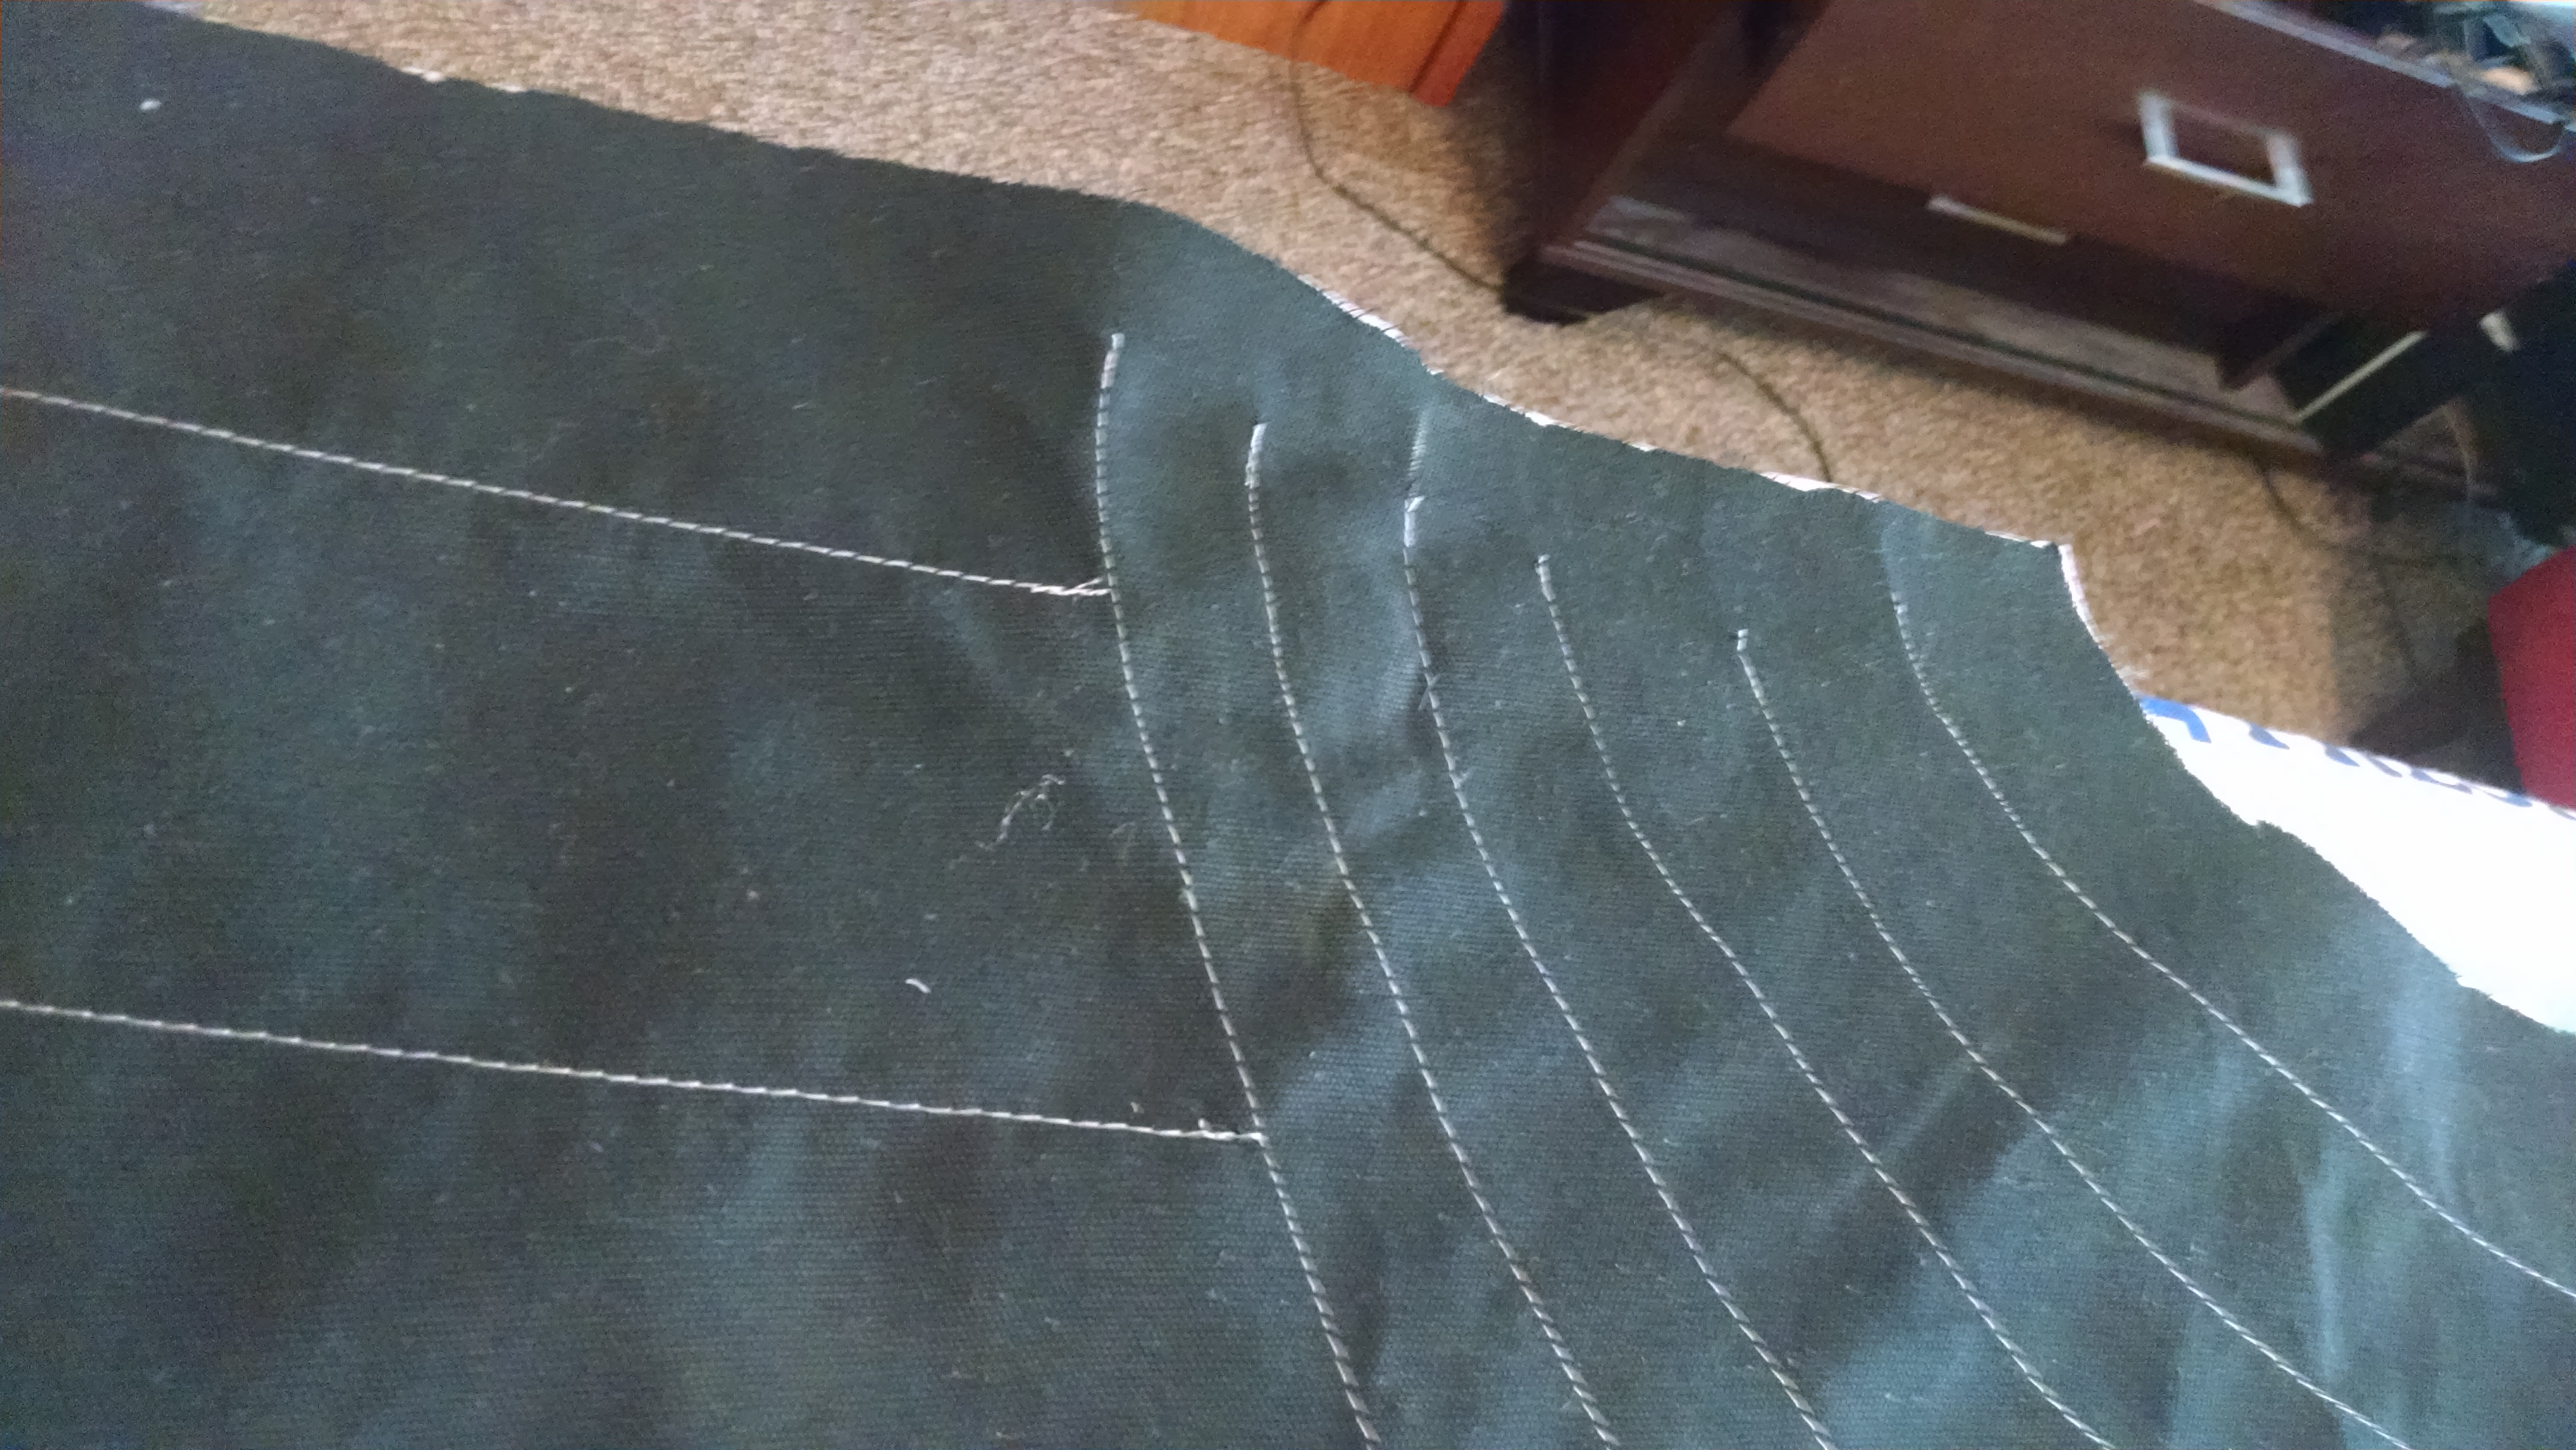
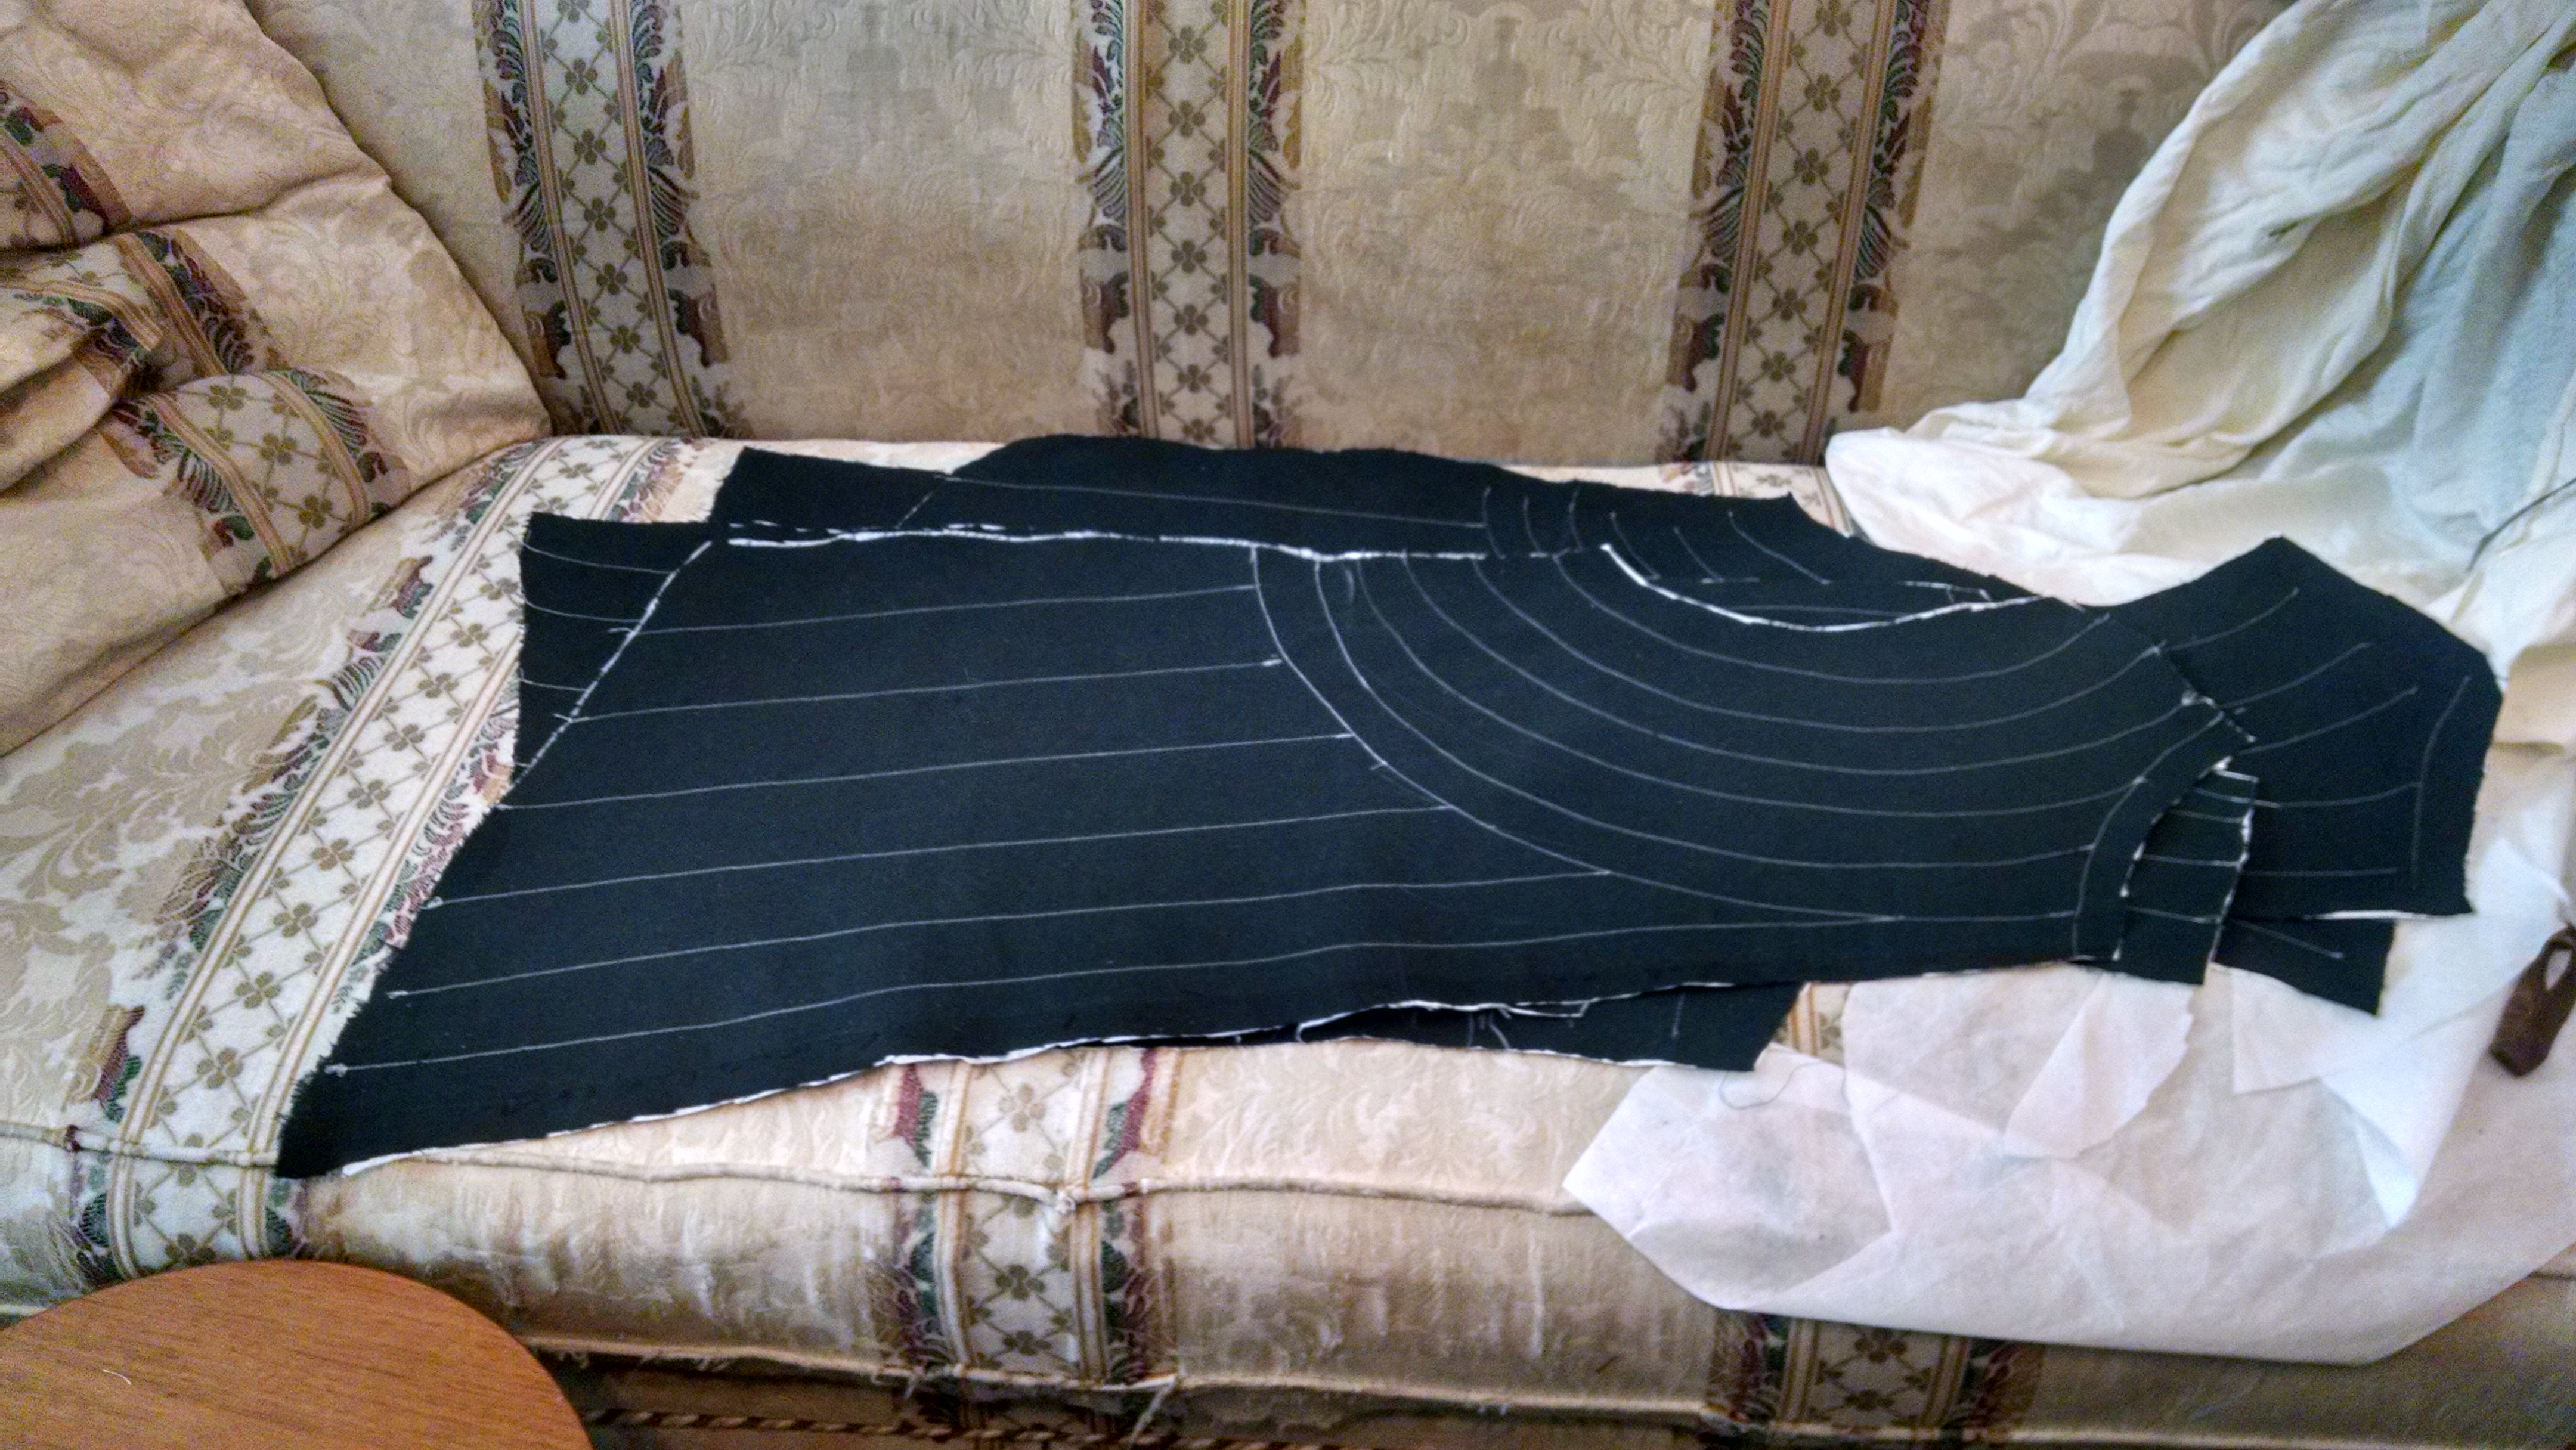
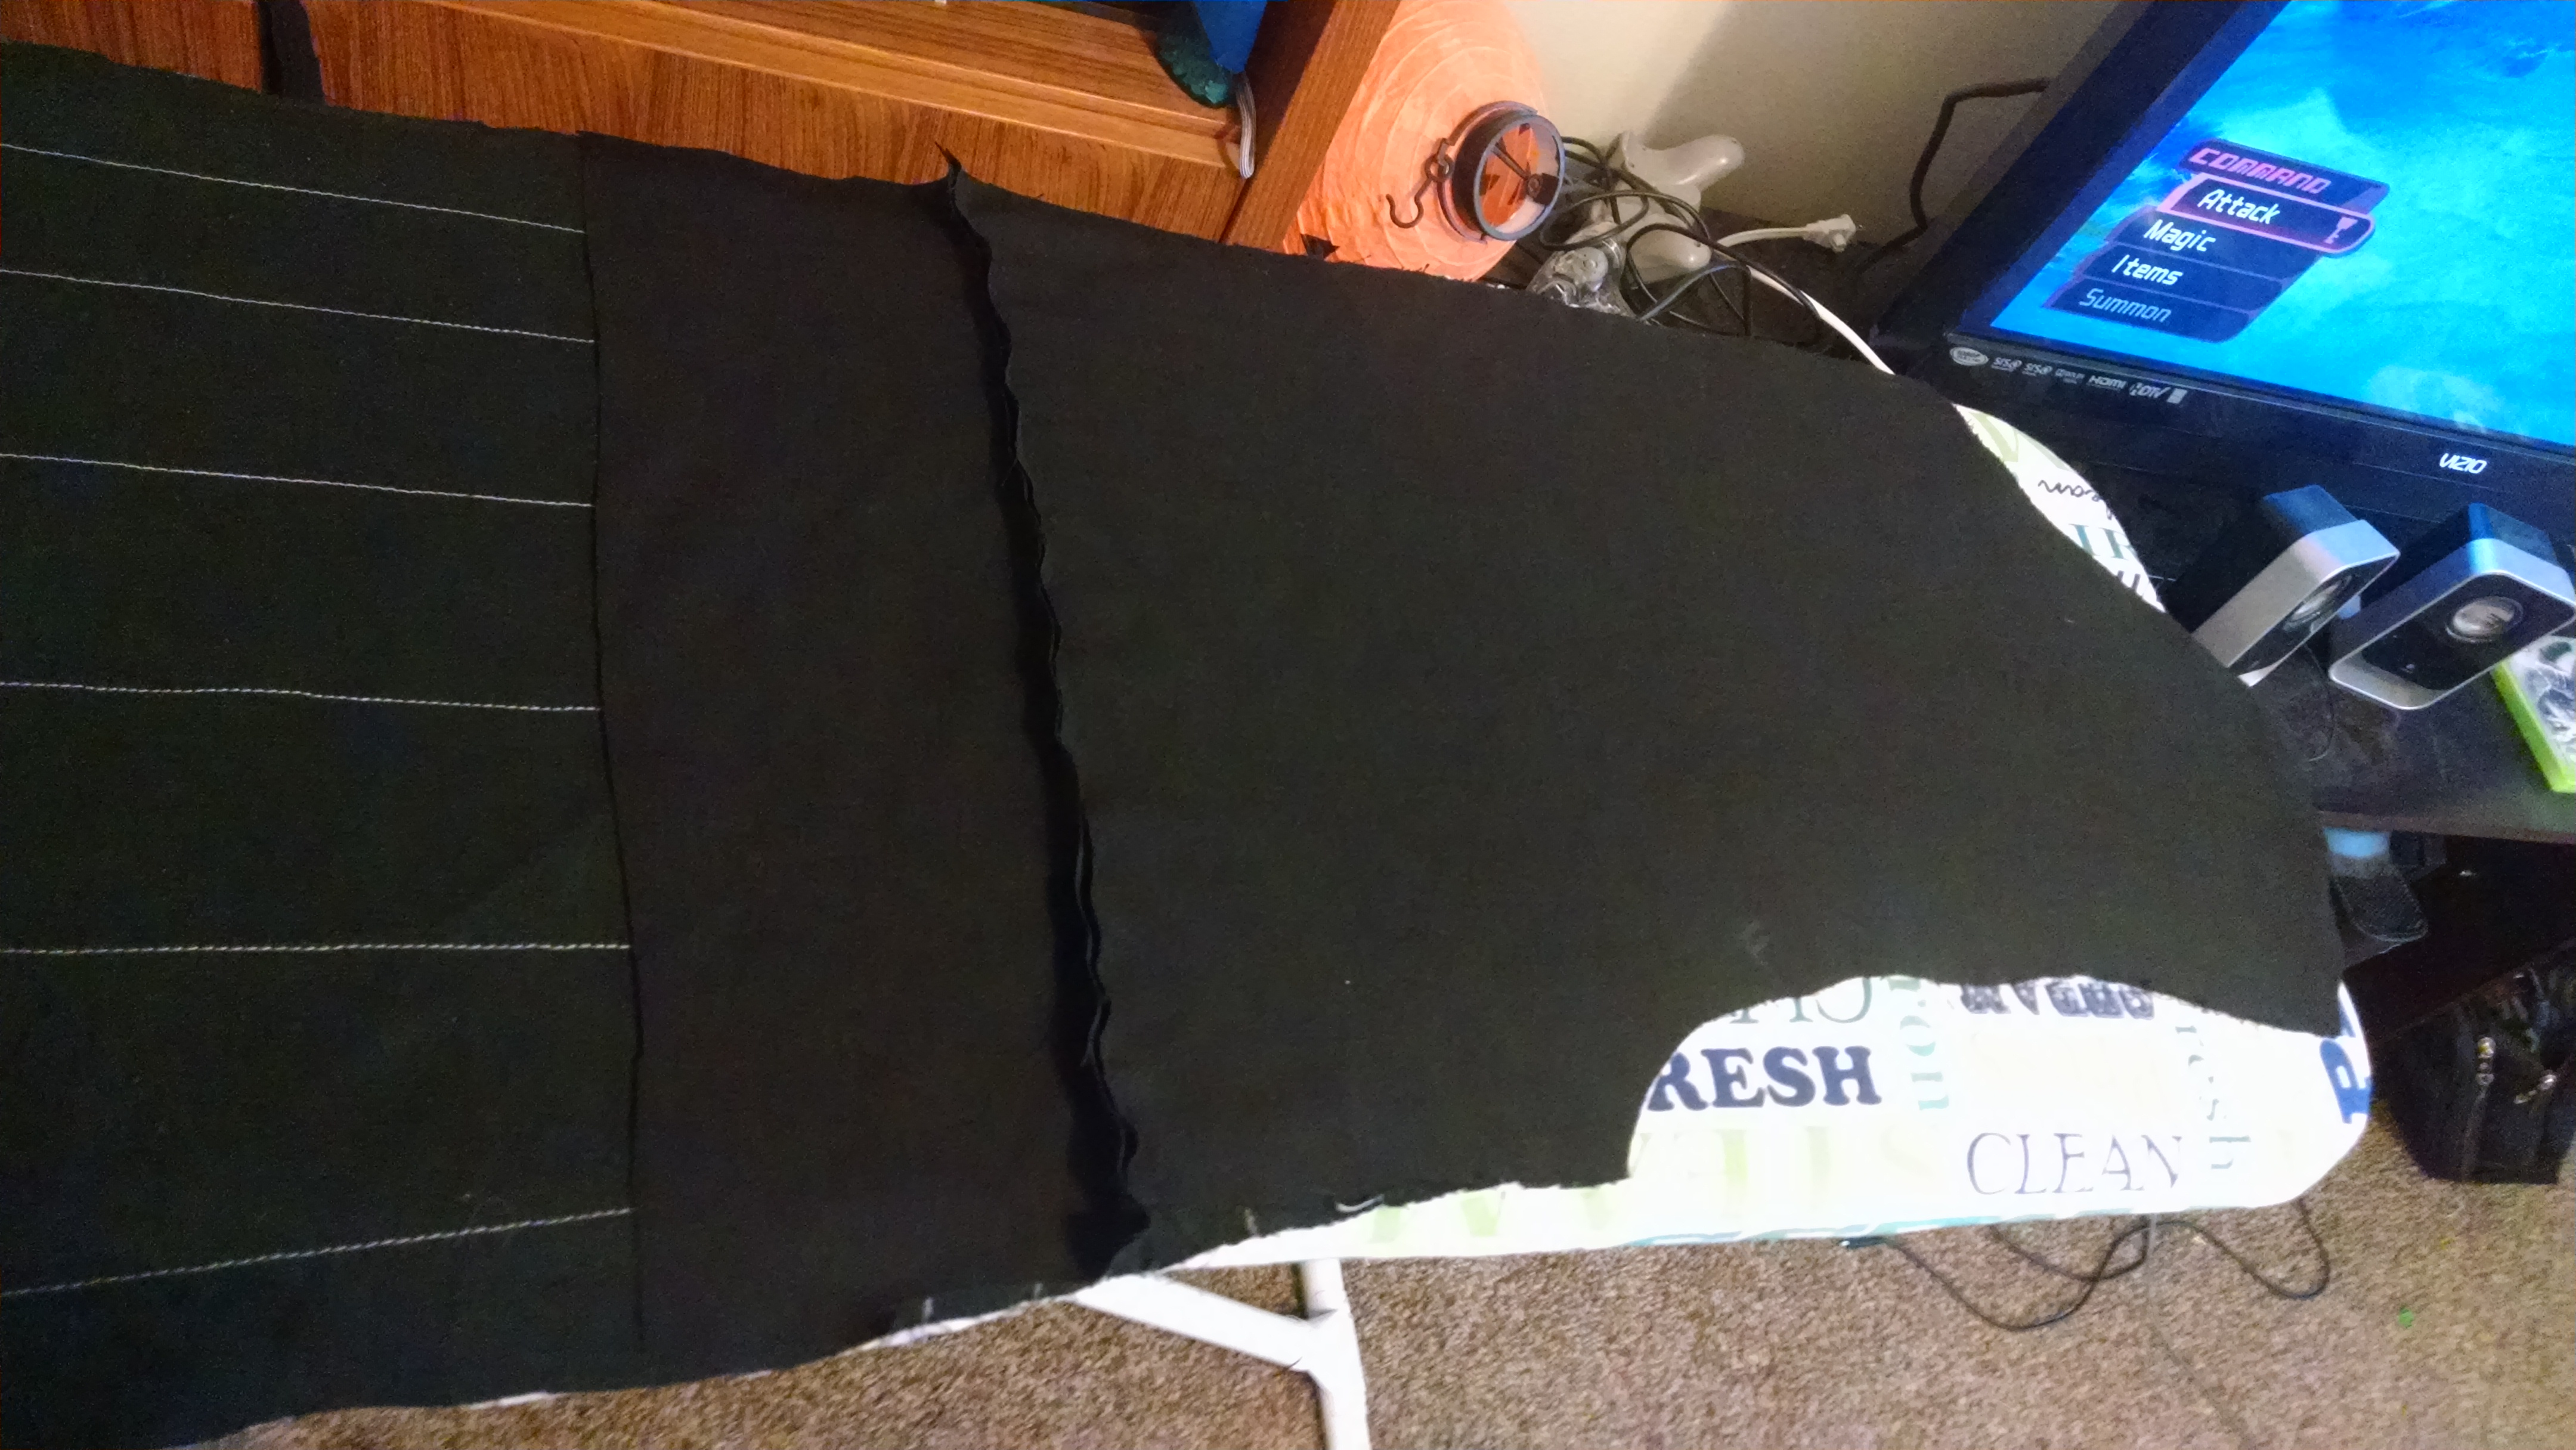
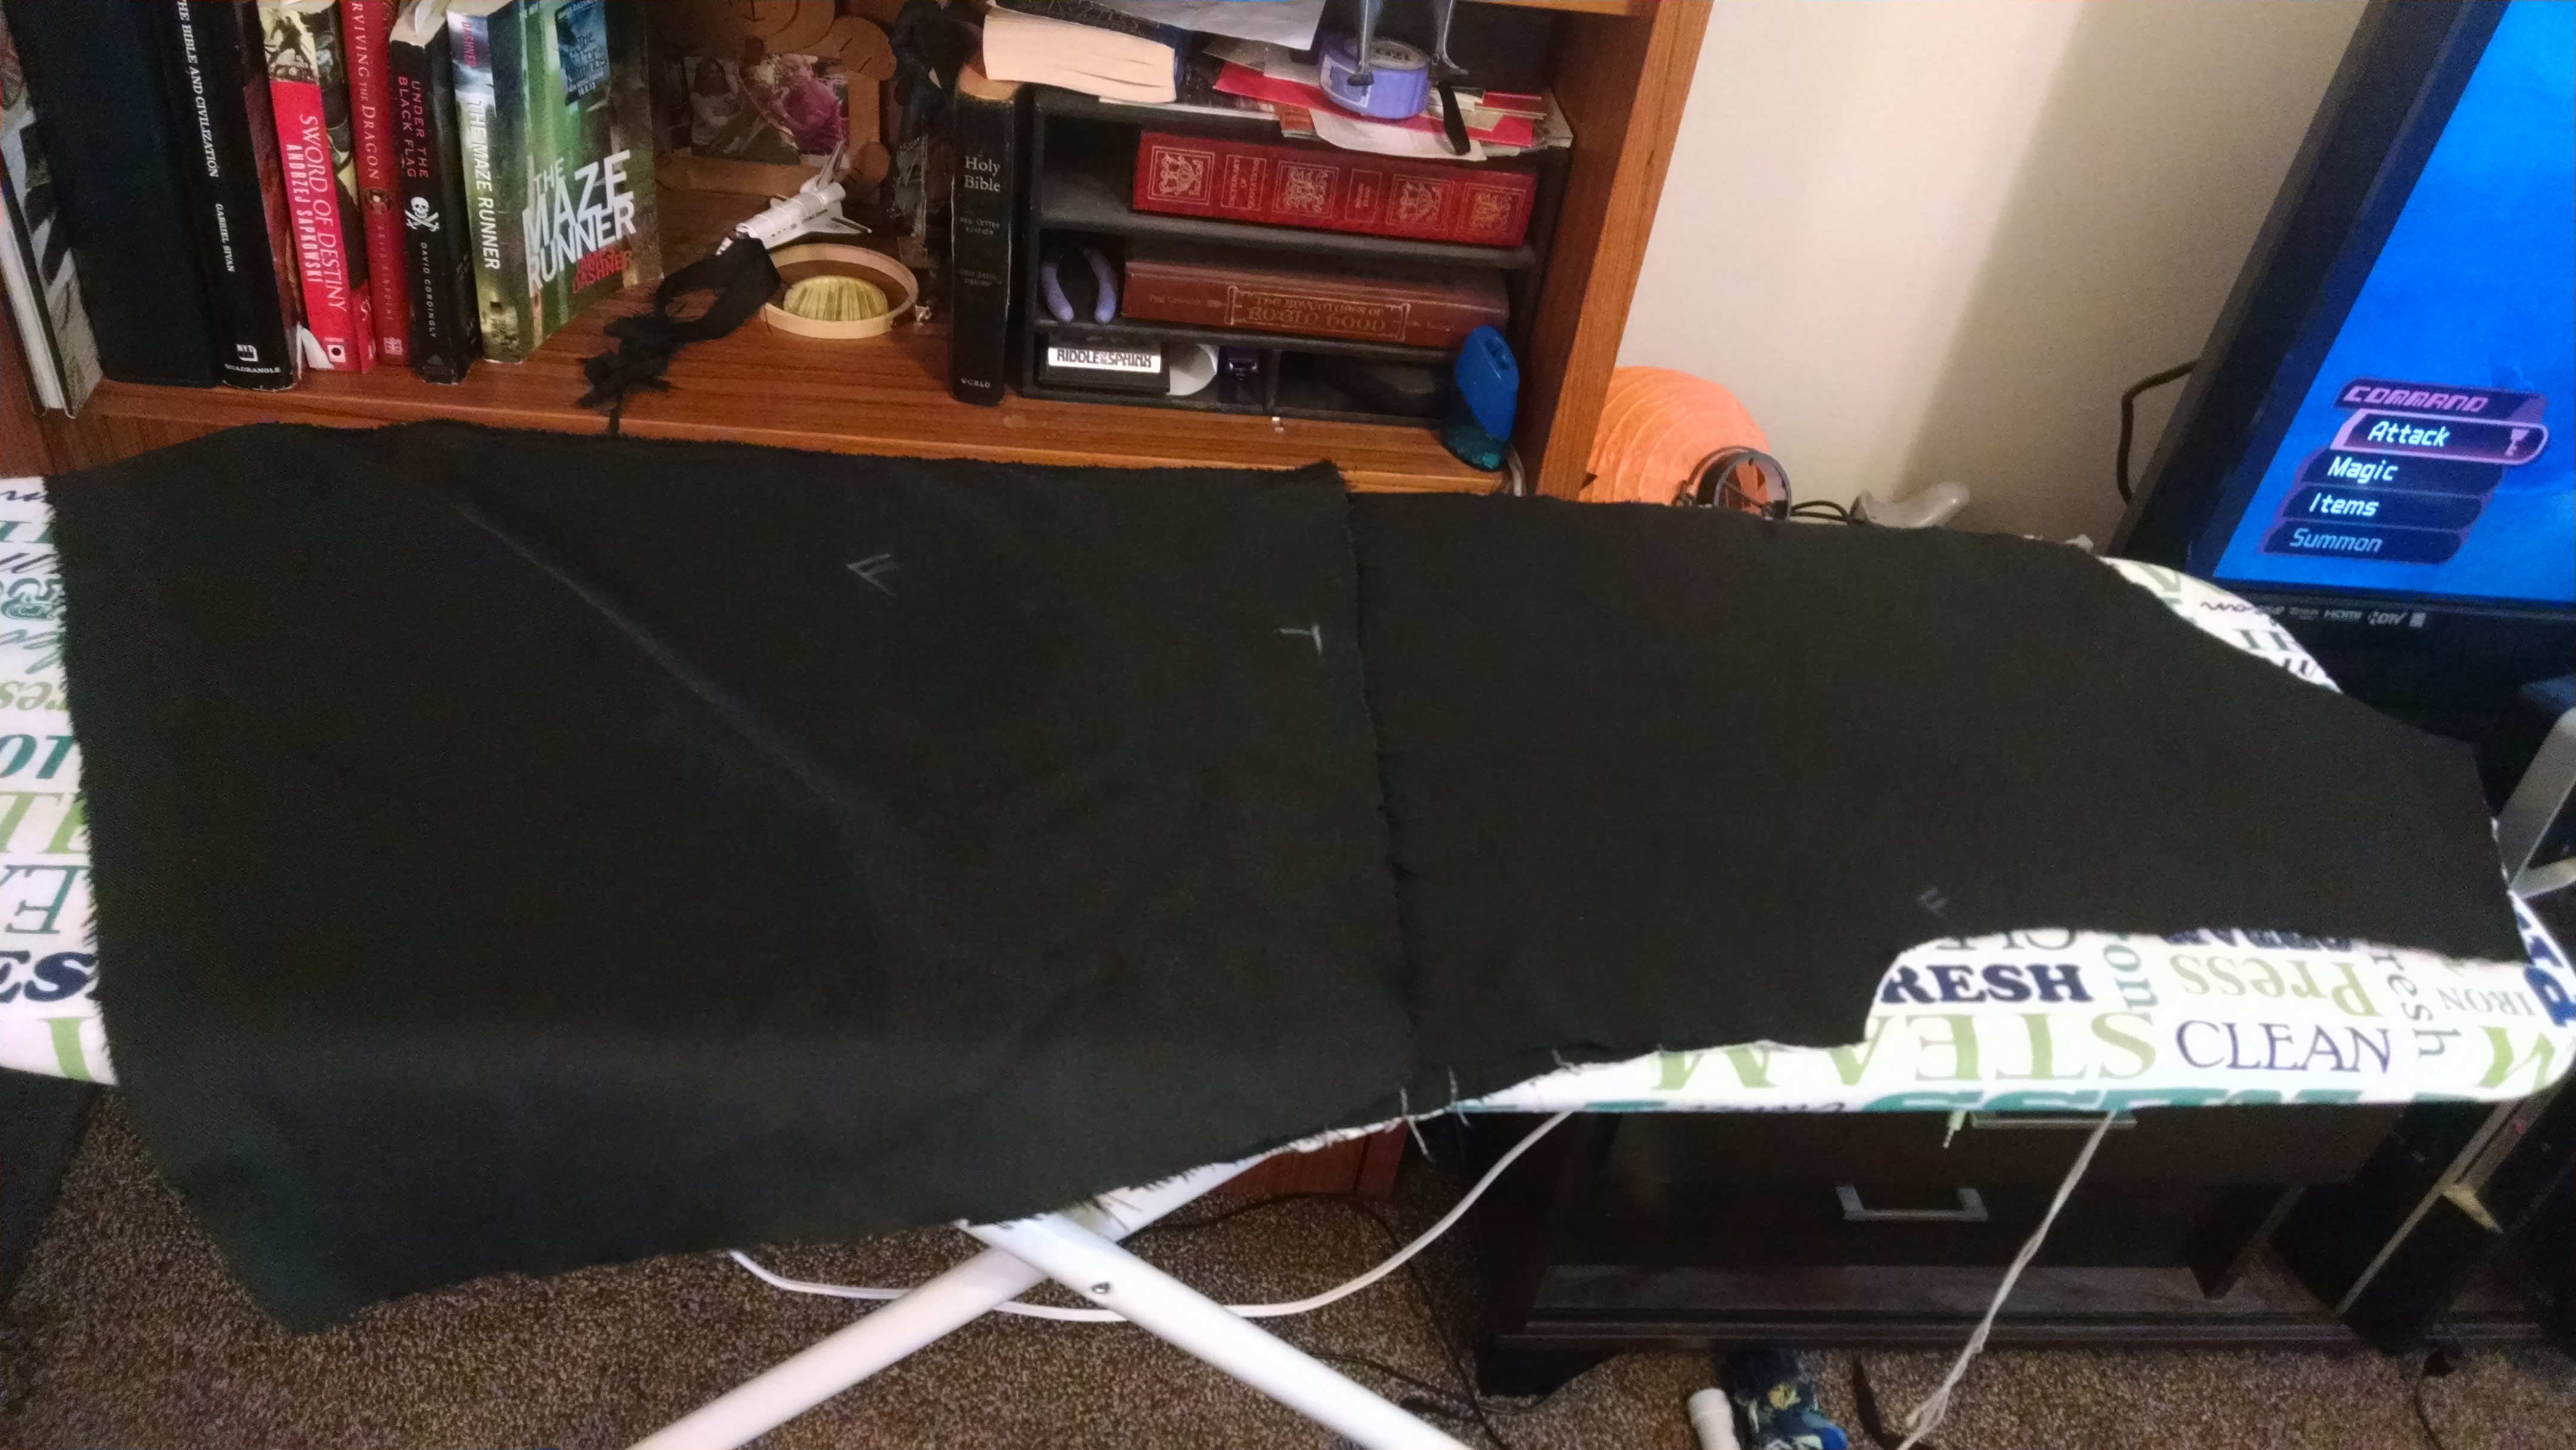
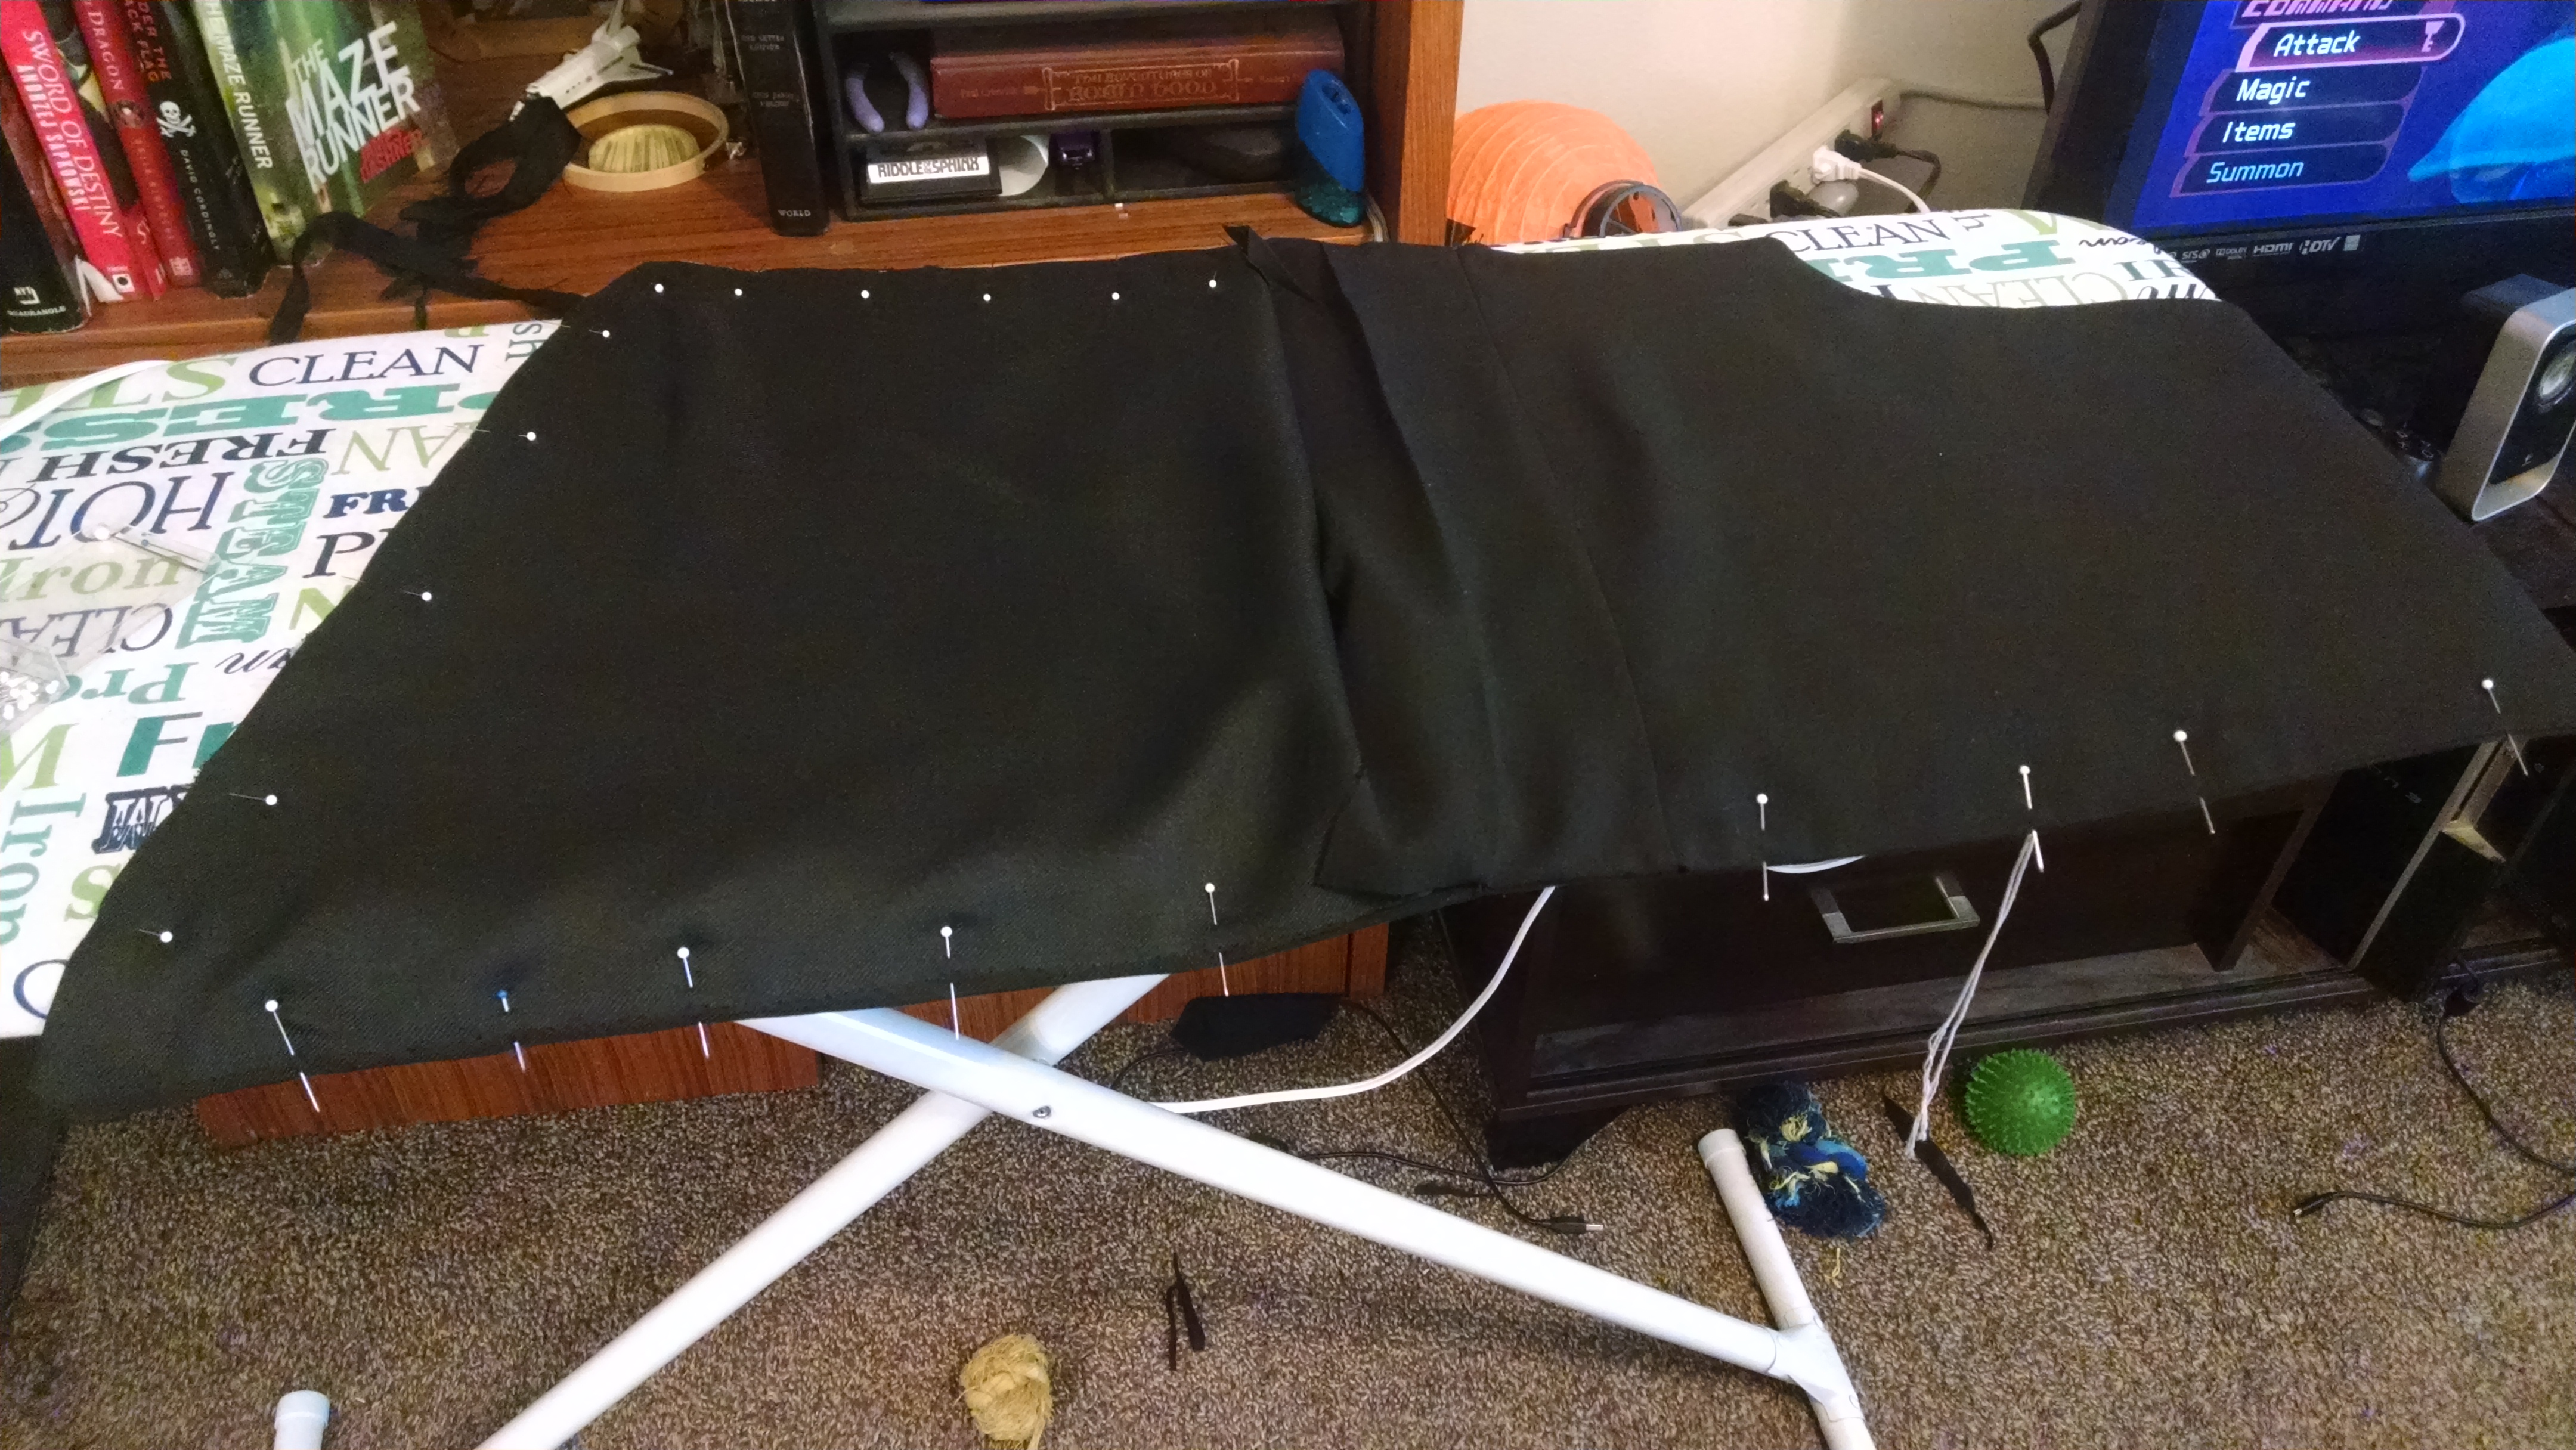
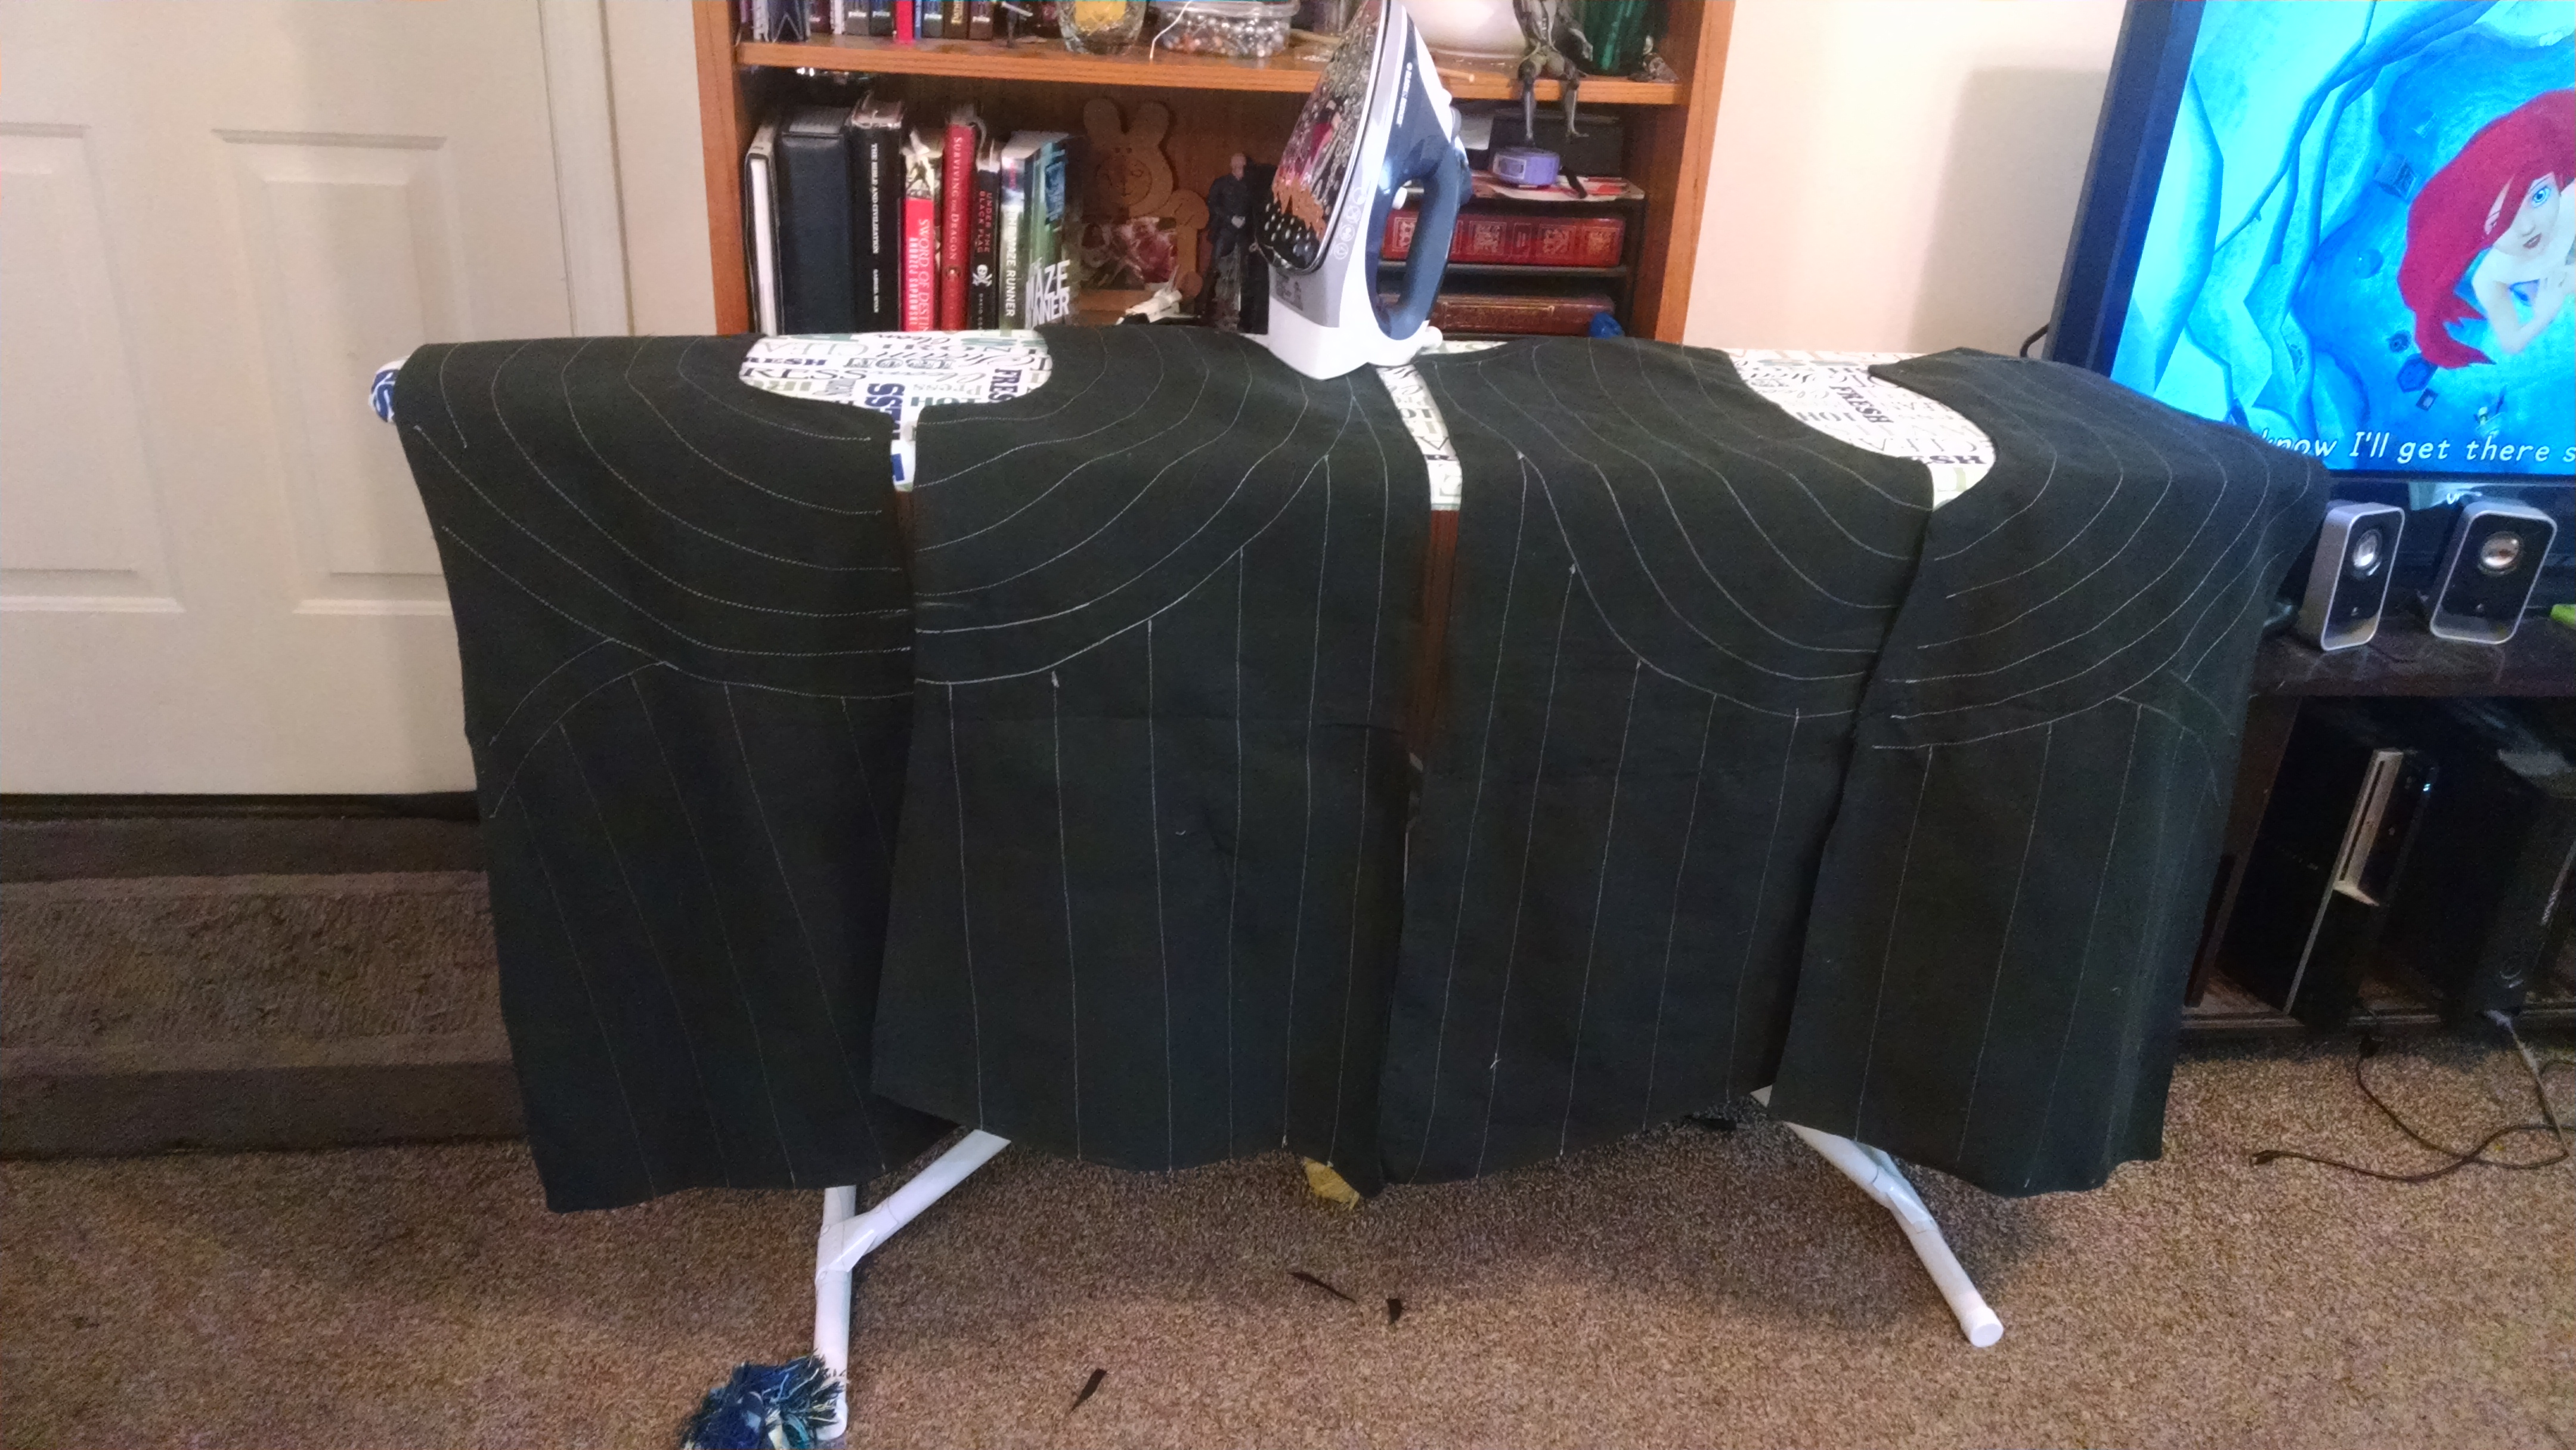
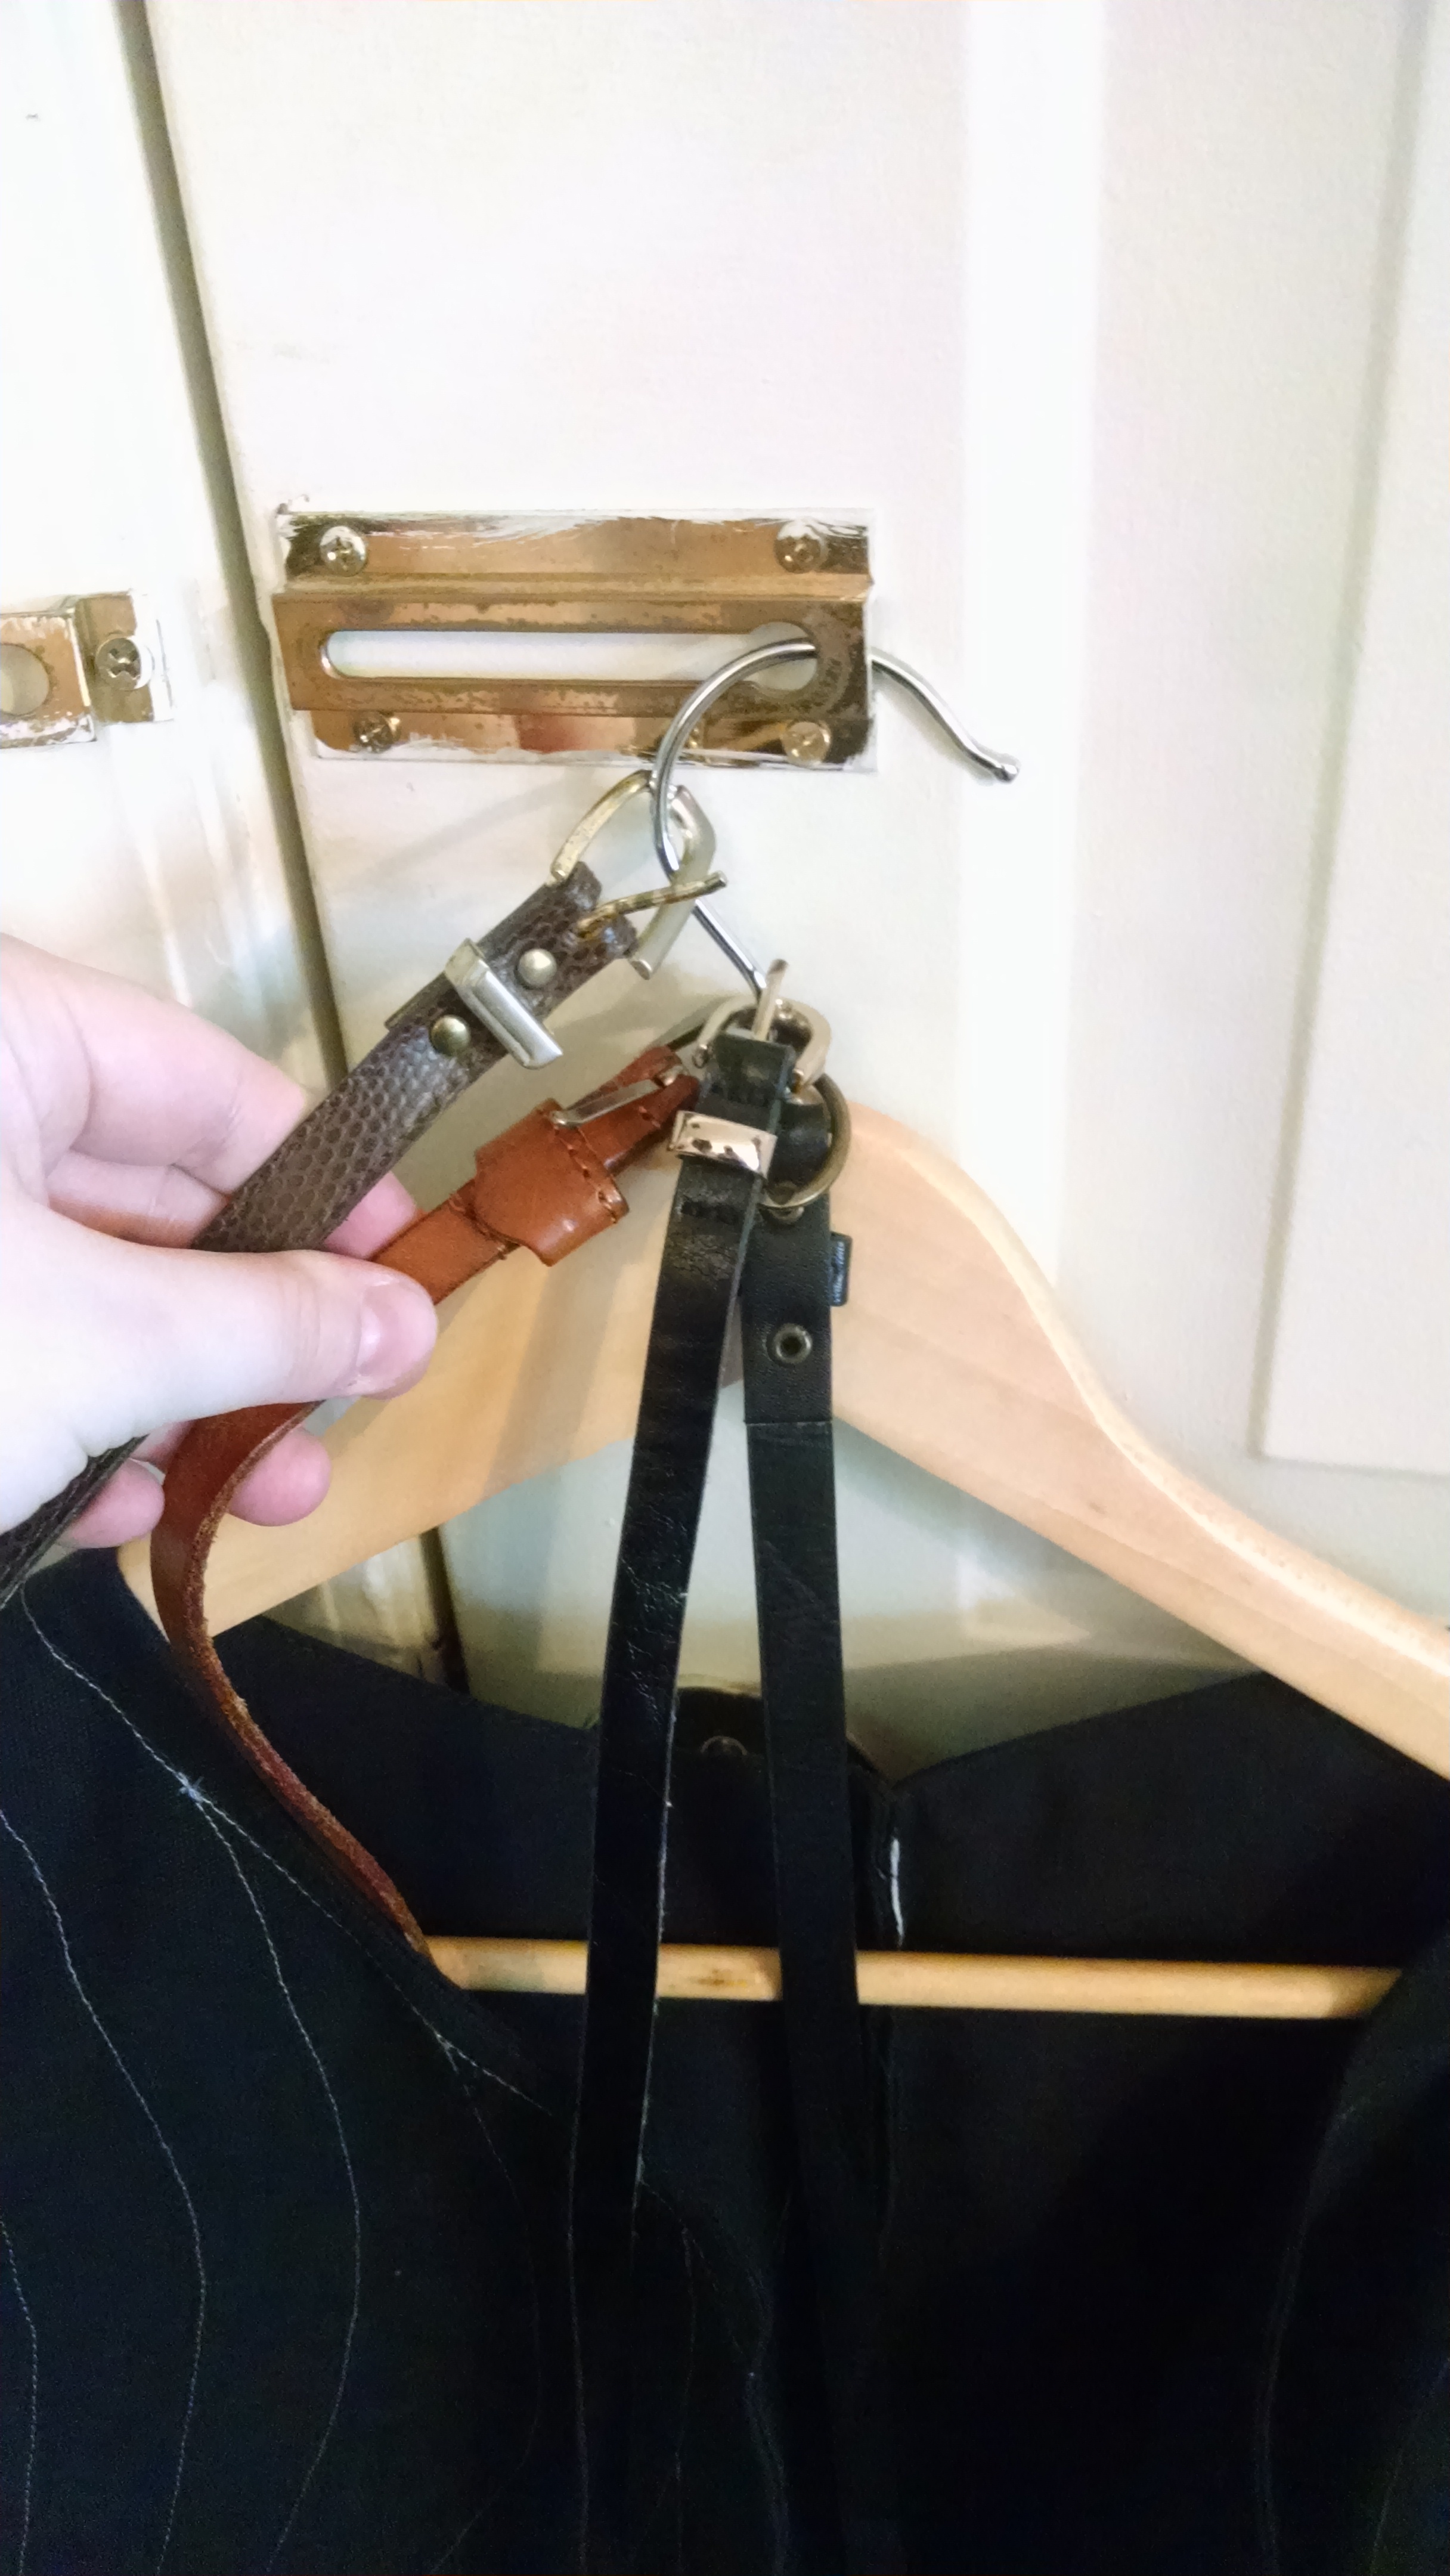
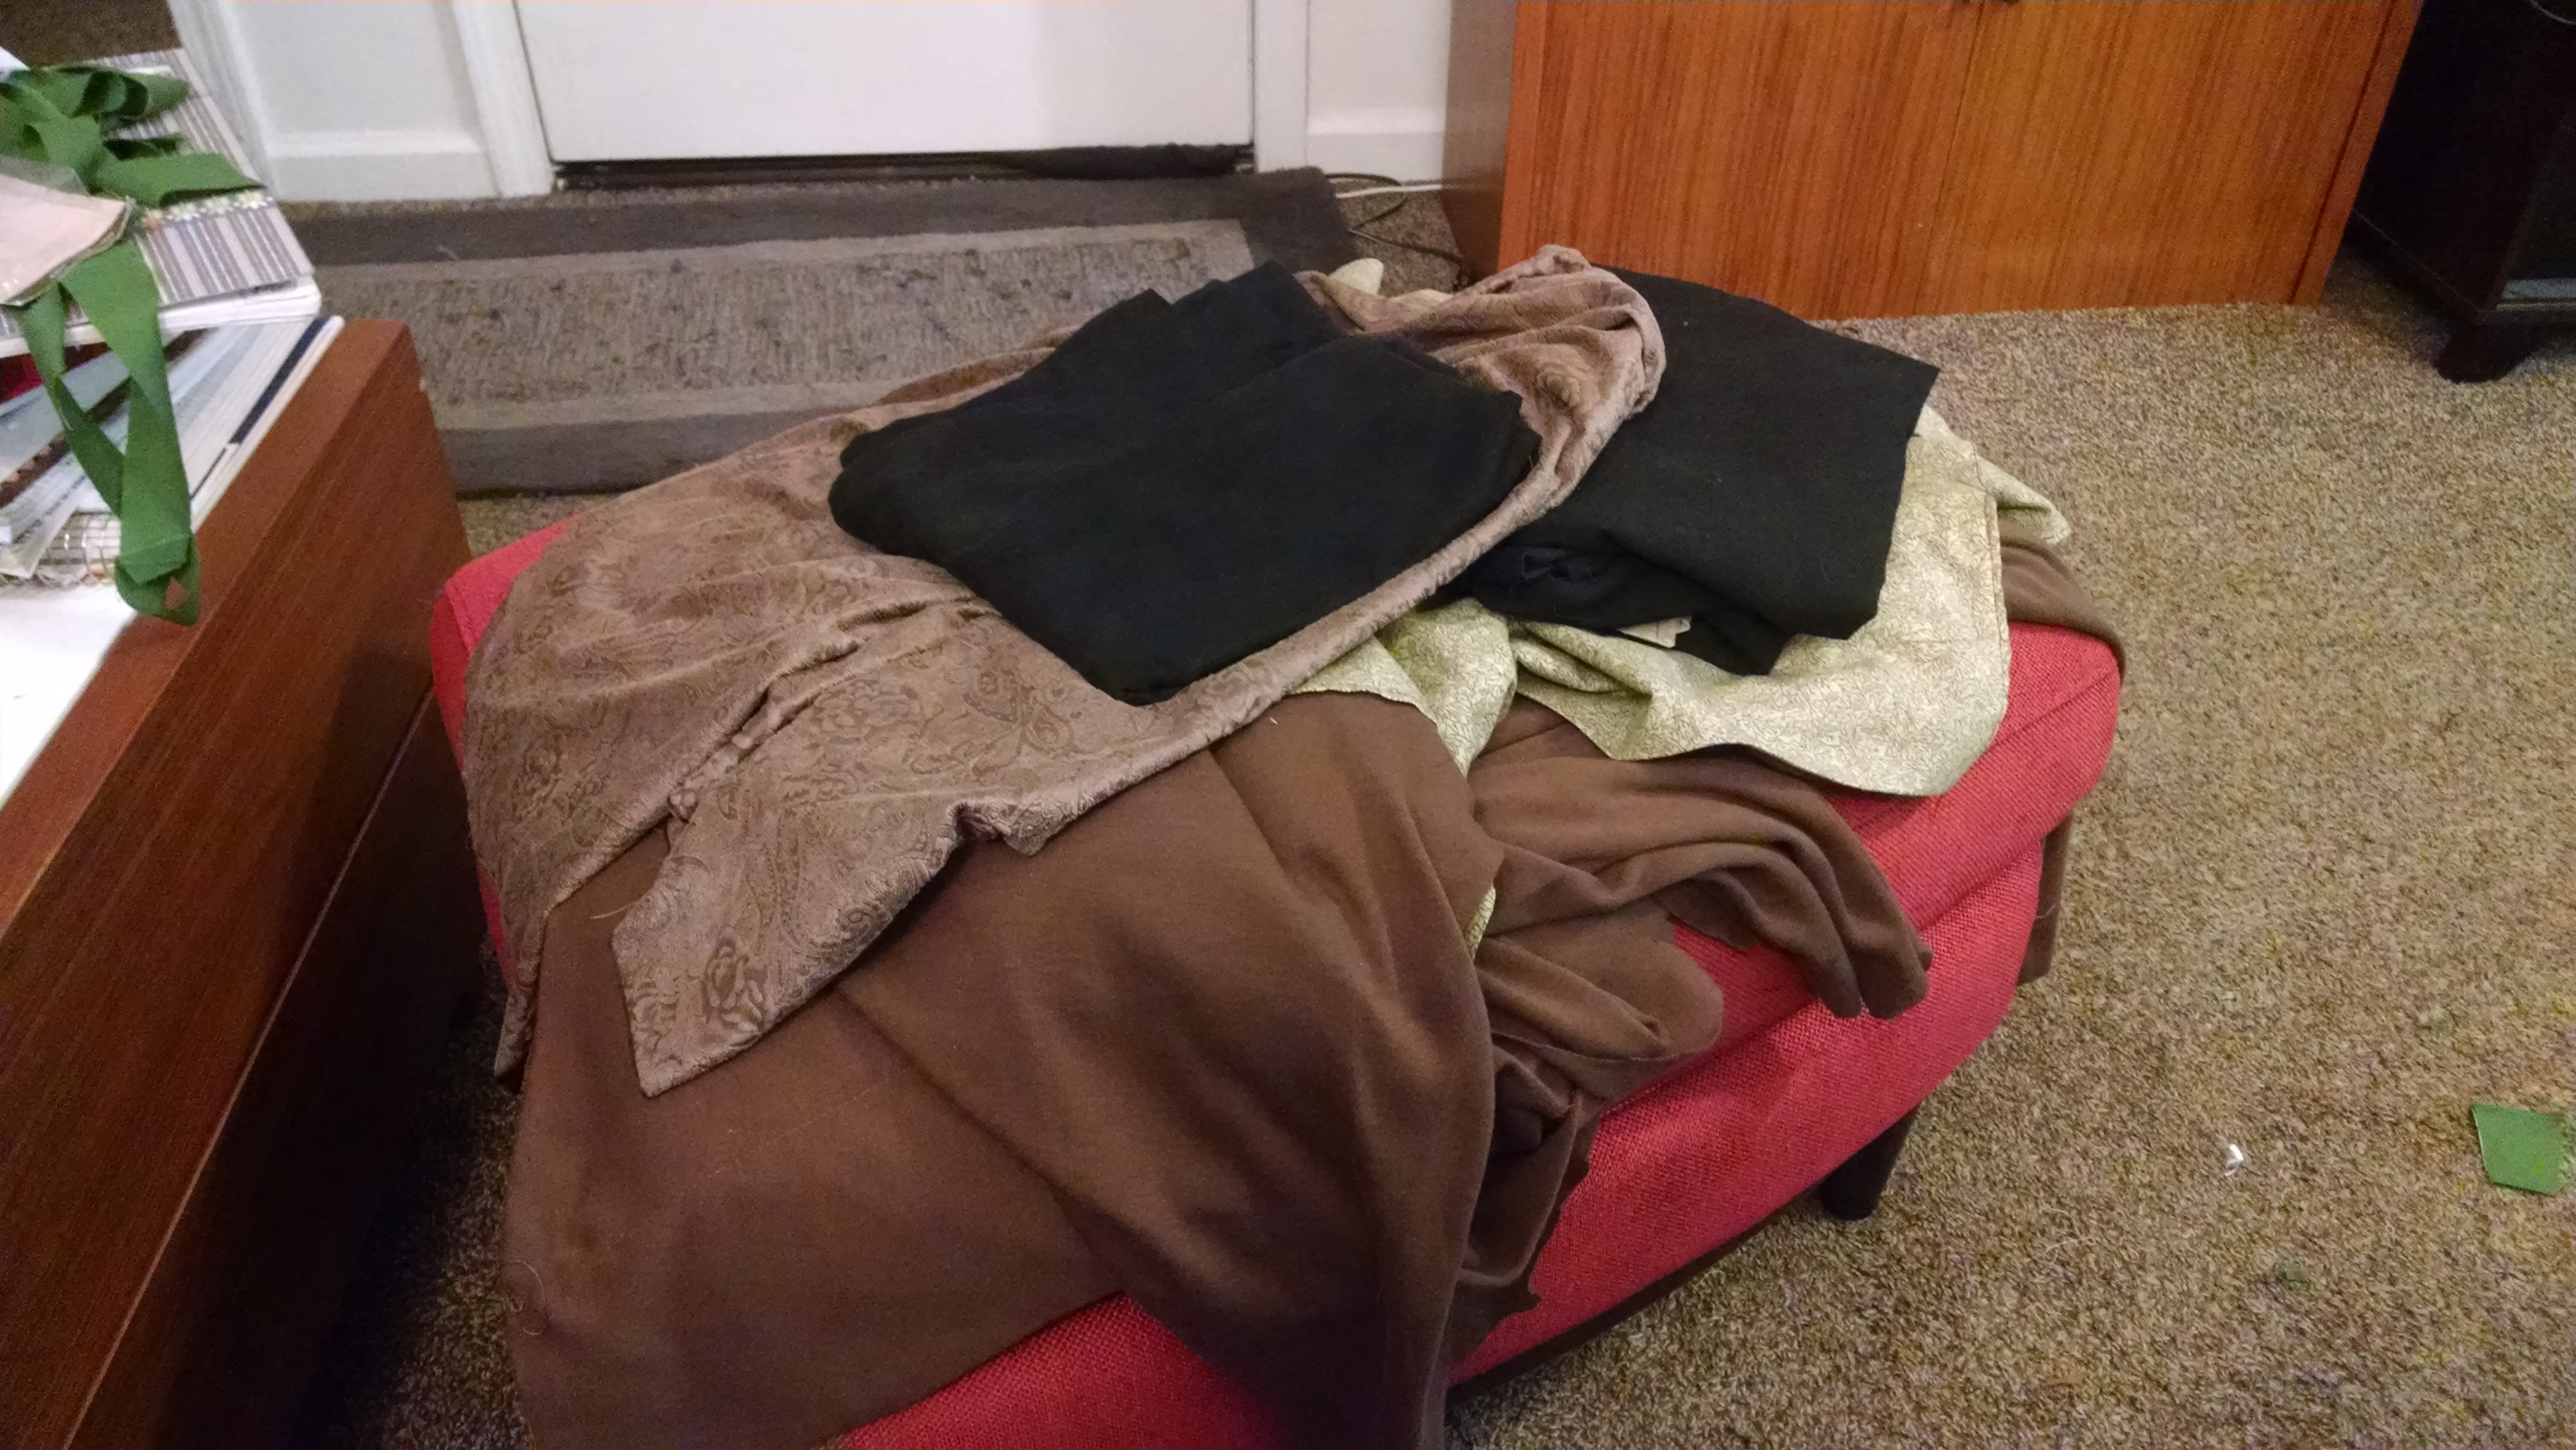
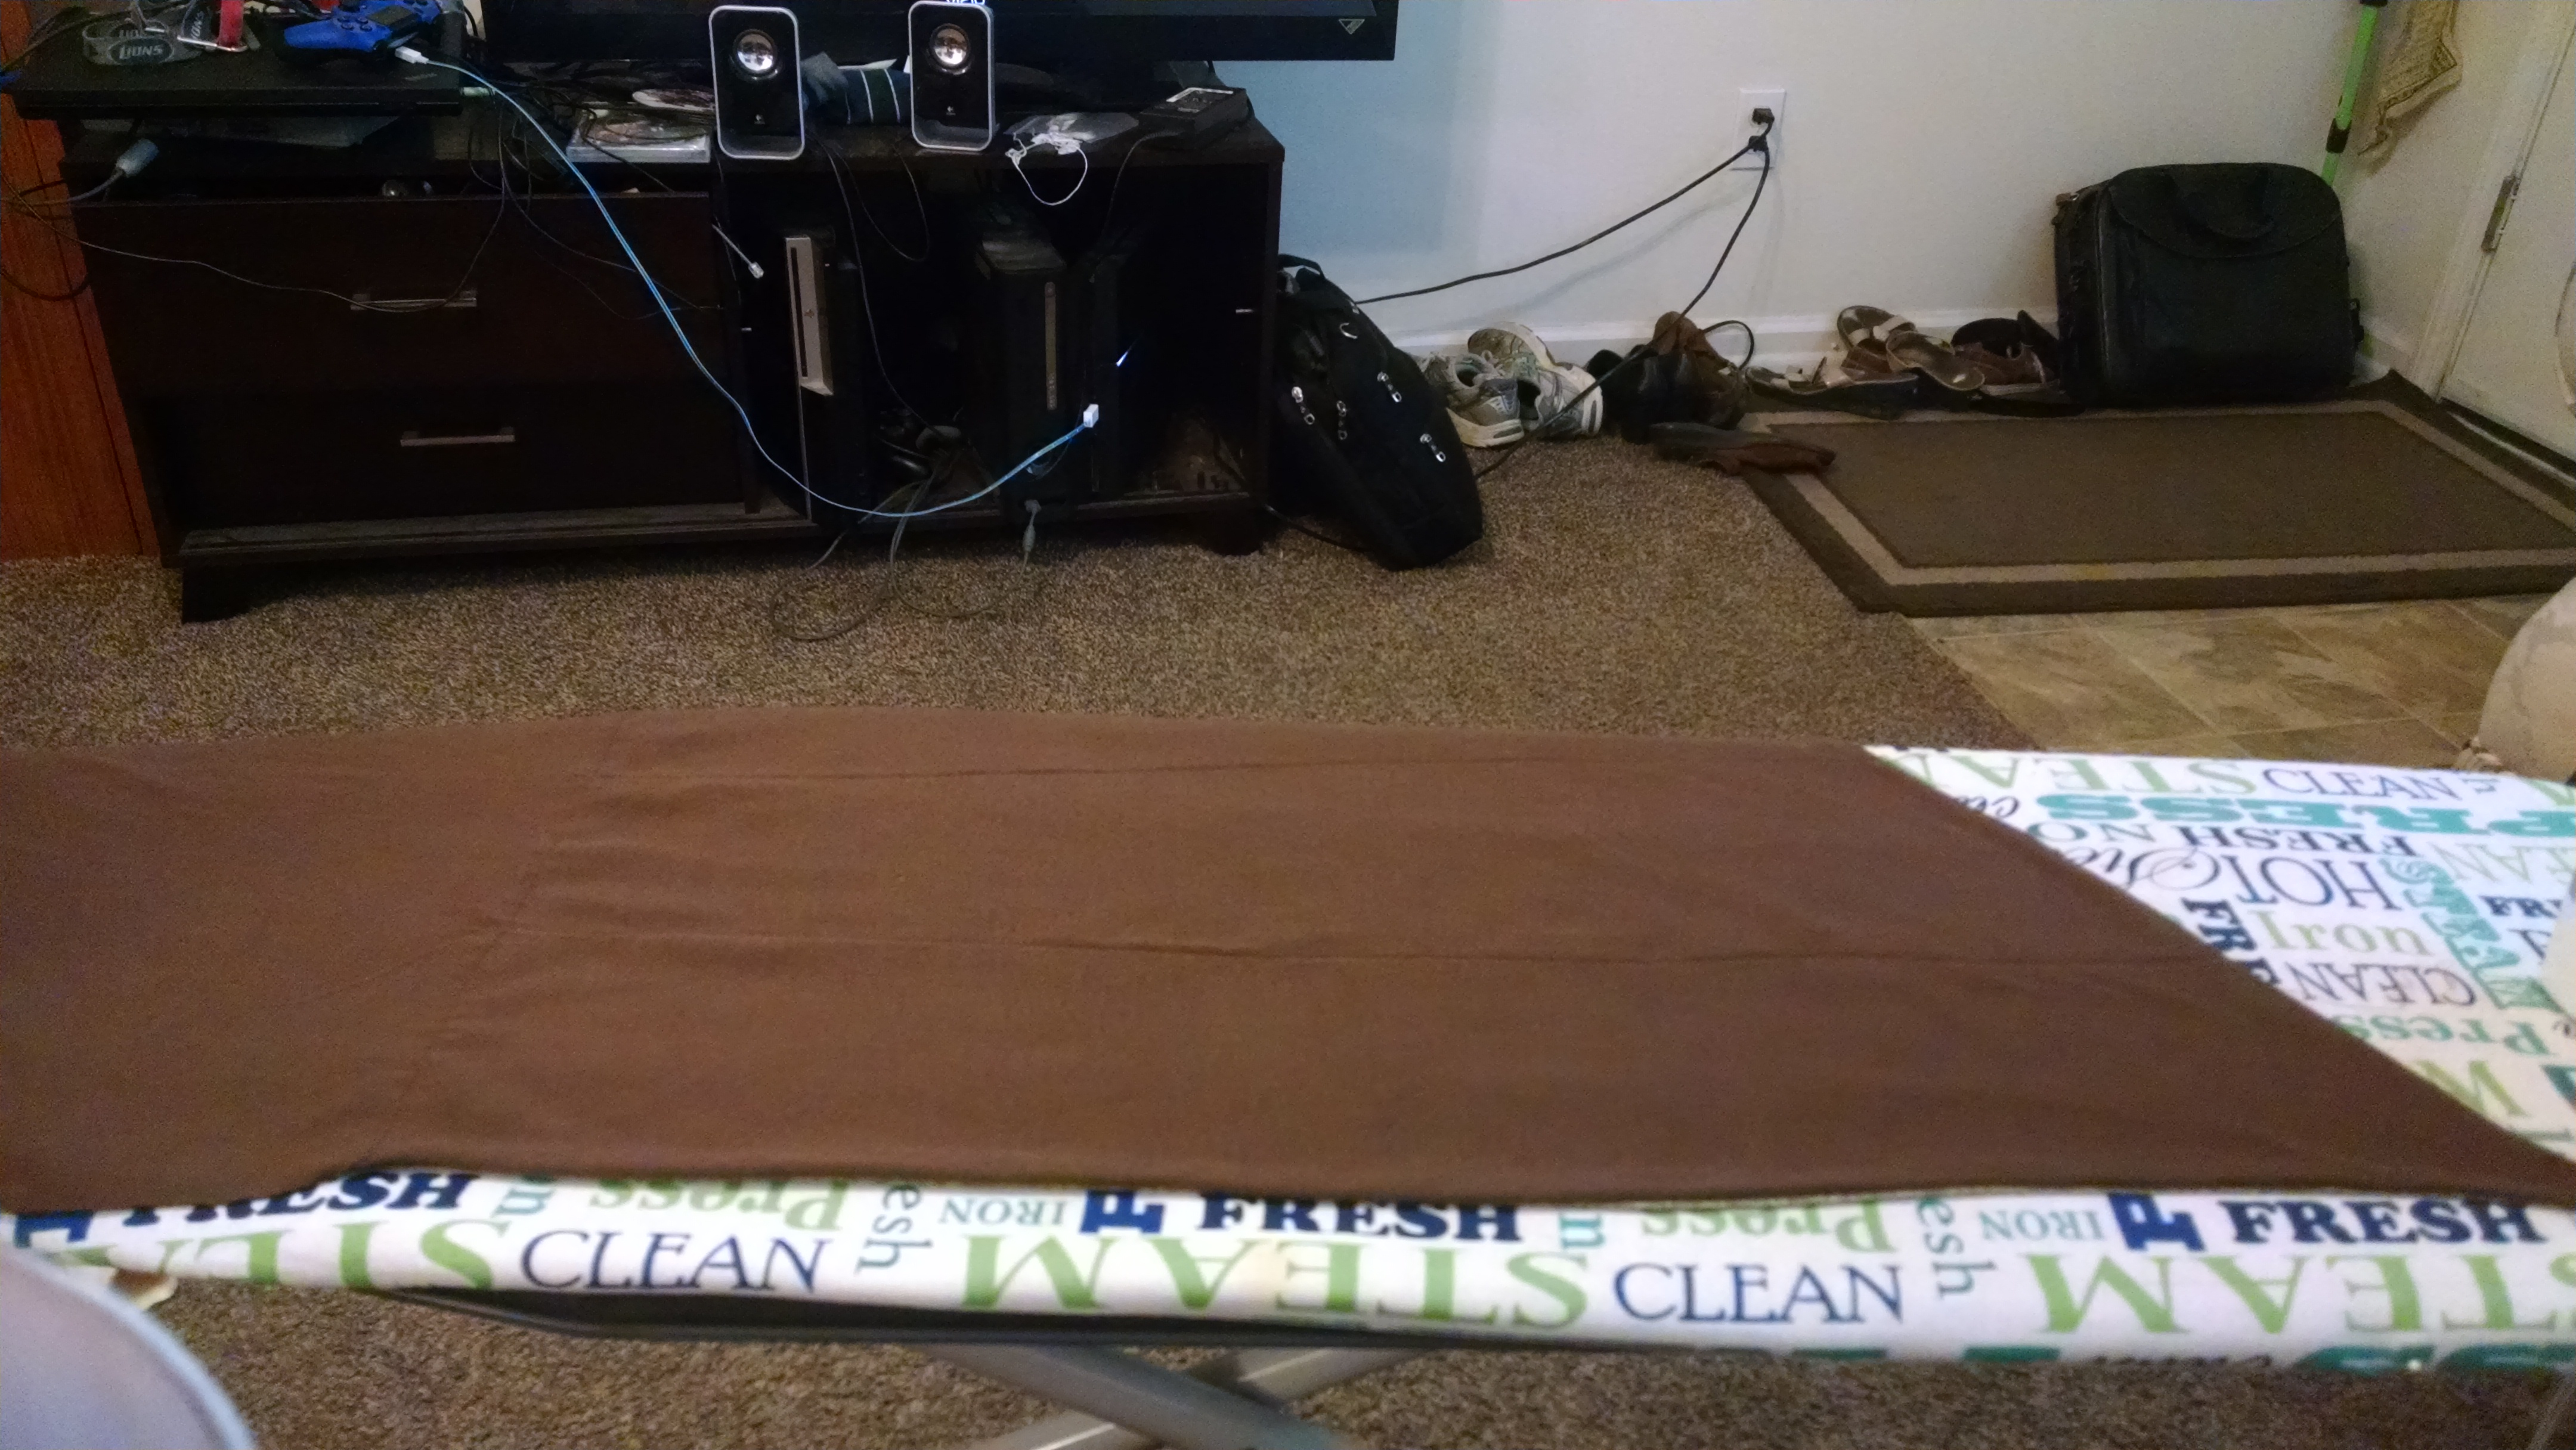
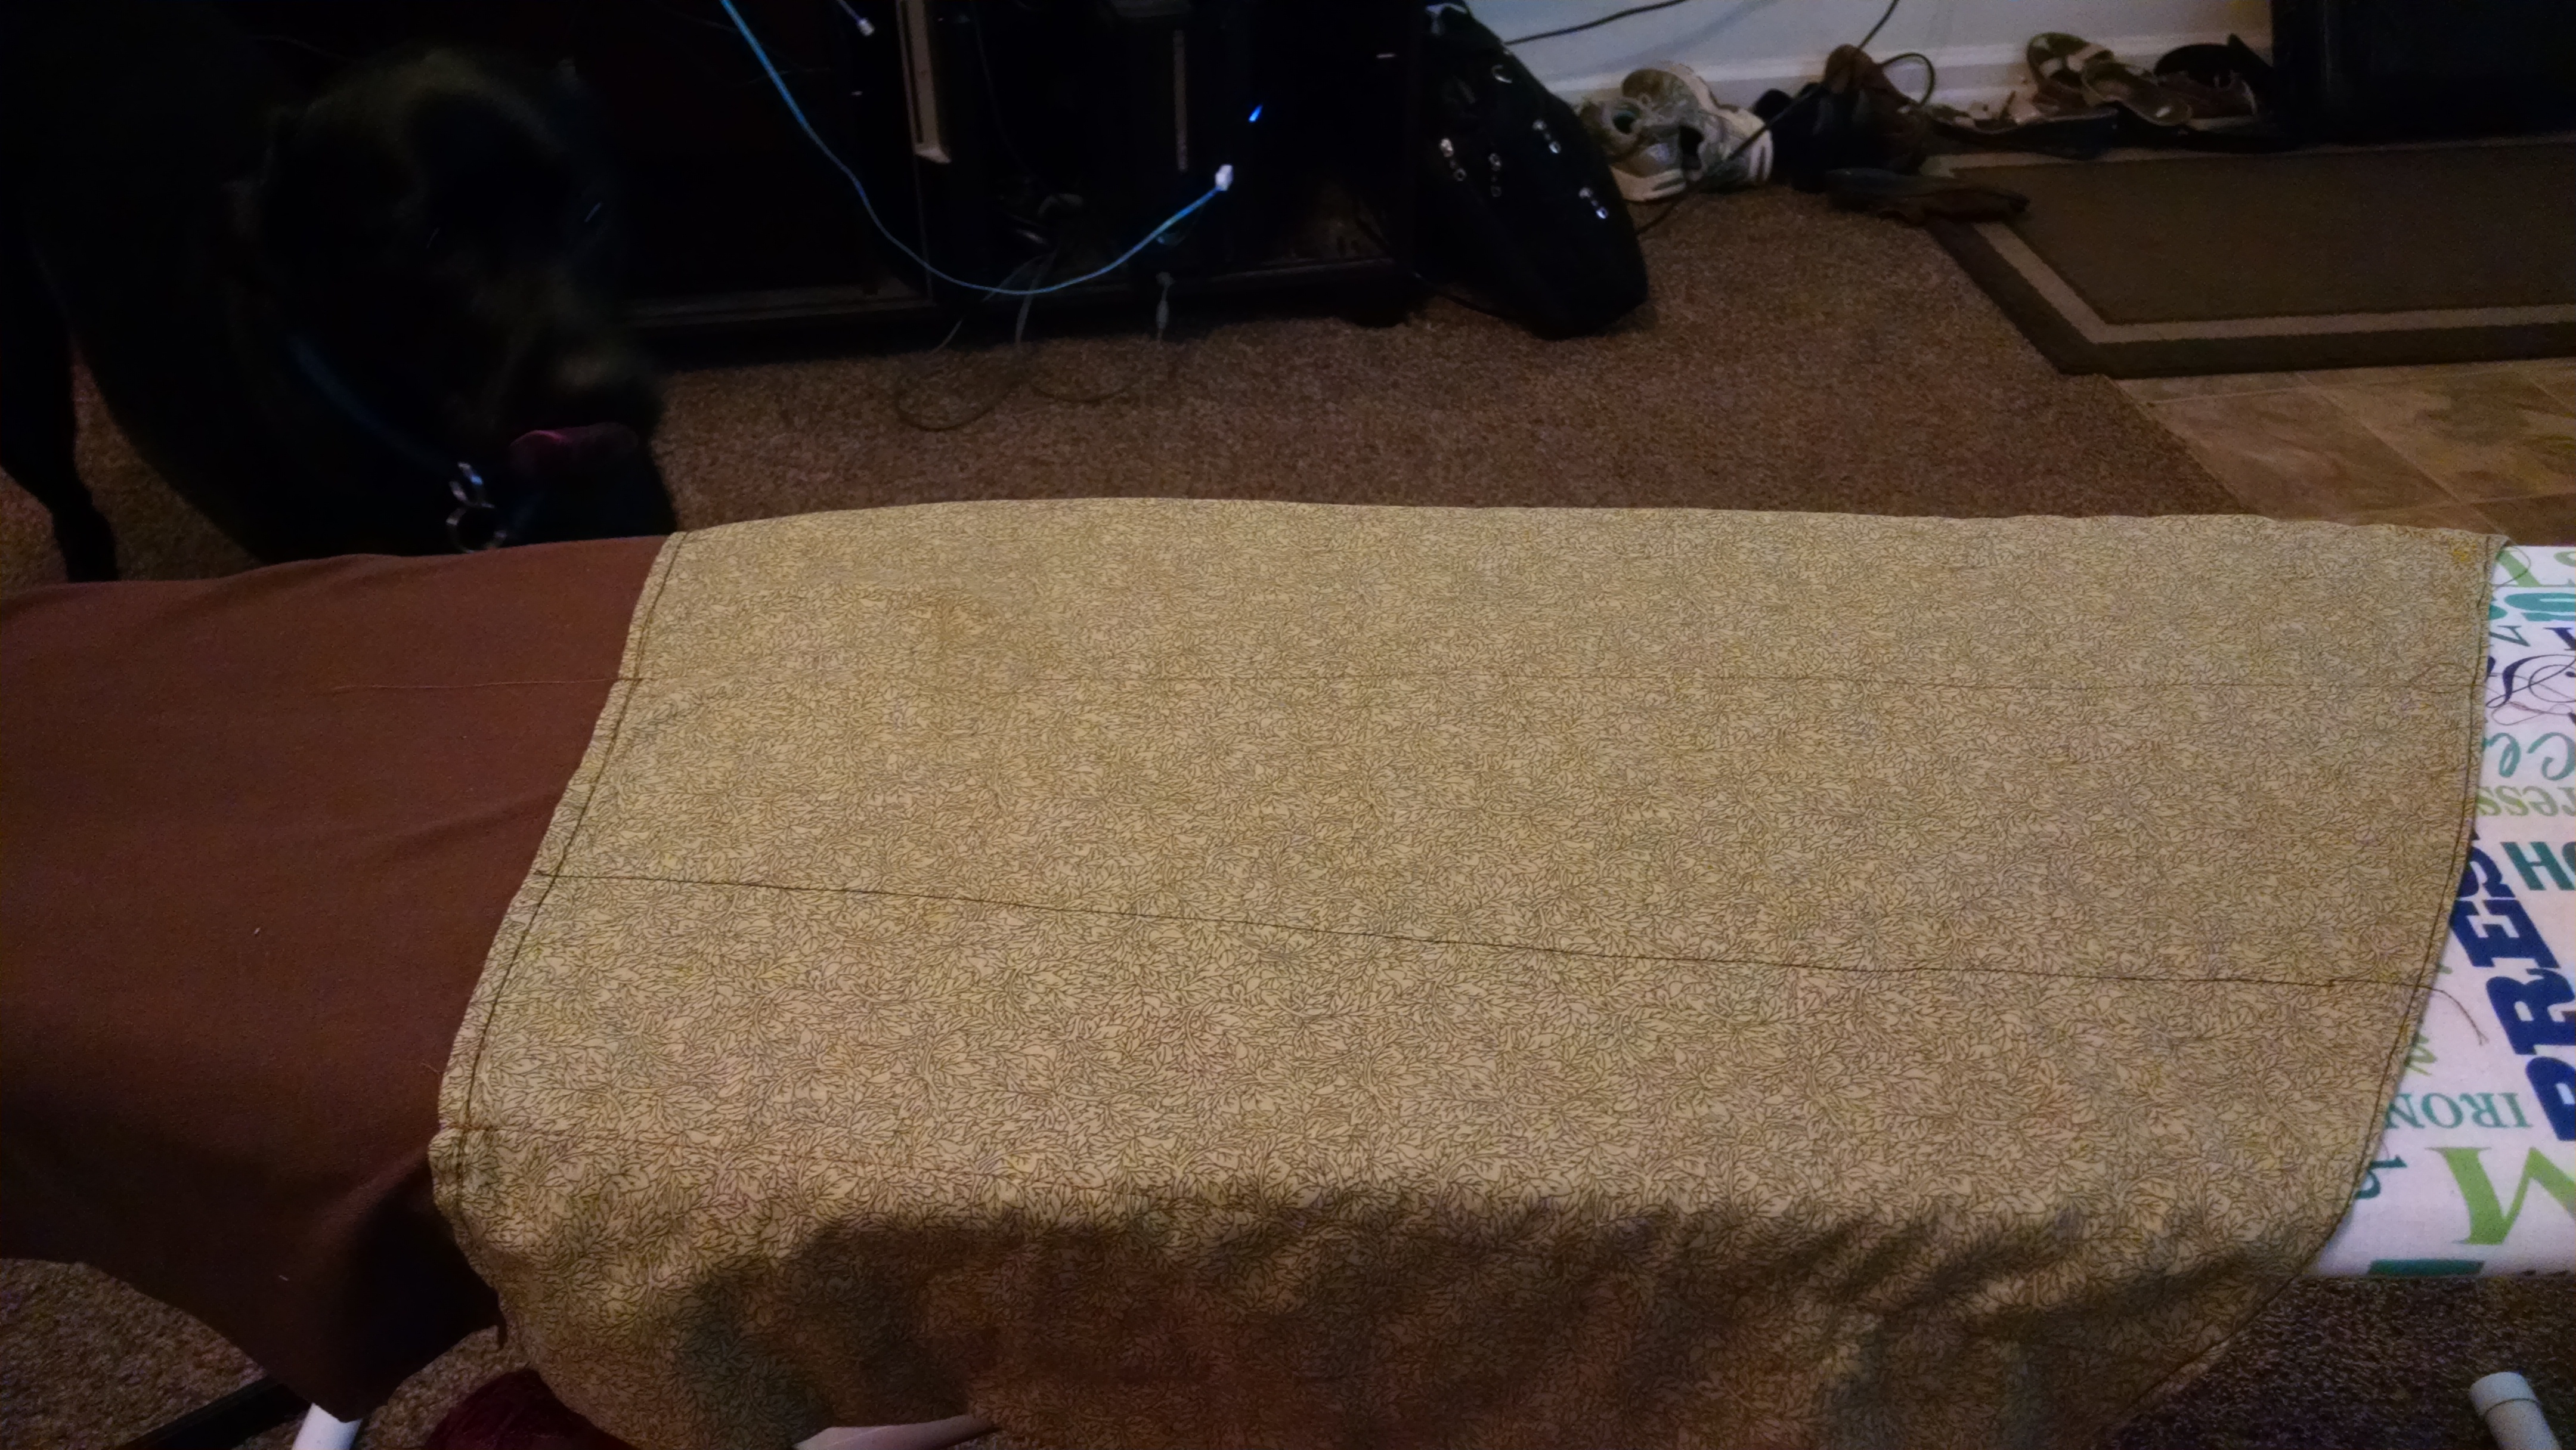
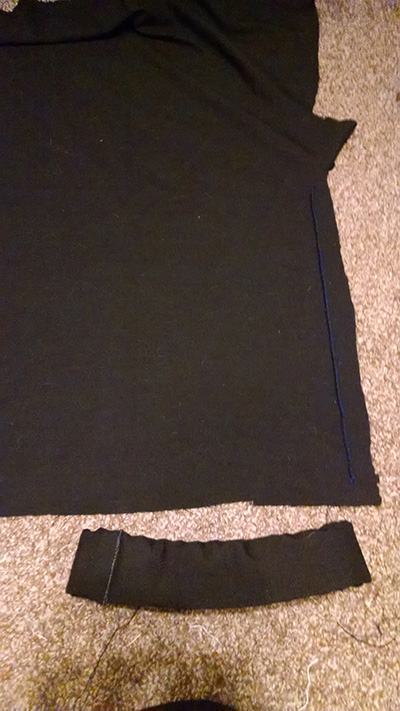
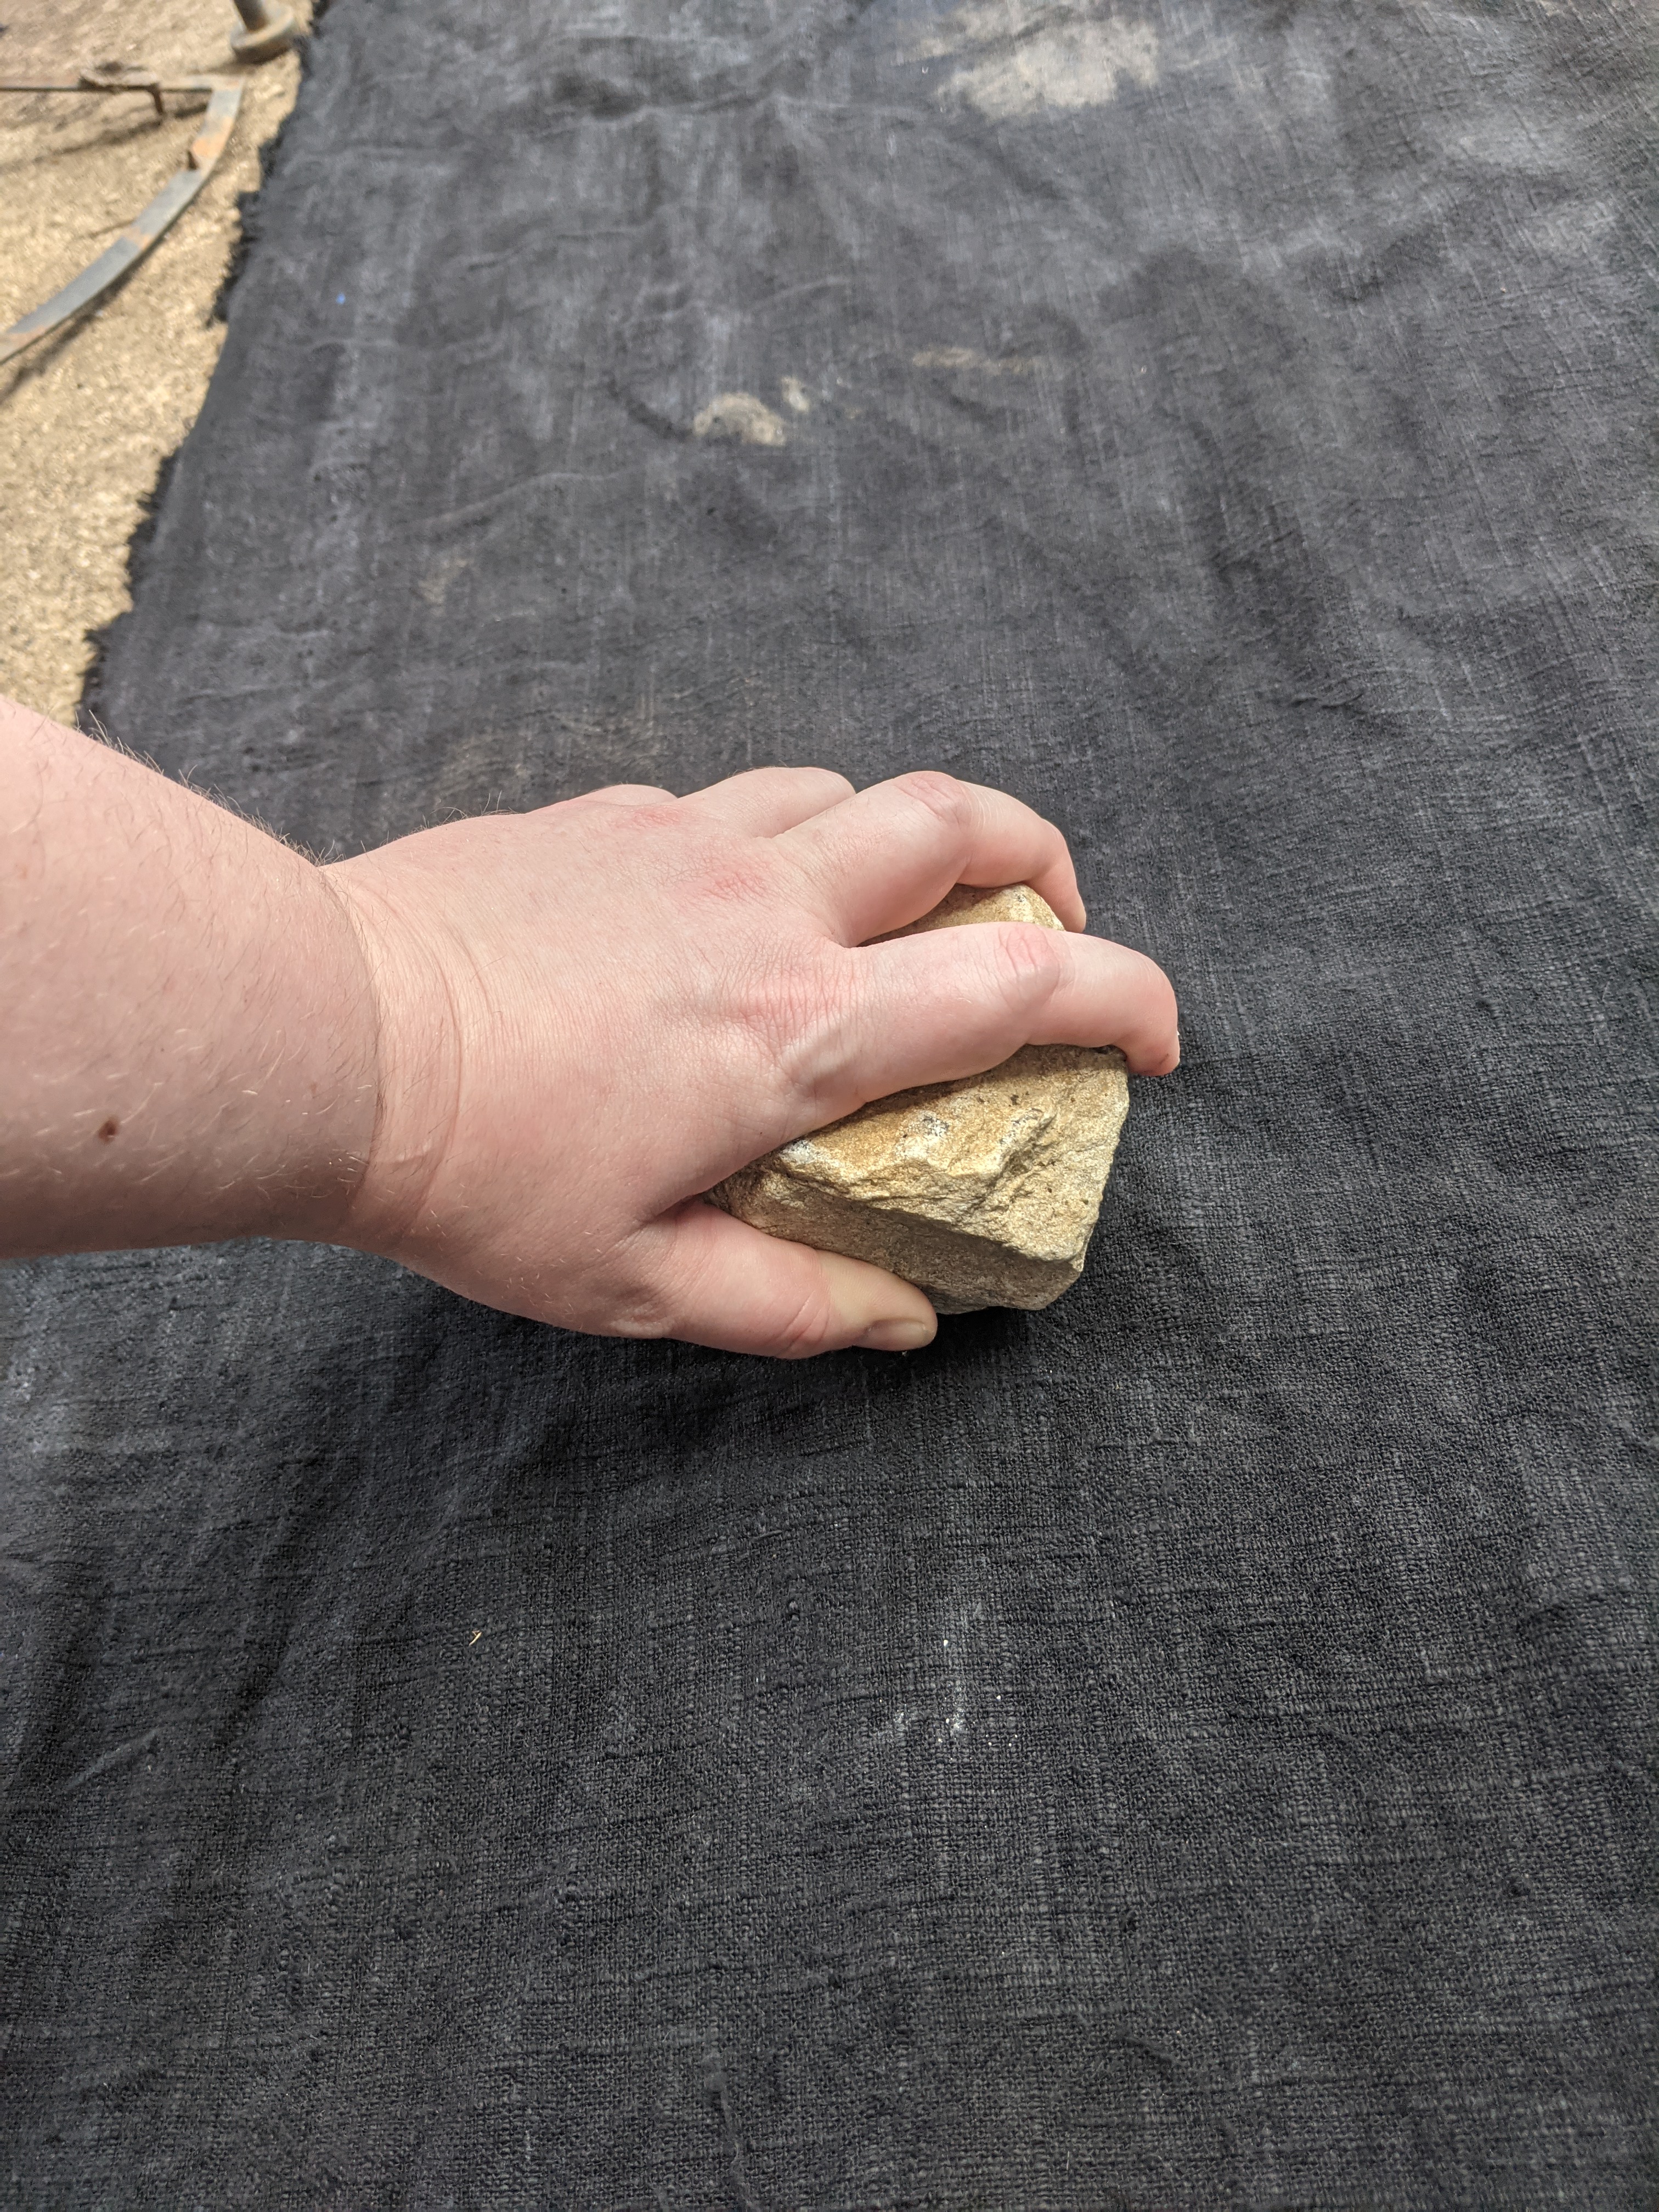
While that was drying, I brought out my skirt and arm wraps fabric. It has been through three hot washes and two runs through the dryer so far. I laid it out on my concrete patio, stomped around on it a bit, and rubbed a rock across parts of it a few times (and I’ll be washing it again before I run it through my sewing machine, so don’t worry about the dusty footprints).

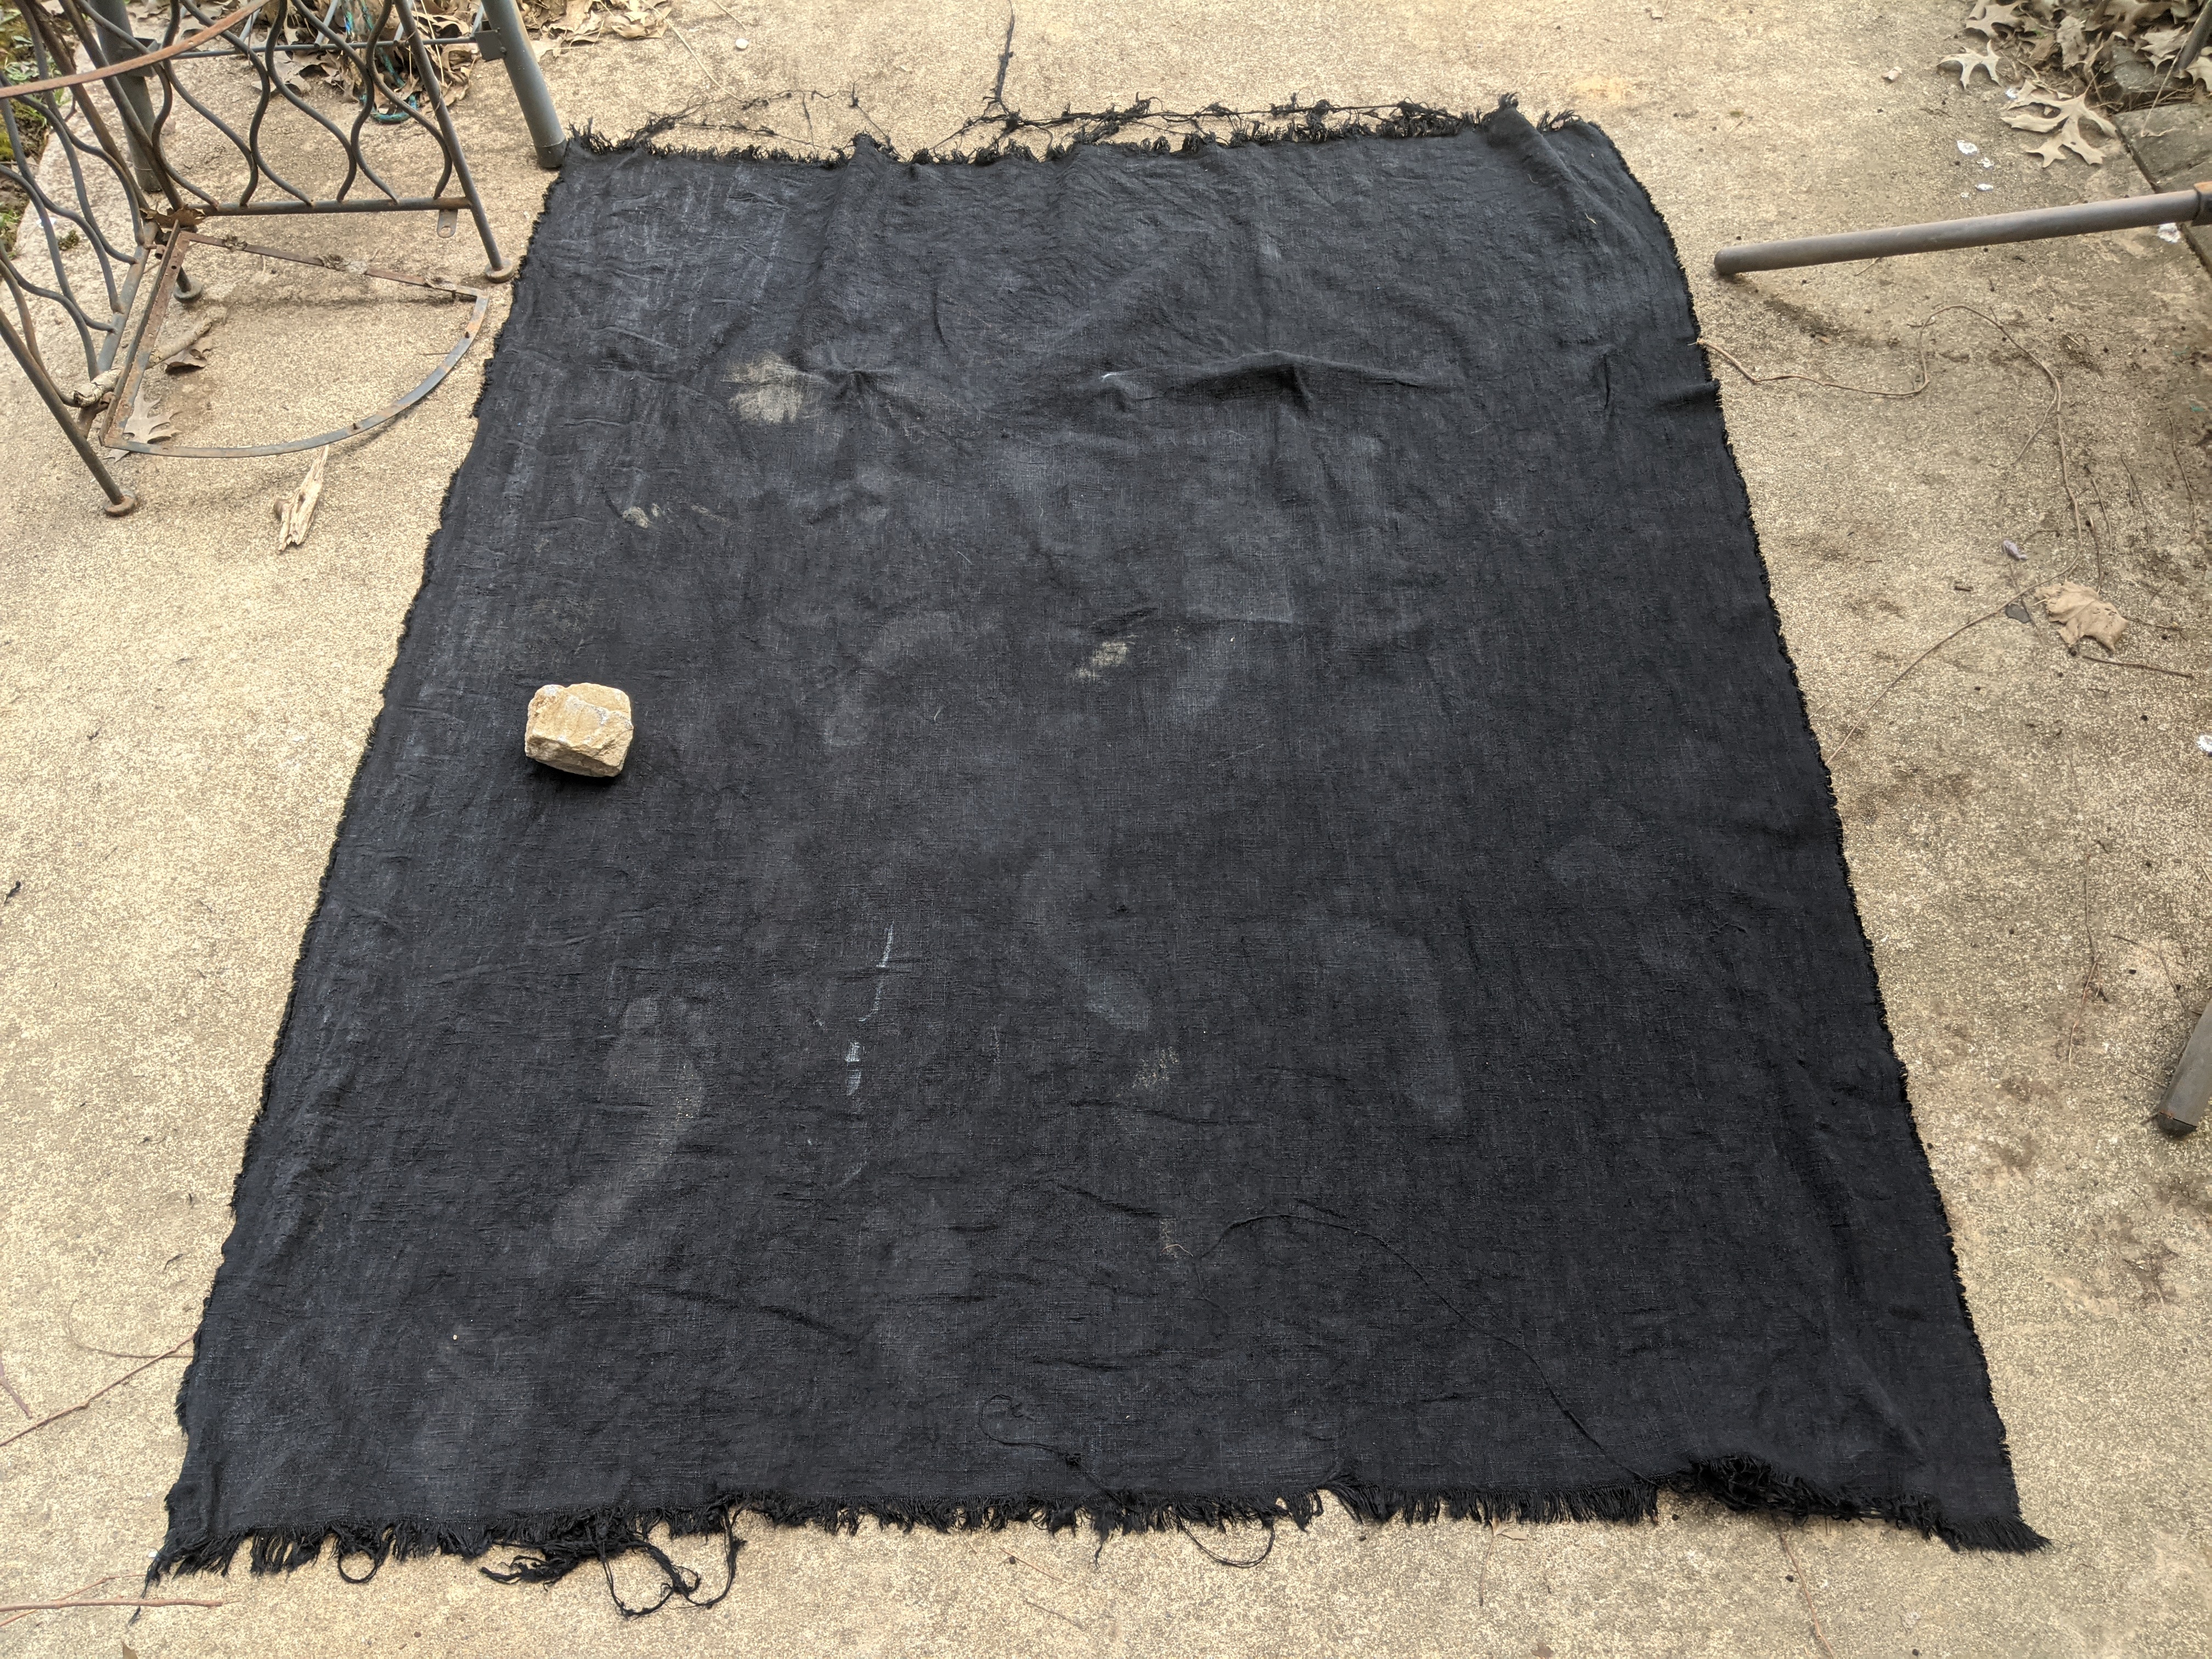
I then hung them up to sit in the sun for the day.

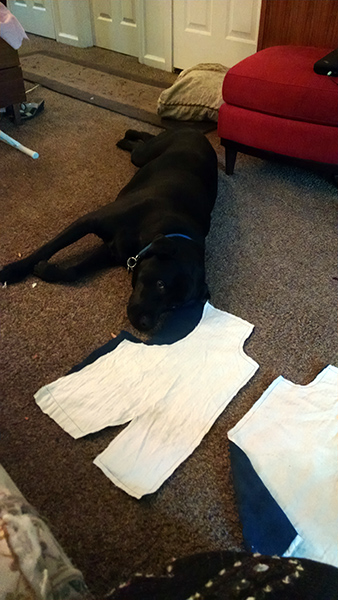
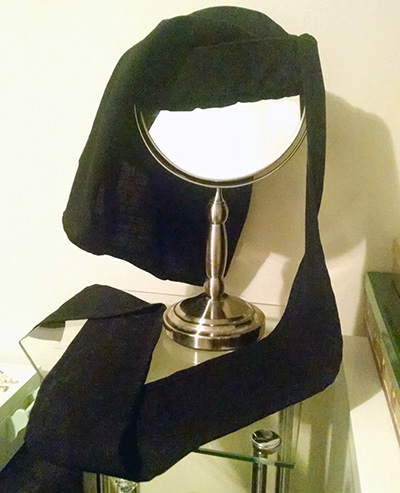
And this is what I sent to a few of my non-costuming friends when they asked what I was up to this afternoon. Sometimes you just have to be the weird sewing hermit…

While things were drying and sunning outside, it was time to tackle what became a much longer job than I expected it to be: sorting the beads. Note to self: 2000 is a lot when talking about beads that you need to sort through one by one.

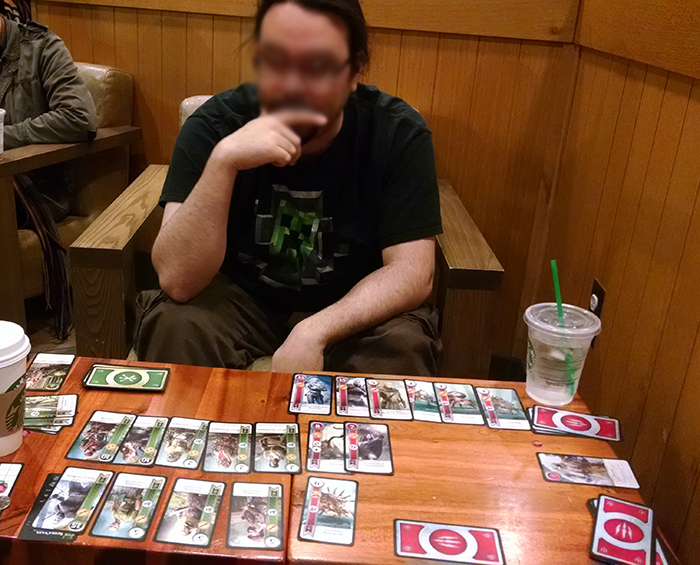
This was definitely a job for a boba tea (procured on the trip to the hardware store), and some Boba Fett (eps I and 2 again for inspiration). Also helping were my ceramic bowls courtesy of my very talented Aunt! Each one made a differently toned “ting” when a bead was thrown in. Eventually, they were sorted by color.

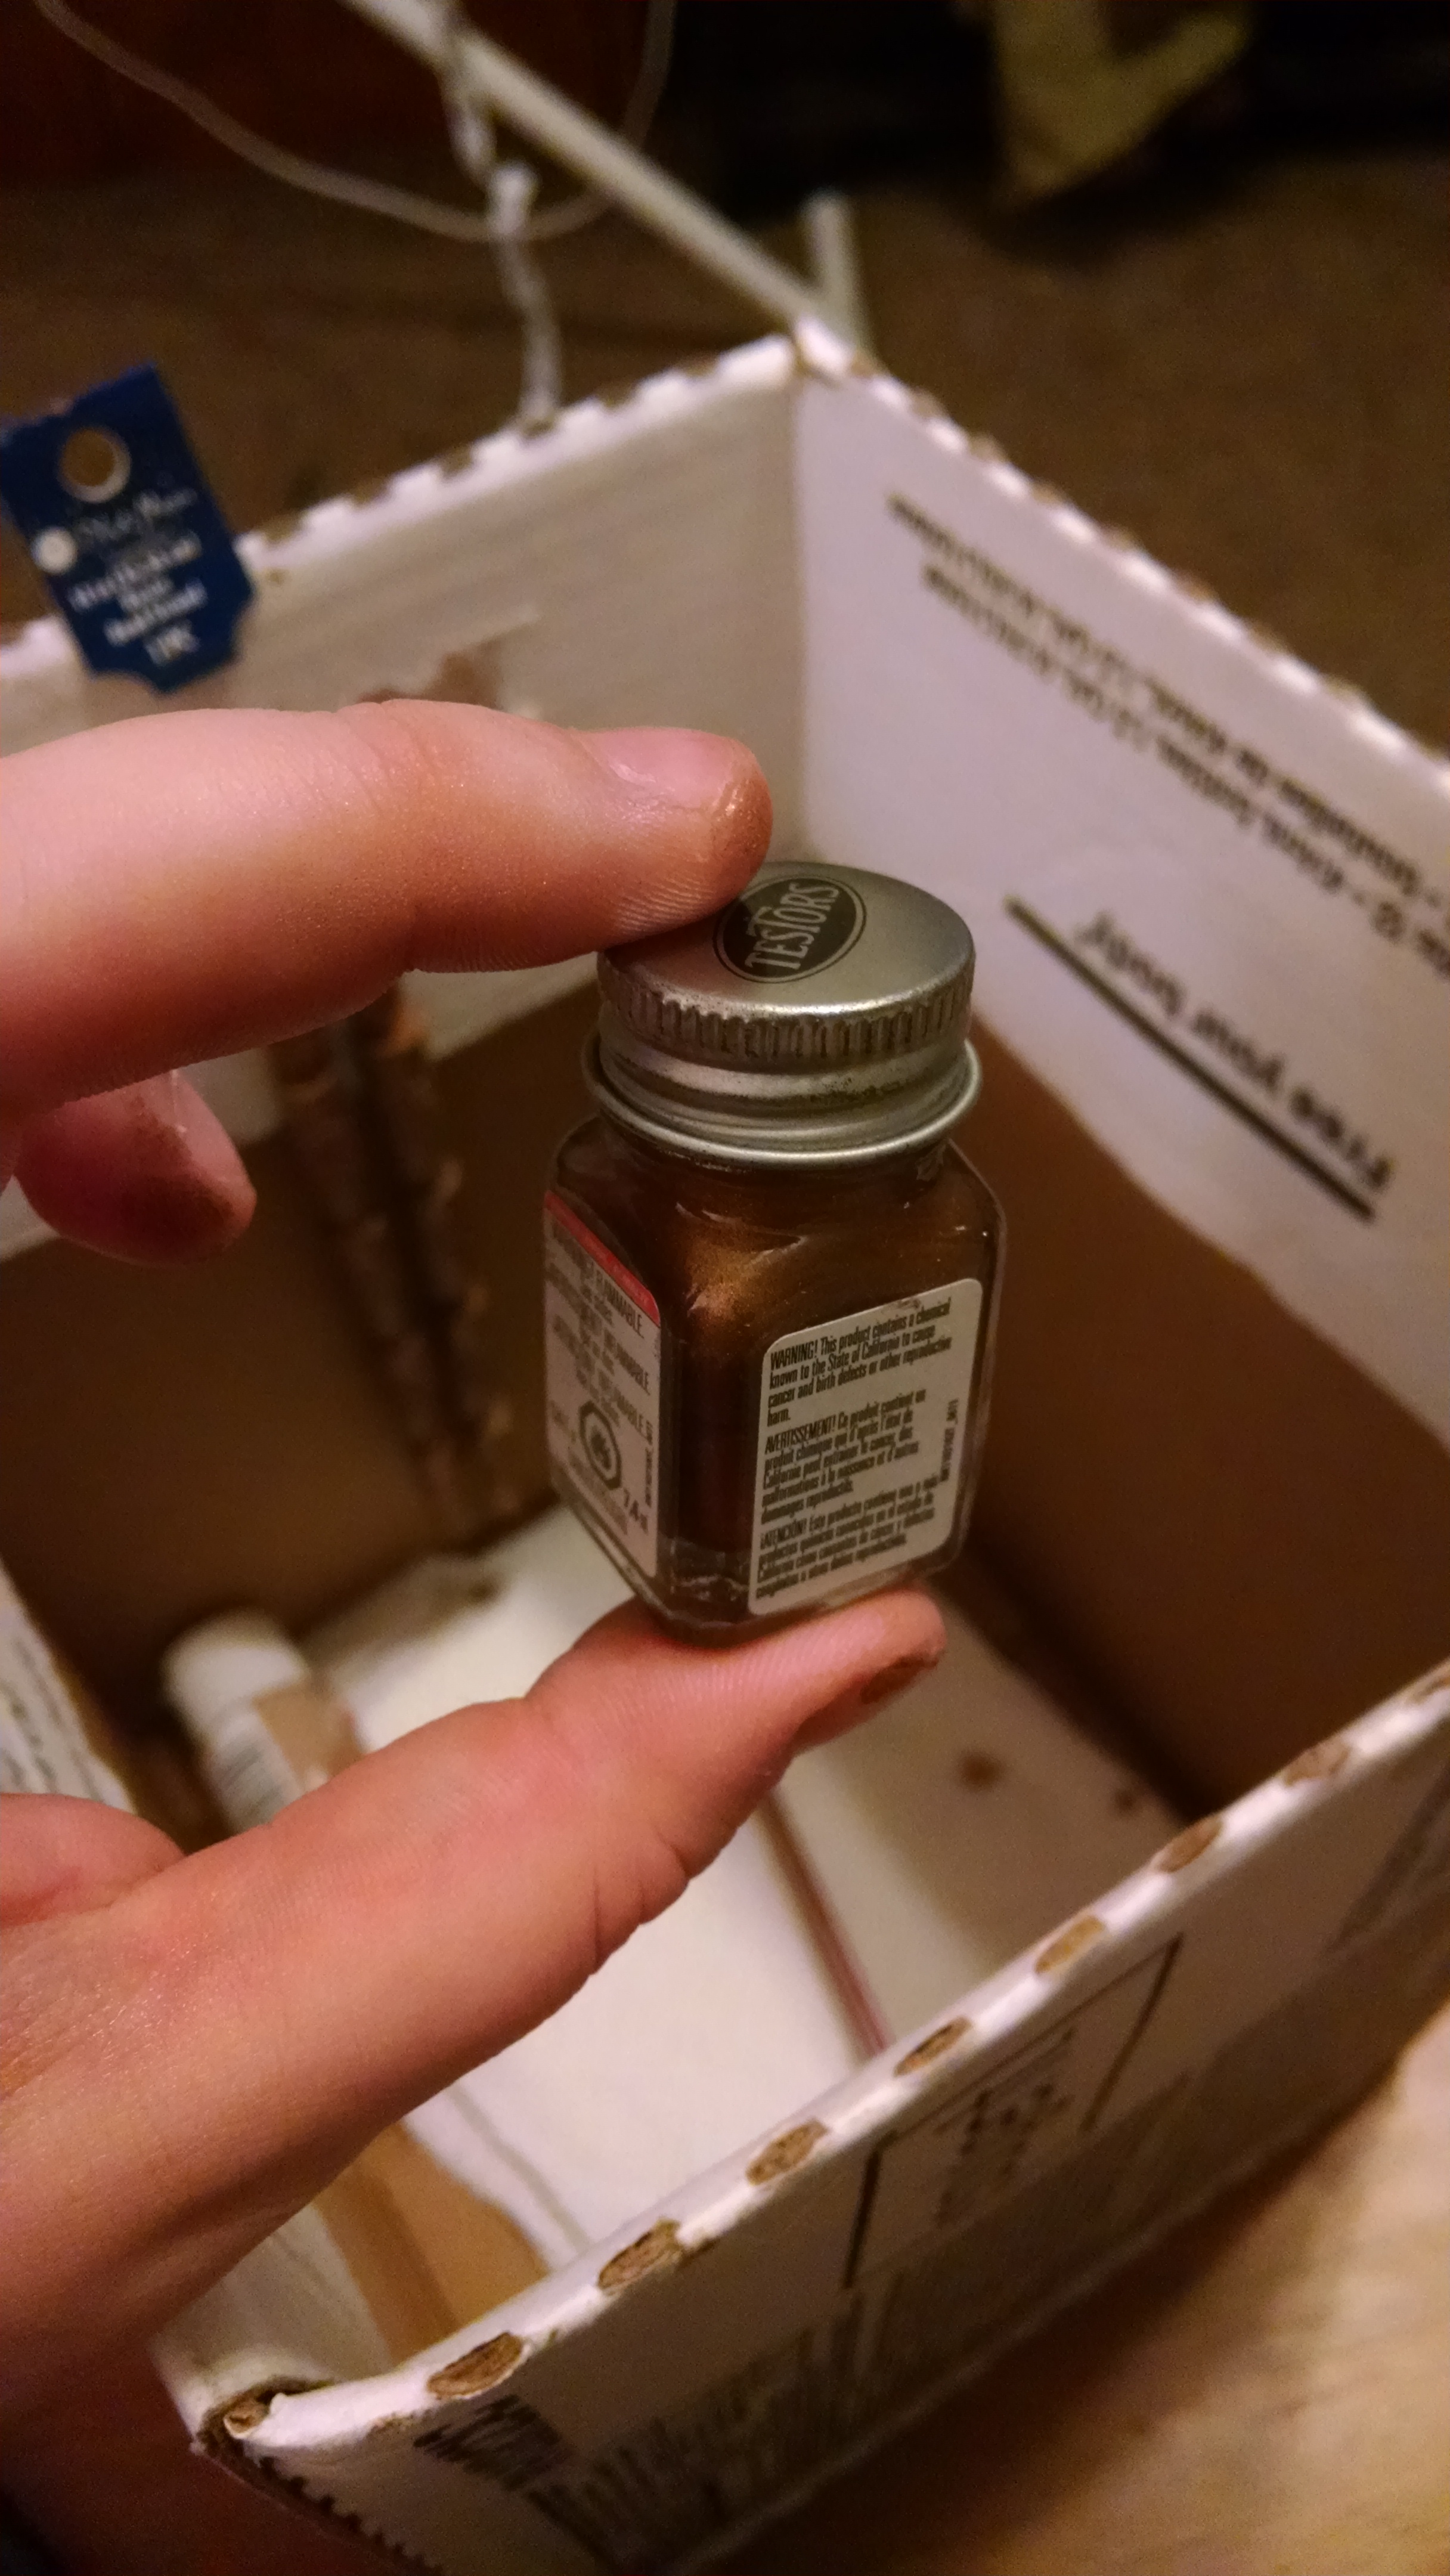
Studying the top of the apron, you can see a first row of ten gold tube beads. I took ten of the light brown beads (since I think light brown will be used least in this project) and spray painted them outside next to the beaded pull cord. I took a picture, but it’s so shaded, the beads just look gray.

At least you can tell they look shiny …

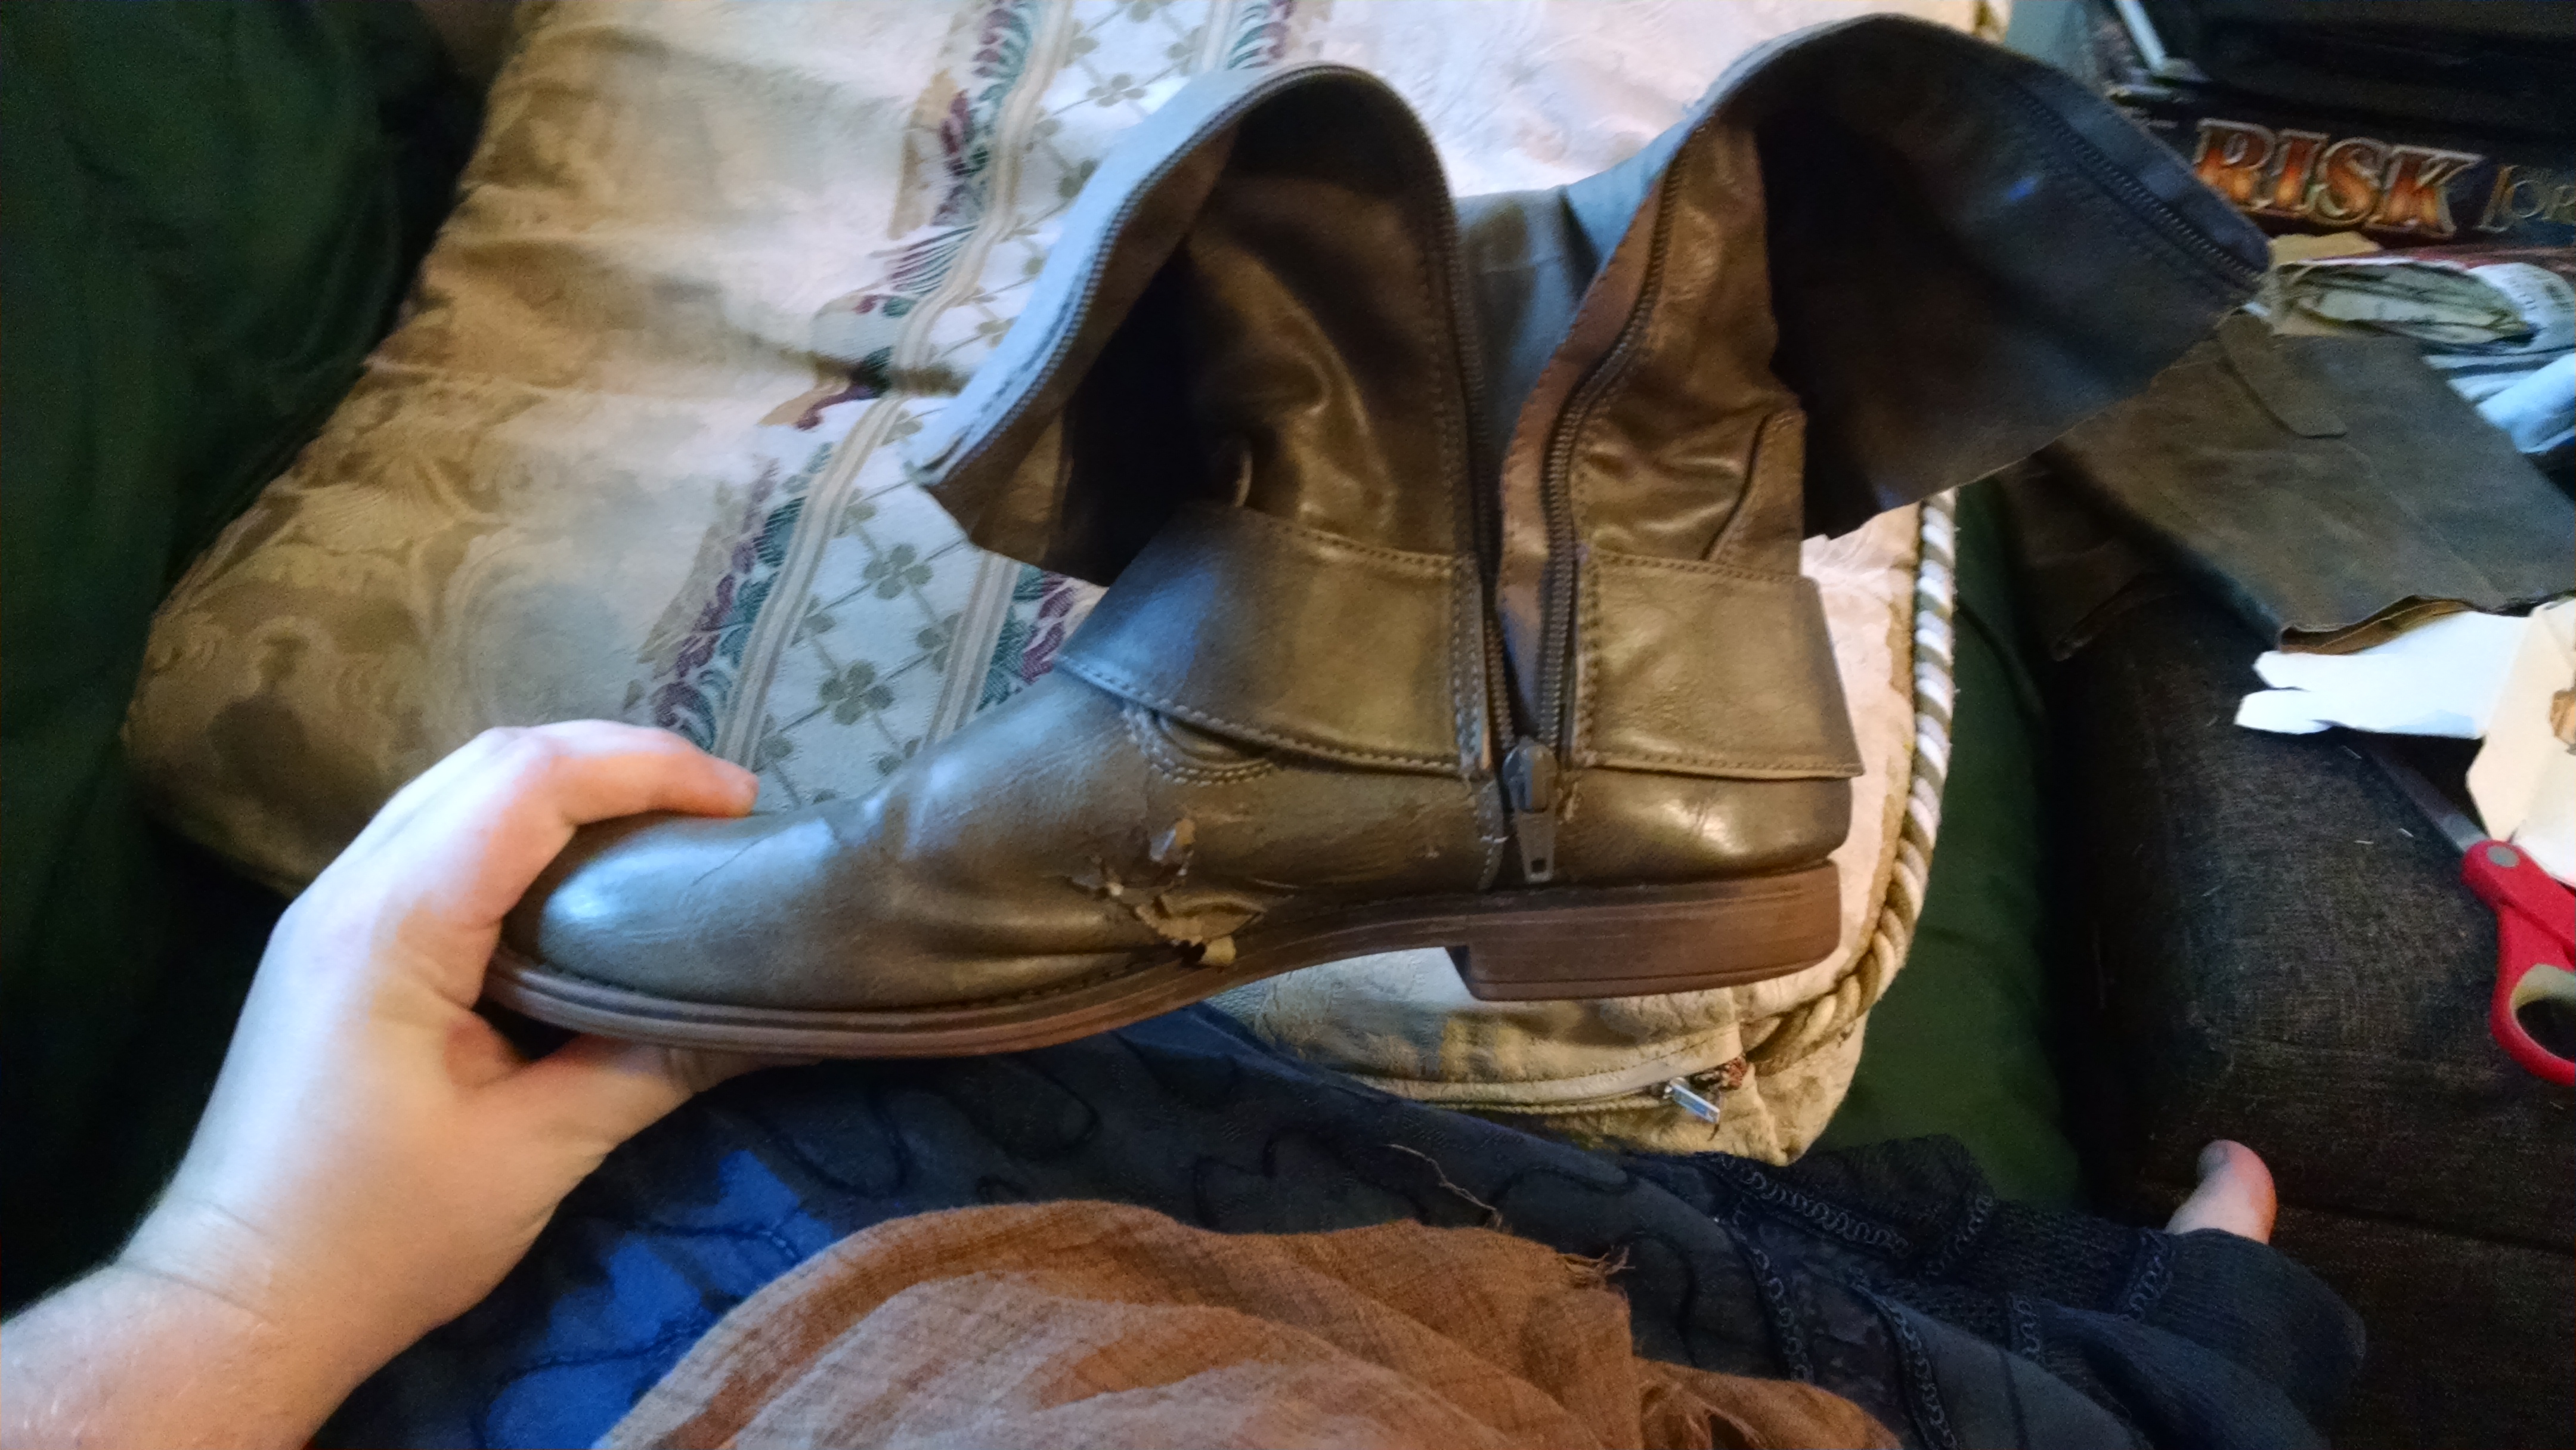
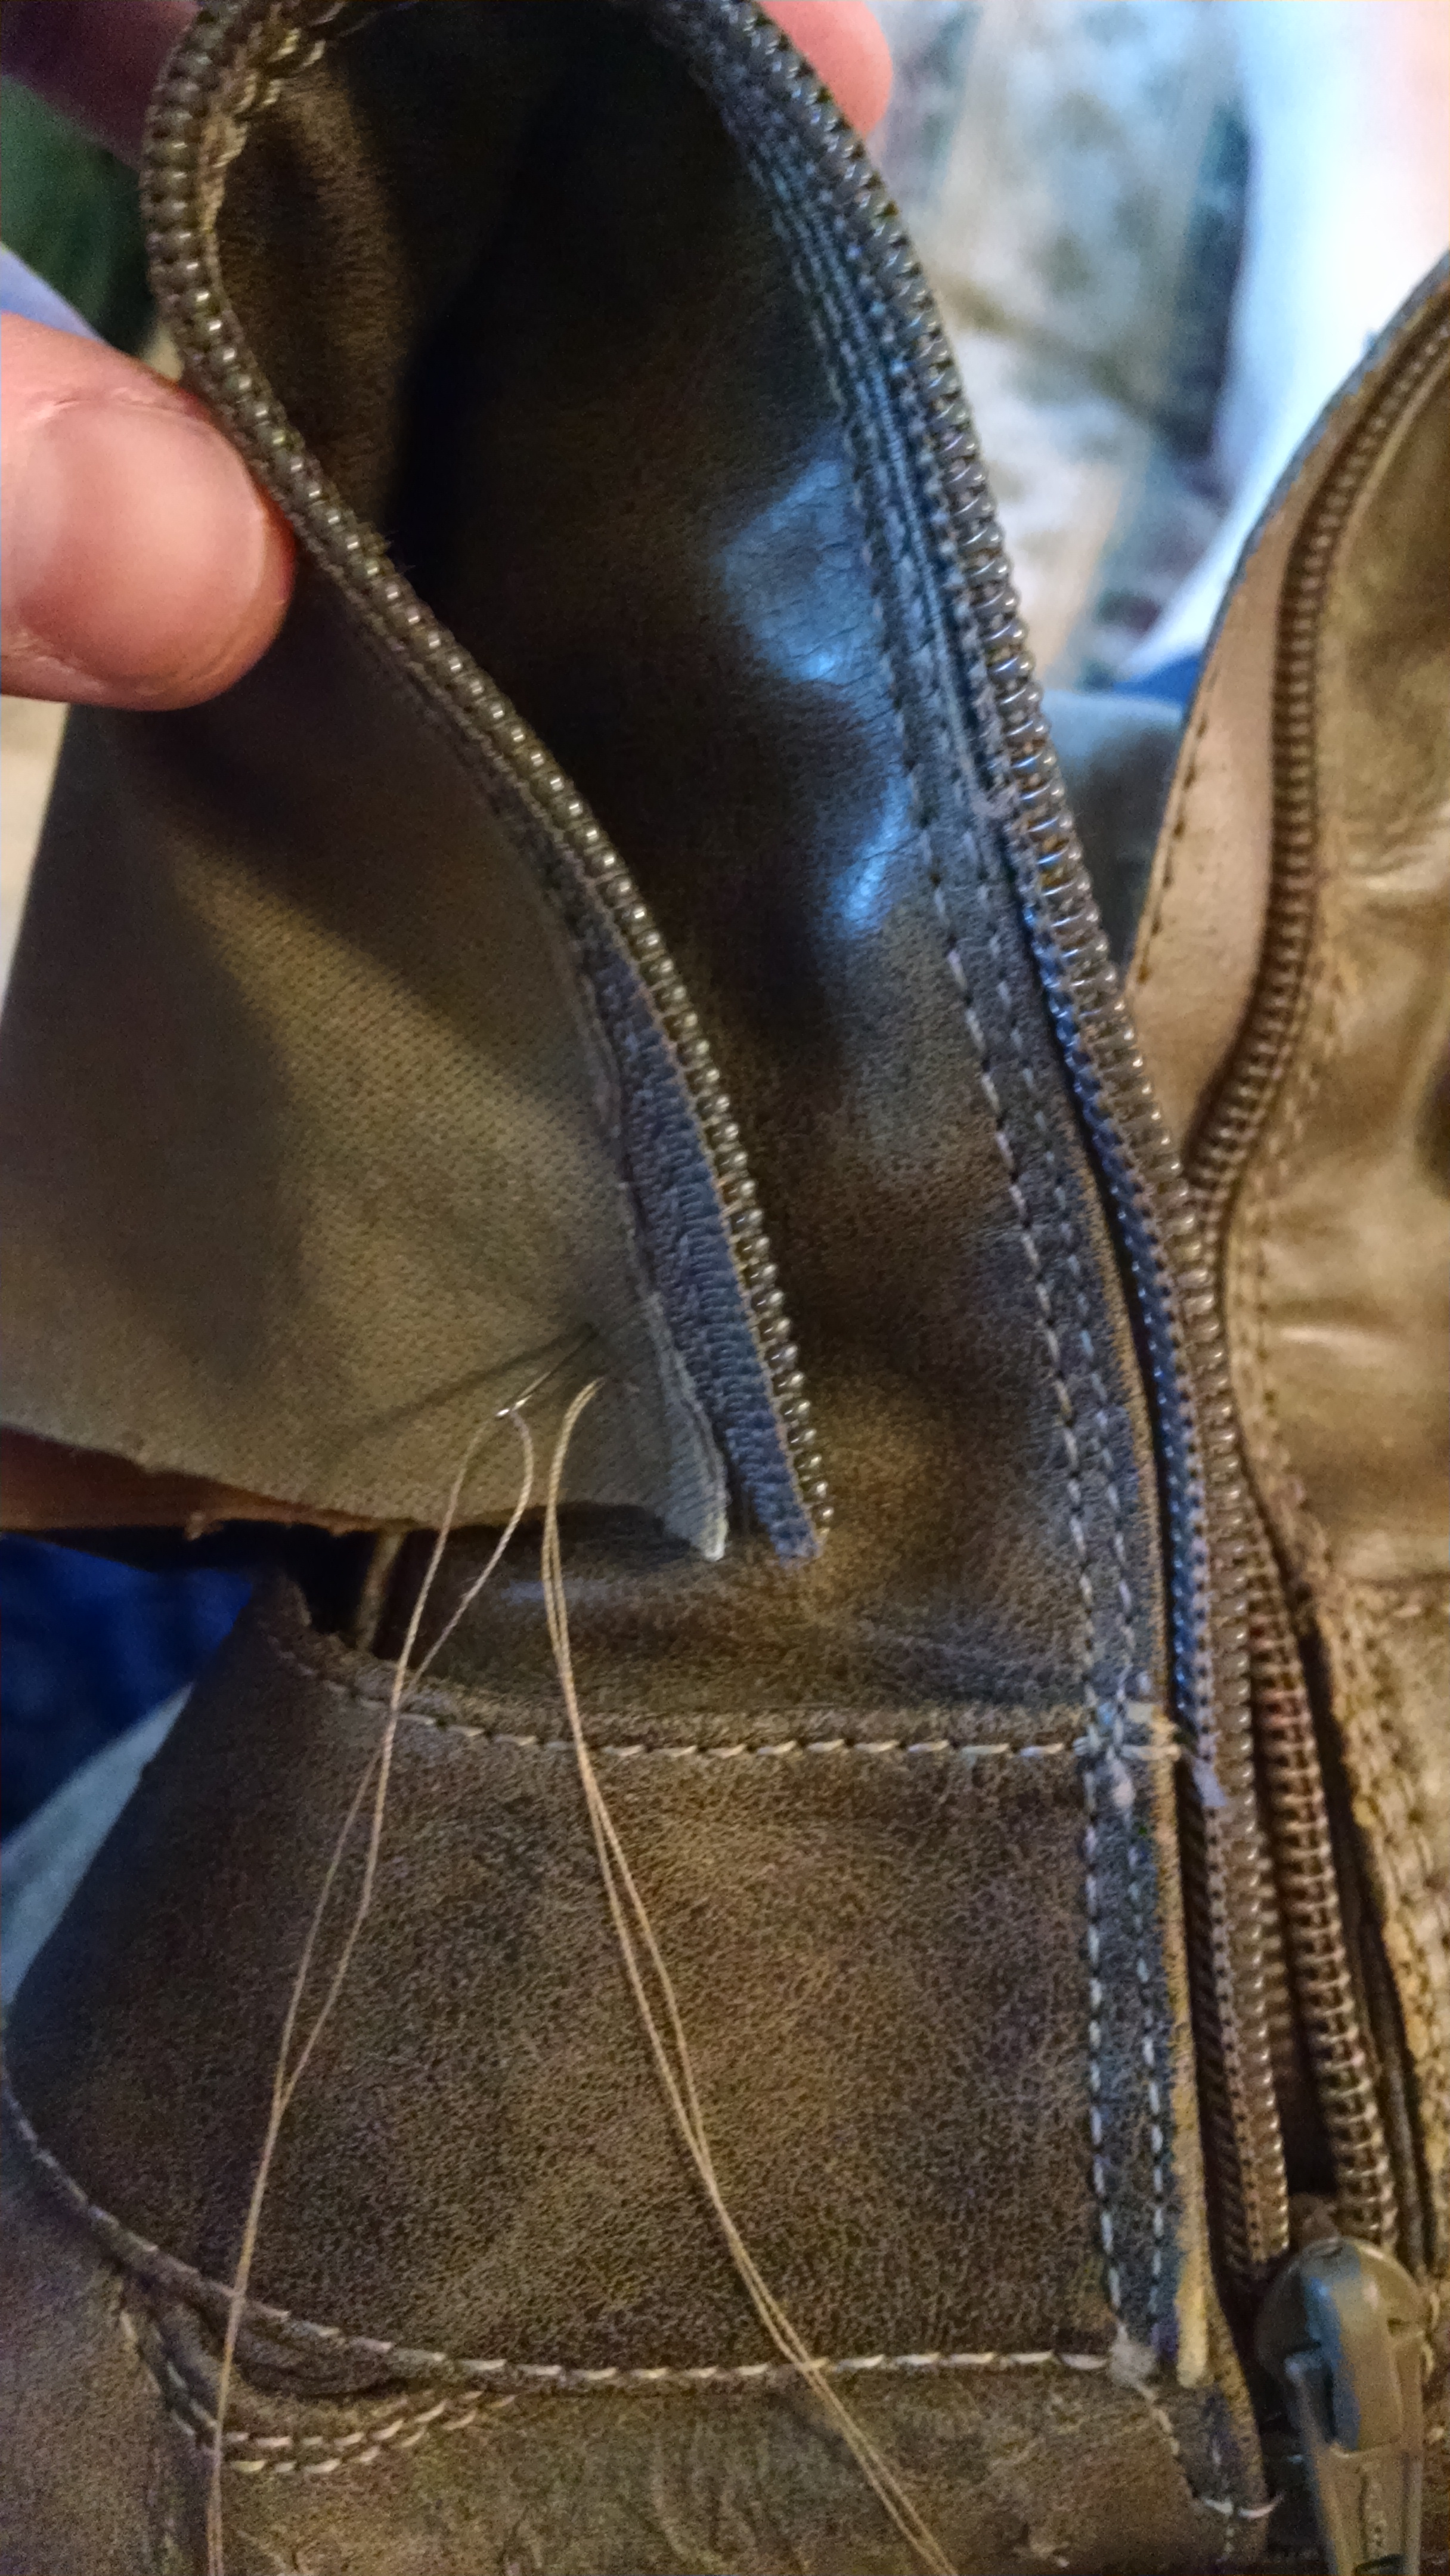
I started laying out the pattern after this to see what the beads looked like in order based on the photos at the top of this post. But. Yall. I only just now noticed that the beads are strung on leather strip cord. Look close at these two images. She alternated with black and brown. *SIIGH*, I’m going to go shopping tomorrow for this costume for the third day in a row, haha! Well. More boba tea for me while I’m out I guess …

I’ll have to bring some of the beads with me to see if they fit on the leather strip cording before I buy it. But it looks in both pictures like the beads aren’t very loose on the cording. Actually, they seem like they have space between them.

YALL THAT ACTUALLY EXPLAINS SO MUCH! I remember thinking through the show that the apron moved like it was backed by fabric! (It did *not* move with the bottom heavy weight of something that was only beads strung on thread). I was originally going to string these and tack them to a black fabric backing every 6 beads or so.

HOWEVER if the cording fits snugly inside the beads, then the beads themselves will move less, and the overall piece won’t be bottom heavy. Which means that when she does a spin in a fight, her apron won’t come back around and smack her in the chest.

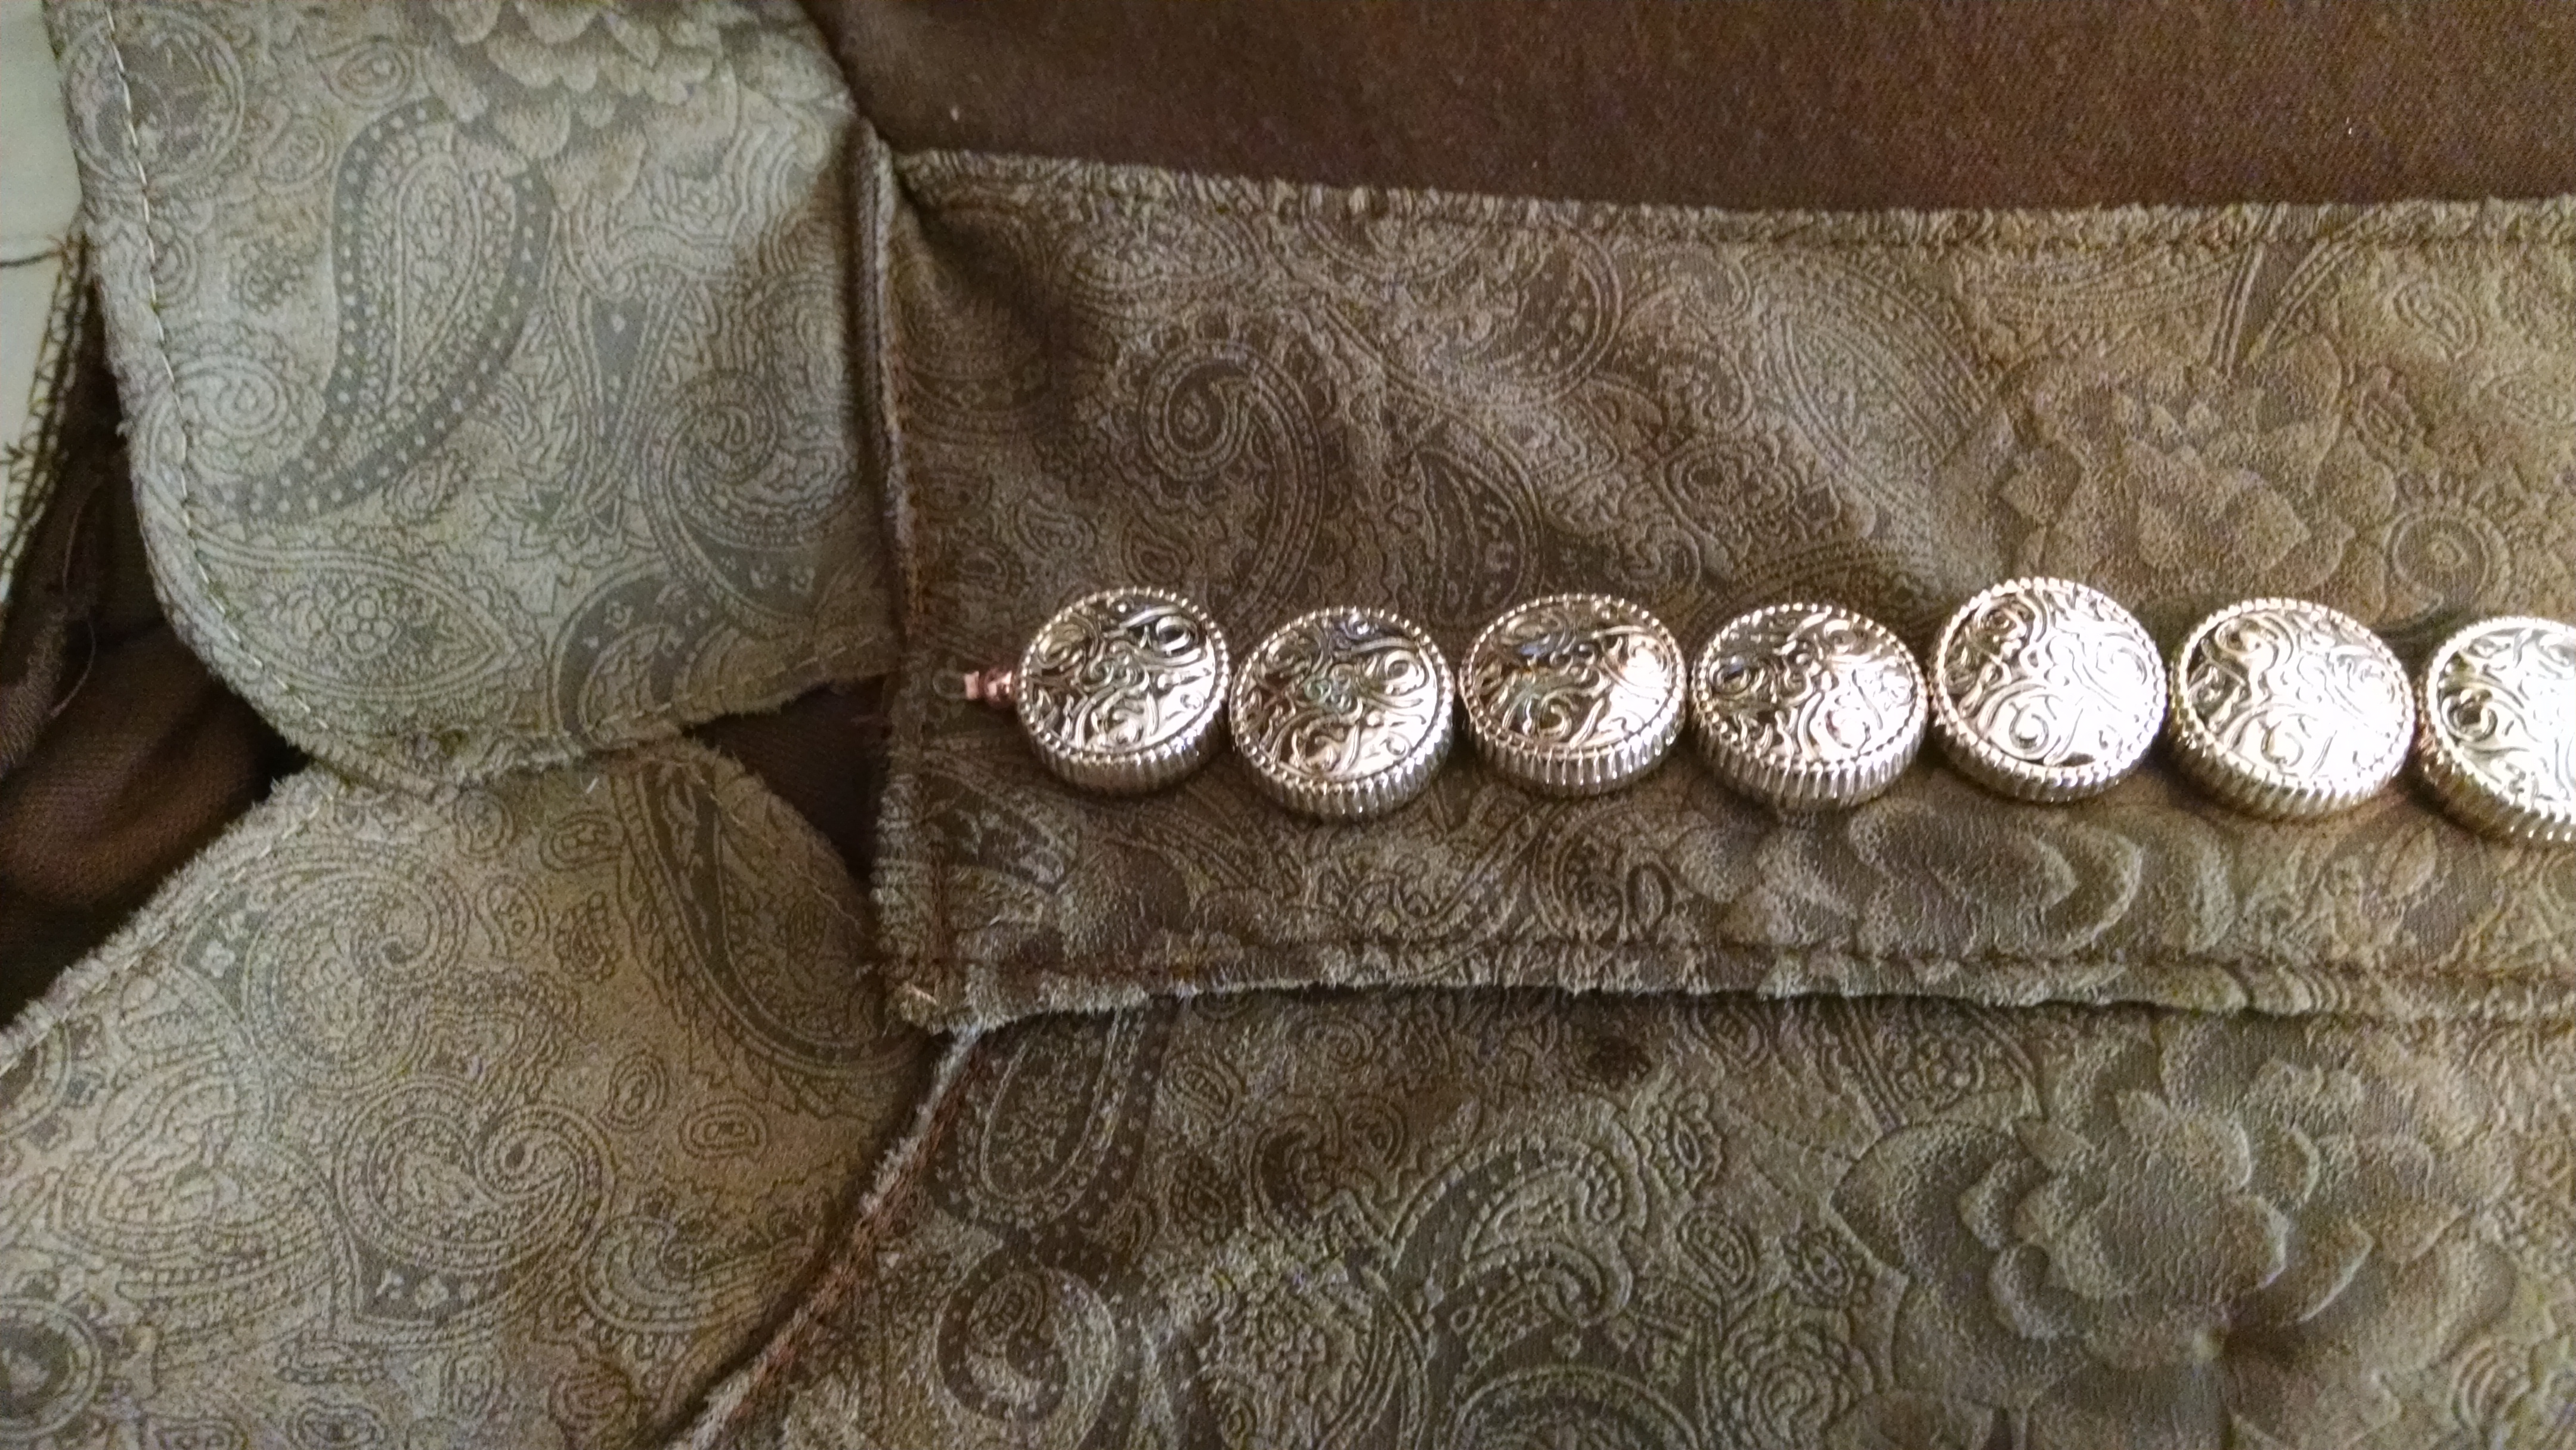
I’m also noticing that she has more than one little golden charm hanging here and there. So I’m taking this as further encouragement to use those charms that I found yesterday with the wave pattern on them.

I’m having a lot of anthropological Thoughts about these charms and this piece in general, but I’ll leave those for next time. I want to organize them a bit more before presenting any hypothesis.

Book of Boba Fett – Tusken Warrior

Holy cow look at that, I’m writing a blog again! Hello 😀

BOOK OF BOBA FETT (minor) SPOILERS. FYI.

So, like the rest of the star wars fandom I’m *obsessed* with the Tusken Warrior in Book of Boba Fett. I mean, she’s easily the most badass character in the show — and I’m including Mando and Fett in that list. Sorry, I’m not taking refutations!

So what’s a seamstress to do?

Make the costume obviously! It helps that I’m on vacation this week and just so happened that I didn’t have any current crafting projects in progress. (That’s a lie, but we’re pretending those don’t exist).

Step 1: Budgeting.

I don’t want to spend *too* much on this, so I decided to see if I could make this for roughly $150. Which also just so happens to be the amount I got in giftcards etc for my birthday last week. I know I’ll probably go over at some point like always, but ehhhh, I’ll actually try this time.

Step 2: The Mask (Research).

This is what would make or break me on this outfit. I’m a seamstress, not a prop maker. I’d like to get into prop making, but only once I have a workspace like a garage where I can blow sawdust everywhere and not immediately die. So I set out researching how others have made the mask.

I first tried to go to the 501st Krayt Clan forums because they’re my go-to resource for all things star wars costuming (who needs good guy costumes anyway?). Even if I’m making an outfit that isn’t going to be submitted for approval, the 501st (and yes, the Rebel Legion) are absolutely amazing resources for how to make these outfits look like they’re directly off of a star wars set. Unfortunately, there seems to be an email validation issue with the Krayt Clan forums right now and 24 hours later I’m still unable to log in. As is, the basic Costume Reference Library for Tusken Raiders is available here.

EDIT: I messaged the Krayt Clan official facebook group and they were VERY helpful! I can now pick all of their brains. 😀

Somewhere along the way I stumbled upon this tutorial, which was insanely helpful for me to understand how this is going to work. It made me think that yes, I can do this if I start with a good base.

At this point I’d sunk about 2-2.5 hours into this and finally settled on buying the $50 (3D printed parts only) version of this kit on etsy (link here). I want to buy my own vinyl and wrappings so that I can match it with other parts of my outfit:

Step 3: Thrifting

Her whole costume is worn and weathered. It’s a very different feel than the clean-and-perfect Imperial uniforms I’ve been playing with lately. Which means that you can pretty much get the fabric from anywhere. Seams don’t have to be perfect, piecing is period, and you can use as many remnants as you want. Fabrics don’t *have* to match, so you’re really free to use whatever you can find. Goodness knows that’s how the Tuskens tailor their outfits.

Boots: First thing that happened was a HUGE score on the boots. It’s like they were waiting for me! I’m going to use these as a base and wrap them in linen strips.

And only $10!

You can kind of see her boots in this shot – they’re the same color as all of the 501st CRLs on Tuskens:

Fabric:

I ended up buying 4 different knitted cardigans in various states of wear and stitch tightness:

I was particularly happy with these two, especially the loose knitted one:

I think one of the most important aspects of this costume is going to be varying up her textures. Her “hair” has to be different texture from her wrist wraps which is different from her skirt. Tatooine’s deserts don’t just manifest whole bolts of fabric after all — she’s pieced her outfit together from many different sources.

The cardigans will all be cut up (after being stay stitched) and used wherever they fit in the overall outfit.

Step 4: The Fabric Shop

I have a decent stash of just regular black fabric already (and a fair bit of solid red), so I wasn’t worried about pants, shirt, or cape base layer. In fact, I’m hoping I can just buy black pants and a black turtleneck and save myself that effort. So at this point, the shopping list was:

  1. her overskirt material (because it’s not textured like her cape and wrappings all are, so the cardigans won’t work here).
  2. leather/vinyl for the mask
  3. beads
  4. mask and boot wrappings
The haul

Skirt:

I really wanted a linen-ish fabric for her overskirt. Something rough woven, kind of stiff, and natural. I ended up with a linen look-alike (80% linen) that I got on sale:

You can see the two colors of vinyl I got also in the above photo. The darker one is very soft and was a whopping $34/yard (I only got 1/8th of a yard). It will be used on the inside of her mouthpiece. The lighter one is stiffer and will mimic the leather straps that go around her mouthpiece/nose and over the top of her eyes. It was cheaper at $10/yard. I got 1/4 yards.

Beads:

On one hand, I struck out on the beads. Yall, beads have gotten EXPENSIVE since I last looked at them! I figured I could just go to the kids’ section and get a tub of “whatever, I don’t care too much how shiny they are” wooden beads. In fact, there weren’t any in the kids’ section. I had to find the tiny wooden beads packets in the normal jewelry aisles, and then it was $20 for like, 100 pieces. Ouch.

On the other hand, I found these AMAZING charms which I’m including on her beaded apron (see above picture). My sw5e D&D game’s DM uses those spiral symbols as “wind” when we translate and talk with the Tusken Raiders in our current game. And Ms. Tusken Warrior has a circle of stamped metal on hers, and I couldn’t resist an inside joke, even at a sacrifice to screen accuracy:

I ended up ordering this pack on amazon. I will lay them out once they arrive to see if I’ll need a second package or not.

Cedilis 2000 Pcs Printed Wooden Beads

Mask and Boot Wrappings

EDIT: After getting access to the Krayt Clan forums, I’ve learned that the mask and boot wrappings should be done in duck cloth or bull denim. I’m going to use these pieces below elsewhere and go get 2 yards of tan duck cloth. It’s pretty cheap! And even better – they suggest dying it with black tea. I have a BUNCH of that at home already 😀

(Original Text): I found and ended up buying 1 yard each of two different ones: a sand colored (rayon crinkle?? I didn’t look, sorry!), and an offwhite linen look-alike (80% linen).

The color of the crinkle fabric is perfect, but I like the texture and look of the offwhite one better. So I got a package of “camel” colored RIT dye and a “dark brown” RIT dye and will play with it a little bit. Worst case scenario, I’ll pick one for the mask and one for the boots.

And that’s where we leave off today! I took the black pieces and threw them all in a hot wash just to see if I could ruin them even more before we start. I’m going to have to look up weathering techniques here too as we go along.

Hopefully tomorrow I’ll start on construction!

Regis Cosplay (DONE!… almost)

So faire came up on me pretty quickly, which means I had to finish Regis pretty quickly.

Ok, so it’s not 100% done yet. But it’s past the point of what I usually deem “wearable”! Which is the minimal status of being worn to faire (albeit that stage usually means it’s held together with safety pins in places).

Here’s the general idea (taken before buttons and actual Regis accessories were bought …. for some reason I don’t have a picture of the outfit yet with all the accessories! I’ll edit that in later, sorry! But I’ve still got the construction all photographed for you 😀

It still looks so weird on the female dress form. Just …. pretend it doesn’t have boobs I guess.

regis1.jpg

So we left off with the brown tunic pretty much almost finished. Just need now the buttons… Yeah. buttons. *cough*. I hate making button holes. And my husband really REALLY hates having anything close around his neck …. so I stitched together the front of the shirt and sewed on beads that look like buttons. Voila! Easy. Also way way way cheaper – I got 3 strands of beads for the same price I could have gotten like …. 6 buttons. And I need a lot of buttons on this project.

Pinning the front together in place: IMG_20160926_190111732.jpg

And laying out the pretty!

IMG_20160926_185830455.jpg

Motivation and spacing reference….

IMG_20160926_191626863.jpg

Spoiler alert: wooden toggles for the black surcoat are even more expensive than buttons. So my roommate found beads that would also pass, and I’m painting them up to look wooden. Maybe between now and Halloween I’ll invest a bit of a paycheck in to actual wooden toggles (lololol, no).

IMG_20160926_185549628.jpg


The Black Surcoat

This took a bit of creativity … and a lot of interfacing. Seriously. Interfacing. I interfaced the whole thing and boooooy am I glad! For multiple reasons of which we’ll discuss.

Firstly, I kind of winged the pattern. If you remember from my previous post on this outfit, I used one of my husband’s doublets as a tracing guide and then just kind of freehaded the bottom part. The resulting pieces ended up looking like this: IMG_20160921_133307931.jpg

IMG_20160921_135114803.jpg

Then I added the interfacing. I used a medium weight for the parts that were going to be waist-up, and a featherweight from the waist-down. I also cut out the rough shape in the interfacing layer, ironed it on, and only then cut it down to size.

IMG_20160921_131453540.jpg

This gives the garment stability, but doesn’t make the bottom too stiff.

IMG_20160921_153841713_HDR.jpg

I also drew the lines on this side for Regis’ stitchwork. Since I am making this more of a decorative surcoat than a padded or stuffed piece of leather armor, I decided to go with a gray thread to draw the designs with. I freehanded the circles up top….IMG_20160921_154150019_HDR.jpg

And used a dowel rod (don’t judge me, it’s what was laying around!) to draw the straight lines along the bottom. When stitching, I used a black spool and the gray was in the bobbin only. This darkened the design down a little. IMG_20160921_150504370_HDR.jpg

gotta make sure everything matches and lines up! Though I also knew me (in that I wouldn’t get this step done perfectly), so I left about an inch worth of stitching undone. I would only go back to connect the lines after the whole thing was assembled). IMG_20160921_145845059_HDR.jpg

Seriously, thank goodness it was interfaced. IMG_20160921_152703232.jpg

The amount of ironing it took to make this lay flat was MINIMAL compared to the puckering that I can only imagine I would have had if any of this had been done just through the front layer of fabric. IMG_20160921_155127680.jpg

At this point I realized “crap!!” the front lines don’t match up perfectly. IMG_20160921_221814764.jpg

But I was also going to lose about half an inch or so on both sides when I stitched on the lining, sooooooo …. we’ll see? Pressing on, because I really didn’t have time to seam rip the whole design …

Repeat all the process with the back design. So many threads to cut!

IMG_20160922_170118716.jpg

That inch of design leeway I mentioned.
IMG_20160922_170318027.jpg

All the pieces finally done and piled together

IMG_20160922_173109734_HDR.jpg

Now to line them. I’d cut out two different kinds of fabric to line it with. For the top, I used a cotton similar to the front fabric. For the back I found a suiting in my fabric stash because by now I was running low on black and didn’t want to put any more money in to this project (given that I knew we were going accessory shopping still). Eh. No one will see it, and it’s a fantasy costume first and foremost 😛

IMG_20160922_173447857.jpg

Iron it down, then pin together…. realize you cut it short and add a few inches ….

IMG_20160925_121513183.jpg

Then repeat with the suiting on the bottom. You can see my “F” for “Front”, and “T” for “Top”. Top because … that bottom piece is a really weird shape and trust me, it became necessary. IMG_20160925_121033371.jpg

Trim it all up once attached (or … before I guess as in this picture)

IMG_20160925_122142267_HDR.jpg

Stitch nice and close to the edge – don’t worry, there will be another stitch to hold it all in place still)

IMG_20160925_122620326.jpg

Flip inside out, and IRON IRON IRON THAT SHIZZZZNIT

IMG_20160925_123755889.jpg

Then pin the edges again, this time as close to the seam as possible… IMG_20160925_124455756.jpg

And stitch again. This one will be visible, so make double sure it’s nice and neat. Or in Regis’ ragged and centuries old self … with the occasional zig zagged edge…

IMG_20160925_124747405.jpg

Close the mid seam

IMG_20160925_125854269.jpg

And repeat for all four as your roommate plays Kingdom Hearts in the background.

IMG_20160925_130434858.jpg

Here’s where leaving that inch comes in handy. IMG_20160925_130754211.jpg

Though even leaving that inch, some of it needed to still be corrected…

IMG_20160925_131356966.jpg

Much better!

IMG_20160925_131633207.jpg

And that’s about it for the black surcoat! Yeah, that front line is still driving me nuts. Yes, I’ll fix it before Halloween. But no. I will not fix it before faire. Shush, you. IMG_20160925_203142341.jpg


The next step: a fitting in which I determine sleeve length, IMG_20160926_211402206.jpg

How far down the buttons will go (yes, this is slightly out of order, shush again!)

IMG_20160926_210648872.jpg

And the dimensions of the shoulder caps. regis2.jpg

…. which didn’t make it on in time for faire. THEY WILL BY HALLOWEEN THOUGH, SHUSH.

The Accessories

I’ll do another post on the “finished product” with a lot more pictures of these, but … here they are in their raw form!

IMG_20160928_155804872.jpg

The belt we found had these weird turquoise studs in them, so I painted them bronze. Here’s an in-between coat before adding the metallic paint. This was an acrylic paint I got for like, 79 cents. The bronze one was a tiny jar for models which was a bit more…. so it only goes on the final coat 😛IMG_20160926_224816834.jpg

These will eventually be his arm band things…. Obviously not by the time of the faire though…

IMG_20160928_155818640.jpg

And then there are the shoes. Ohhh, the shoes! These were fun. So we found a pair of knee high womens boots that fit him like a glove ($5 at a thrift store!) and cut them up. IMG_20160928_185219252.jpg

Folded the top down IMG_20160928_185254911.jpg

And stitched just enough to tack it in place.

IMG_20160928_185659335.jpg

It’s a shoe!IMG_20160928_185135319.jpg

Repeat for #2IMG_20160928_190142382.jpg

In my next (and final) post on this outfit, I’ll show you how I reused the leater from the top of one of the boots to recreate Regis’ satchel.

… we also bought him Yoga pants 😀 . I knew I loved this man for a reason ❤

IMG_20161002_123620386.jpg

Obviously there are still a lot of things to be done, but I’m tired for now … and I’m going to take a few days off of sewing now that the faire is done and over. I’m also a bit miffed because I’m scrolling through all of my pictures and don’t have a SINGLE good one of this outfit! HOW did that happen?!

… that just means we’ll have to go do a photoshoot of sorts.

Either way, the fruits of my labor. And the happiness it’s brought, which is the greatest point of sewing 😀

IMG_20161002_151018551_HDR.jpg

Regis (Part 2)

tc70teql3u1nid01nbds.jpg

Gods, I love Regis… sorry Emiel Regis Rohellec Terzieff-Godefroy.

Firstly, here’s a post dump of reference pictures on my sewing blog’s facebook page:

23456

Ok, so here’s the stash of fabric out of which I’m going to work my magic. A few sidenotes:

1. The pretty embossed floral scrolly brown fabric from which I’d like to make his shirt only had about 2.5 yards of fabric left on the bolt in Joann’s. So I’m going to use it for the sleeves, facing, collar … and that’s about it. For the rest, I’ll use a complimentary brown knit, which is suuuper soft, but a bitch to sew with. (Why will I never learn? I hate sewing with knit like this … >.<).

2. I’m adding in some green underlining. He’s constantly described in the books as smelling of the herbs that he carries around and is perfumed by (so as to hide his identify as a vampire to Geralt and animals). Maybe because of this, I (and many fan artists) imagined him wearing greens and brown. The game put him in black, but I’m going to add my own little touches that call back to my initial mental images of him in the books.

IMG_20160914_173230486.jpg

So in the spirit of not wanting to dig out my patterns, I dug out instead my husband’s doublet and used that as a pattern. I laid it out over the brown knit, cut it out (but with a much longer bottom and flared edges). I’ll admit. I kinda winged it. And then I forgot to take pictures of the initial pieces, but I’ll post the earliest that I have!

The original doublet (that actually was made from a pattern, I swear):

italian_renaissance_guy_s_outfit_by_jediravenclaw-d6spb3y

And THEN I used the bottom of the new brown doublet pieces to cut out the green floral underlining . Then ironed the absolute heck out of them together and started stitching them all together. This is the earliest photo of these pieces that I had on my phone. Sorry!!

IMG_20160914_174323186.jpg

The shirt / tunic is split up the front and closed from the waist up with buttons. Of which mine will be fake closures because I don’t do button holes as well as I’d like. Here’s the green lining:

IMG_20160914_174212604.jpg

It only goes to the waist.

I glanced briefly at Mccalls M4864’s sleeves and collar, then modified them somewhat and cut out with my own measurements.

sleeves.jpg

And then we had our first fitting. Now, my husband works 3rd shift and we had to wait for a night that he had off because we don’t get too much of our days together. He also doesn’t like standing still too long with pins sticking in and out of his clothing, so no pictures during fittings. But afterwards is actually where I starting taking pictures…  So yay, documentation! Here’s the tunic as it is right now, post-fitting, post-stitching.

IMG_20160921_173135753.jpg

I’m adding a few triangular panels to the skirt of the brown tunic, so it’ll be a lot more full than in the game … but it’ll retain a nice game-like silhouette.  Alas, that looses the front point a bit in the brown part (but you’ll see – it comes out nicely in the black doublet part).

Ditto in the back. The original point was nice, but adding in a panel makes it flare in a way cooler way!

IMG_20160921_215527243.jpg

I also too liberties of making it “pointed” in the back and the front for symmetry purposes. I thought it’d be weird to be long in front but not in back.

I’m going to make a separate post for the black doublet. It’s late, I’m tired, and I have a lot of pictures go put up 😀

I also have a lot of research to do on how to weather and distress garments….

Regis – Yes Another Witcher Character ….

Ok, so I should have warned ya’ll that I’m kind of shite at keeping blogs. Sorry. 😛

Not so much of an update except that I’ve 1) Been horrible at the HSM  thing this year (I’m planning on posting a January challenge in December, mostly because it’s theme is “procrastination”. Though they didn’t take my last attempt at humor very well. Ah well, we’ll see what happens….

And 2) Other than that, well heck I guess I’m doing another quasi cosplay. If you’d have told me a few years back that most of my sewing would be of the quasi-cosplay variety, I would never have believed you. Much less all from the same universe. But there it is! Or rather, here it is.

Oh, and if you haven’t played the Blood and Wine DLC (but read the books), sorry to spoil the main character. You know, if you didn’t know already. Which I’m sure you did because the English speaking internet doesn’t realize that Regis is a pretty major deal from the books and has been freely discussing him. Granted, they’ve also been discussing whether or not to trust him – to which I say YES, YOU ALWAYS TRUST REGIS GUYS, COME ON AFTER WHAT HE DID FOR GERALT YOU CAN’T EVER LET HIM DOWN. NOT EVER.

On to the pretty:
(and since I’m making it for my husband, I won’t be modifying it at all, unlike my Vernon Roche dress).

Regis Workboard1

No super witcher collar, but enough to get excited about. I was amazed to just walk in to Joann’s and spot that fabric by the way – it’s almost like the texture artists bought a yard and scanned in to use for him themselves!

I’m also very proud because I’ve stitched both of his glove designs without any puffy paint. This is an achievement you guys! Granted, I’m no Michele Carragher yet, but I HAVE been reading her website and been getting grandiose ideas about making my own appliques. Go check it out – she’s the amazing artist who did the embroidery on Game of Thrones.

Not much else to deconstruct and discuss yet. I’m amused at the Assassins Creed lines in his overall outfit (do all fantasy games think men’s surcoats tapered downward like that in center front?)  … and I’m definitely trying to figure out if I’m going to use dark blue or black fabric still. All of the DLC is shrouded in a yellow filter (I’ve taken some of it out in the upper right picture) so his surcoat doesn’t look at all blue in-game. But I can definitely believe that the picture on the left is the texture’s true coloring.

I’ll probably use black because that’s what you see when playing the game. We’ll see. Thoughts?

HSM #11 Silver Screen (For Temeria! Pt 3)

November – Silver Screen: Be inspired by period fashions as shown onscreen (film or TV), and recreate your favourite historical costume as a historically accurate period piece.

Welcome back! By now, all of you are probably on the edges of your seats to see how Verna Roche is going to turn out. I promise not to disappoint! Also for you HSMers out there, I’ve interpreted “silver screen” to include video games. Let’s spoil ourselves on the final product first before going step by step, shall we?

vernon roche dress

SIDENOTE! : Before I get grilled on the silhouette, I was coming off of a 3 day migraine on the day of this event and had already imbibed about 50mg of sumitriptan before getting dressed. I was NOT going to wear any of my period appropriate undergarments, I was lucky enough to go in garb at all. So yeah. Modern bust! OMG BOOB BULGES! 

I’m so incredibly happy with this outfit. You may recognize not only the HSM July and October Vernon Roche themed projects, but I also realized that my January Foundations chemise fit right in to the outfit being made of Blue Stripes. If you haven’t played The Witcher, Roche is the commander of the “Blue Stripes”, the King’s special forces, and all of their clothing is centered around this theme.

Back to history. What’s period to Roche’s hat?

houppelande1365973632434

… definitely stuff I can work with here! Really it’s perfect, I just needed to truncate the sleeves a bit and split the front skirt, neither of which is unheard of. We can also consider that the inspiration piece is supposed to be from Poland – and their neighbors were all already slashing, puffing, lacing, and (yes, adding bells!) to pretty much everything. German clothes got away with a lot of fun stuff. And for the sleeves? Look at the bottom right woman. If you couldn’t afford the fabric, you had to start cutting corners. It seems that sleeves is not a bad place to start.

A reminder of my original sketches:

outfit

Firstly, for those of you familiar with my thrifting tendencies, I got my fabric from a thrift store – two dark blue curtains to be exact. They were a tad too dark for the project, so I thought I’d lighten them up. Thank goodness I tested swatches in a fabric dye remover bath before I dipped the whole thing! I tried to take a good picture of the colors, but this is the best I got. The far right is the original.

swatches

It’s super hard to tell, but the second from the right is the color I wanted. That was *literally* not more than 2 seconds worth of a dunk in the dye remover. The second on the left was 30 seconds. It was a scary process doing this to two huge curtains.

Dyeing done, I turned to the dress itself. I used just the bodice and sleeves from Simplicity 4900 as a start, and modified them on my dressform to fit the silhouette I wanted. Patterns are more of a suggestion anywho.

… and my dog helped cut out the pieces

whuffs

Obviously not as much fun as a tennis ball….

Bodice taking shape. Yes, that’s Witcher 2 in the background. I found a “movie” version on youtube and watched all 6 hours of a Roche’s Path playthrough while making this (95% made of the game’s cut scenes). It was satisfying.

bodice 1

Attach to the skirt…

skirt

… and it starts to look like a real Thing! Now for the part of the foundation dress that makes it the most Roche. I hadn’t noticed how important his white shoulder puffs are to the overall look, but this project made that very apparent.

I sewed a wide rectangle of my white (stripped XD) fabric in to a rolled up tube, then made tabs to wrap around it. Then I stitched the bases of all of those together.

shoulders

They went on to the shoulders nicely

should


Added the collar and pounded in some grommets (badly, but whatevs, they’ll be stitched over a lot anywho, no one will see the metal – hey, it was cold out and I had to do it outside!).

top

And the details for a preview of the final product:

zdress


So at this point, my phone’s camera goes from here to pictures of the patch being finished (viewable at this post), and then to the renaissance festival where I wore it. I apparently didn’t take pictures of the sleeves! Silly me. 😦 . Needless to say, I scrapped every inch of blue material together that I still had, but it wasn’t as much as I’d hoped. I came up a tad short and that’s why the white stripes on my sleeves are so much wider than Vernon’s are.

Also in lieu of a chain armored skirt, I went with one already in my collection. It’s gray and embellished with ruffles. Not quite 15th century, but subtle, and also textured just enough. I think I’d prefer a gray quilted skirt to mimic the chain links, but that requires WAY more patience than I have. Or a really good thrift store find!

Also, in place of Roche’s Lily necklace, I used my Lady’s Chain necklace that I was awarded by one of my reenacting societies. We wear Chains of Rank, and I have a rose on mine as I was founder of our Order of the Blue Rose. Gotta keep in persona at events too!

Overall I’m really super happy with this piece! I think it turned out to be both a great genderswapped cosplay and a decently accurate period piece. Two birds, one stone! Best part? I even got recognized by one of the many Ezios floating around the faire. Score one for the seamstress 😀

faire

Bonus image of what I’ve done in this outfit since. My husband didn’t want to wear his Dandelion outfit in to Starbucks with me, but he at least acquiesced to playing Gwent there for a good two hours the day we bought the set 😀

zgwent

I’ll get him to dress up in public with me one of these days!

Sewing Secrets: For Temeria! (pt 2)

Edit / update: So apparently, SOME people didn’t find this “appropriate” as an entry in to the HSM. Well. That’s fine. Negate the fact that this is a joke / play on the theme of the entry after all. Not only is the theme of the patch a “hidden allegiance”, but the fact that it’s sewn over puffy paint is a “secret” to anyone admiring my garb! The paint gives the design a great padding, but once sewn over is never apparent. You are merely left with the illusion of a massive amount of “built up thread”. How do I know this? I’ve researched the shit out of it, and I’ve also started embroidering over fabric, thread, and spangles since this project. All period techniques. Guess what? It looks exactly the same.  Not to mention my now decade of research in to heraldic display. If you take issue with my display of fictional arms as “period”, go challenge the whole SCA. Also, if you need a lesson in heraldric display in textiles or its origins, I can happily point you to my thesis on the subject.  /rant

Historical Sew Monthly – October – Sewing Secrets: Hide something in your sewing, whether it is an almost invisible mend, a secret pocket, a false fastening or front, or a concealed message (such as a political or moral allegiance)

11800405_965822761785_420789898620656152_n

Welcome back to Temeria, where I have officially decided to make Vernon Roche my Silver Screen project for November! (I’m expanding the definition of “Silver Screen” to include Video Games). But that’ll come later, for now I have to tackle what might be the most intimidating thing I’ve done all year: Embroidery.

I have 0 patience for embroidery. My sewing boxes are full of half-started embroidery projects that fell by the way side after only a few days of trial and frustration. Believe me, I tried to come up with a way to “fake” this project, but joann’s just isn’t selling fleur de lis patches in the right size, and applique wouldn’t look right. Instead, I decided to turn to a cheat that I’ve heard much about and never tried before ….

First however, what makes this challenge worthy of being a “sewing secret”?

Vernon Roche is the head of the Temerian secret service in The Witcher 2, fighting for Temeria well after the assassination of King Foltest. He remains loyal to Temeria even after the kingdom is conquered by Nilfgaard. By The Witcher 3, Temeria is a conquered territory, and even the game’s prologue features an innkeeper being pressured in to removing her Temerian shield from her inn’s wall. Roche himself removes his patch from the outside of his outfit even though he’s still commanding the special forces (as a guerrilla group). I highly doubt he removed it entirely however, and he just wears it under his armor closer to his heart:

roche

So how to make this for someone who want this outfit, but despises needlework? Anyone ever heard of the puffy paint method?

Hint: IT TURNS OUT SO WELL!

And it can be considered a totally modern version of a period technique. Period embroiderers would sew thread over more thread, fabric bits, or metal “spangles” to give their work depth and cushioning. Why not turn now to something easily usable and readily available? It’s a fun modern take on a period technique AND it’s another secret to add to our project!

11701065_965841878475_3591750851411310725_n

Decided to go for more of a toned down gold rather than a yellow gold. I separated the strands of the thread and used two matte threads and one metallic one per needle. It gave the finished project just enough of a sheen to not be gaudy. This is also appropriate as period embroiderers would mix in metallic threads to their satin threads for similar effect … it gave a shine, without using too much of the expensive stuff.

11800023_966398762475_7690621220678113937_n

I drew out 3 different sets of fleur de lis before going over them with the puffy paint. It took a little practice, but I finally got it looking pretty decent! Keep a paper towel around when you draw them out in the paint, you want to keep the paint bottle’s tip clean!

11831682_966580837595_5335670786944071623_n

I highly recommend using a puffy paint that matches your thread. I have to admit, I didn’t think that this would look *this* good! I half expected it to resemble a child’s arts and craft project, but the paint gives the thread just enough of a pillow to really look built up!

12143328_981713481655_438180365655535161_n

It only took a few days to entirely finish the embroidery. I folded the fabric over again around the back so that the back is plain blue and you cannot see the back of the embroidery (I’m not good enough yet for that to be pretty). Then I attached a matching cord around the edge, and DONE! Ready to be tacked on to a Vernon Roche dress! Bring on November!!

Matter of fact, I have to admit that this project was actually really fun. I’ve already puffy-painted out a much larger embroidery project that I’ll post about once I make some actual progress. It’s been nice to just keep my hands busy with while curled up in front of Netflix 🙂

Roche’s Black Chaperon (For Temeria! Pt 1)

Firstly, an apology. This thing was neigh impossible to photograph with my cell phone camera! I’m so sorry for the quality of pictures, but I hope it’s enough to show the project off well!

Title

Even Vernon Roche thinks the picture of his / my hat is bad … 

That being said, WELCOME BACK! These last few months have been crazy and I’m afraid my poor sewing machine has quite literally been collecting dust (even under the cloth that sits on top of it when not in use). I felt the need for a project last night though, and I’ve been playing a *lot* of Witcher 3 lately. Lo and Behold, the Historical Sew Monthly challenge this month was “accessorize”. This project was simply meant to be.

I didn’t know much about chaperons before this project. I’ve never made anything 14th or even 15th century before, even though I’ve been sorely tempted by paintings of houppelandes and fantastically huge sleeves. I was even only vaguely aware that this was an early 15th century hat and now definitely want an outfit to go with it. But that’s for the future. About the hat:

I found a very helpful link explaining the chaperon, how it came to be and how to make one. I highly recommend it:

Chaperon’s and How to Make Them

Let’s get another few pictures of Roche’s hat in here. It’s a thing of beauty. I think Temeria just needs to replace the lilies on their shields with this thing. If anything in these games screams “Temerian Patriotism”, it’s not even the wearer. Just this hat.

2015-06-18_00006

Granted, he isn’t exactly the happiest character in the series …

I started with a very non period material. I’m so sorry. Yes, elastic. I wanted the hat to be able to fit both myself and my husband, and this seemed like the best idea. The final product isn’t actually THAT stretchy, but it’s just enough to fit both of us!

IMG_20150712_204005670_HDR  IMG_20150712_204220484

I wrapped the elastic waistband in the sturdiest fabric that I had lying around a few times and stitched the ends in. The bunched up stiff white fabric stretched just enough, and had a bunch of fantastic folds in it which made the whole thing look just as wrinkled as the screenshots from the game.

From here I made a tube of the black fabric and inserted the headband in to it. It was still beautifully wrinkly, but also quite sturdy.

IMG_20150712_204357100

It was at this point that I realized I’d misplaced my measuring tapes. All of them. I searched my sewing room, my living room, even by my computer! No clue. I’m blaming the dog on their disappearance. In the mean time, I needed some way to measure how long the liripipe and “hood” portions should be, so I improvised with yarn 😛

IMG_20150712_210758156_HDR  IMG_20150712_211643440

Not the most exact way to cut, but hey … I was sure it’d turn out ok! Besides, what mistake can we make that can’t be either trimmed or stitched back in to place?

The string method turned out to be quite successful I think! 8/10 would use again in a pinch. So at this point I had the three pieces of the hat either done or cut out.

IMG_20150712_213402971

First I hemmed and attached the thinner and longer liripole piece. I made sure to gather it a little before sewing it in, and pinched the attached sides a bit. This gave it the poofy look as it drapes over the top of the headband.

IMG_20150712_220941803  IMG_20150712_220647179_HDR

And then I started in on the hood. This took the longest as it had to be hand stitched in to place around the inside of the headband, and I’m not the most confident in my own hand stitching yet. I may have built up more thread than was necessary, but let me tell you: this hood isn’t going *anywhere*.

I cut the hood to be twice the circumference of the headband, and I think this was the perfect amount. I’m sure for other styles you can use more or less (or cut in a circle as the last image in that first link shows). But for Roche, this amount worked perfectly.

IMG_20150712_222000882 IMG_20150712_222750502  IMG_20150712_222014204

That was pretty much it! I ended up trimming off a bit of the hood that hung too far on to my shoulder, so the end hood piece was more of a trapazoid than a rectangle, but overall I consider the “no pattern required” chaperon a complete success!

Here are some more failed attempts at my trying to take a picture of the final result. I’ll just have to go out in to the sunlight tomorrow and see if my husband can’t take better ones.

IMG_20150713_224539694  IMG_20150713_224659362

So now that I have the hat, I need the rest of the outfit … right? And this right here is where I remain a historical seamstress and not a cosplayer. I just can’t do cosplay. I don’t know, I’ve tried, I really have. But I find it so much more satisfying to make a dress that’s inspired by Roche and still be somewhat historically accurate than to actually copy the game’s model as exactly as possible. Here were the top two winning (so far) sketches. I’m leaning heavily towards the right one, just because I want to make the sleeves. I figure I could use a brown band or ribbon over the stripes to mimic his leather armor bits. I can mimic the chain armor with a grey kirtle or chemise underneath. Not 100% sure yet what’s going to happen (or even when), but I’m having fun thinking about it. And for now, I have this amazingly awesome hat that I can wear anytime I play Witcher! Thanks to CDProjektRed for the model, inspiration, and my favorite “not-in-the-books” character 😀

outfit

Here’s to hoping I made Buddy Roche proud! (Or Buddy Bro-che as I like to call him) FOR TEMERIA!

buddy_roche_by_trueprince-d4ac92zMy Geralt would romance him so hard if that was an option. Hint hint CDPR!

Feminized Blue Geralt Doublet (Witcher 2) – pt 1

Blue Doublet

Mmmmmmm Witcher doublet…

Geralt of Rivia, Witcher 2, blue Doublet. (Modified slightly, mostly for boobs).
So this was one of my big projects started last October. I’m not 100% done yet, but it’s getting there – and it’s far too exciting not to post about.

FIRST OF ALL, I have to talk about my love of Geralt’s clothing and armor design. Every single piece that CD Projeckt Red has drawn / modeled / etc for him are absolutely beautiful (AND for the most part, quite functional / practical!). At this point with all of the hype for the 3rd game, I’ll extend this statement to the rest of the Witchers. (Just go take a gander at the Sword of Destiny trailer – narrated in part by Daddy Lannister btw – and tell me Eskel’s red doublet isn’t drop dead gorgeous). Matter of fact, it was Eskel’s doublet in that trailer that inspired this whole project! It just turned in to Geralt’s because … well, let’s face it. I really REALLY love blue.
(And because my husband was going to be Dandelion for Halloween… , and because I’m really pale blonde…
It just made a lot more sense)

Jacket2

Initial reference images

Besides! Eskel’s jacket has the one feature that Geralt’s is missing from every single other outfit of the game! Wait for it –

White doublet

AWWWWW yeah, DAT COLLAR

You think I’m going to make anything Witcher and NOT add an amazing collar? HA! That’s pretty much the best part of everything. At this point it’s pretty obvious that I was doing a compilation piece to evoke the overall idea of “Geralt-a” of Rivia, and now you also see why I could never in a million years be a serious cosplayer 😛

I started by digging through my patterns hoping to have a good starting point. I already had a brown vest to go under it (that resembled the one in the initial pictures of the blue doublet). Instead of wearing it open like he does however, I’d made it really super snug and decided to wear it closed for the purpose of binding down the Sisters. The collar closely resembles that of the original blue doublet too, so at least a little bit of neckline authenticity can be kept. I’ll have more pictures of this layer in the next post with the finished product, but this might just be the most important part. Ever tried wearing a sword-laden bandoleer across your female chest without a proper corset or undergarment? The results are … less than flattering. Imagine a seatbelt times x1000.

This is the pattern I finally ended up using:

il_fullxfull.309672287

I’m sure Geralt would be thrilled to know what this all started with …

Using just the bodice and collar pieces from view B, I cut out the white lining with a lot more seam allowance than the pattern called for. Fitting, pinning, and recutting it over the dressform and brown vest was a lot simpler than I’d expected, and I would actually highly recommend this pattern for the making of female doublets to anyone looking for one! I’d also recommend cutting it longer than necessary too – you most likely want the doublet to fall a bit below where the dress’ waist is. I then used the white lining pieces to cut out the blue. (NOTE: I had VERY little of this blue fabric in my stash, so I knew I had to be as judicious as possible when cutting! I knew I’d be cutting it close, but I also was certain I could make it work!)

IMG_0889

You can see the brown vest underneath. I never actually took pictures of the initial pieces, so this is the earliest I go in this construction, sorry! You can also see on the collar here that I’d decided to make a deliberately worn look. Adding “mended” areas (like the inch of blue stitching along the edge of the collar) would give it a worn feel – I’m sure Geralt isn’t exactly gentle with his armor. And I’m sure Coen isn’t (wasn’t :((( ) the only Witcher that sits around Kaer Morhen every winter patching his gear up.

At this point too, I need to point out that I would never in a million years subject my poor sewing machine to leather. It’s not a cheap machine, but it’s not expensive either. And since we’ve established my lack of patience in previous posts for both embroidery and smocking, I wasn’t going to suffer through hand stitching leather strips to my doublet. I decided to use a brown (cotton I guess?) from my Stash …

both

Don’t underestimate your yardage! I came back to this step about 3 times…

The stitching on the leather strips is very visible in all of the concept art and screenshots, so I used white thread to bind this all in place. When attaching to the doublet, I went back to brown thread. This way I was certain to have the white lines straight and even – I didn’t necessarily trust myself to keep them this even when attaching to the main piece.

IMG_0897

Placing the strips was actually far less of a headache than I’d anticipated! I remember kicking myself after cutting them because I hadn’t cut them on the bias like I’d originally intended, but there was really no need. Everything proved more than flexible enough to go on without too many bumps 🙂

IMG_0898

 IMG_0901

I was worried about the placement of the strip closest to center because in the game pictures it ends at the collar / disappears in to the collar seam. I initially played with the idea of cutting it short or wrapping it around the neck, but the latter wasn’t going to work out well since I hadn’t cut the strips bias-wise (you can only get so much circular movement from a straight cut strip!). I ended up extending it up the collar where the collar bends. This ended up helping the otherwise floppy collar pop out a lot more! It was a really fantastic structural addition – one that I wasn’t expecting.

I started running out of blue fabric when I got to the sleeves … but 1) they were going to be detachable anyway and 2) I only wanted them to go to the elbow. The first sleeve was one piece, but the one below you can see was patched together. I was actually so pleased with this that I opted not to hide the seams under the brown stripes! I figured Geralt wouldn’t necessarily have much issue with patchworked garments, so why should I?

IMG_0905

And so finally we get to the end of part 1! The collar has suitable structure, stripes mostly attached to one side, and sleeve pinned in place for imagination purposes. I’d actually found the undershirt at Goodwill  – it has just a tick of embroidery around the edge of the sleeves (which fall just below the elbow – right where his are rolled up to). My theory? It’s a fantastic material to go with the rest of the garment (100% linen), and if I’m modifying this for use by a woman, I’m allowed a tiny splash of embellishment. Besides, if *I* spent my winters holed up in a mountain castle with nothing but 3 or 4 other people and their cellars of booze and hallucinogens … I just might find the patience to take up embroidery. You know, a little.

IMG_0909

to be continued …